
Homemade hummus is not hard to make and is absolutely worth it! I will take you through my favourite recipe and show you how to make it step-by-step. I used my Instant Pot to cook the chickpeas but you can easily use canned chickpeas instead.
The Secret!
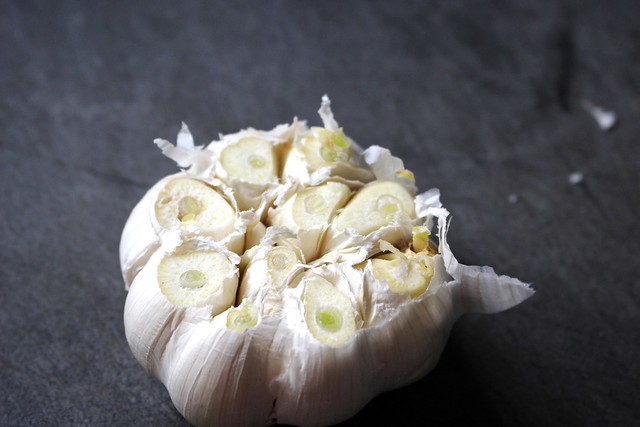
Hummus is often made with raw garlic but I prefer to roast it. I cut the tip off the head of garlic. Drizzle with olive oil and sprinkle with salt and pepper.
I like putting it onto a layer of parchment paper and then aluminum foil. I wrap it all up and put it in a low oven of only 325F and keep it in there for an hour.
The Chickpeas
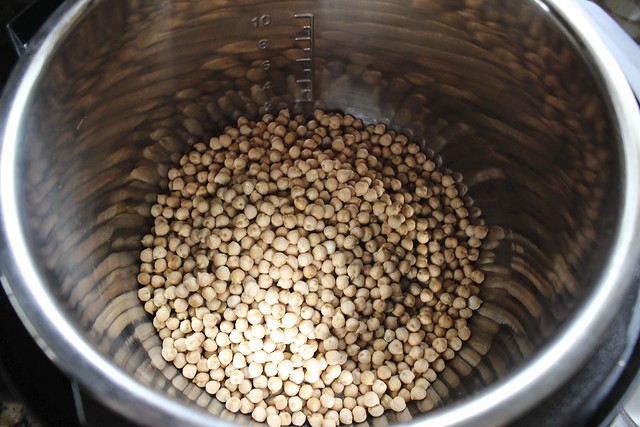
For this recipe you are going to need 2 cups of cooked chickpeas which, as I mentioned before, you can get from a can. I want to have lots of chickpeas available to me in my freezer so I dumped a whole whack of them into my Instant Pot and covered them with three times the amount of water.
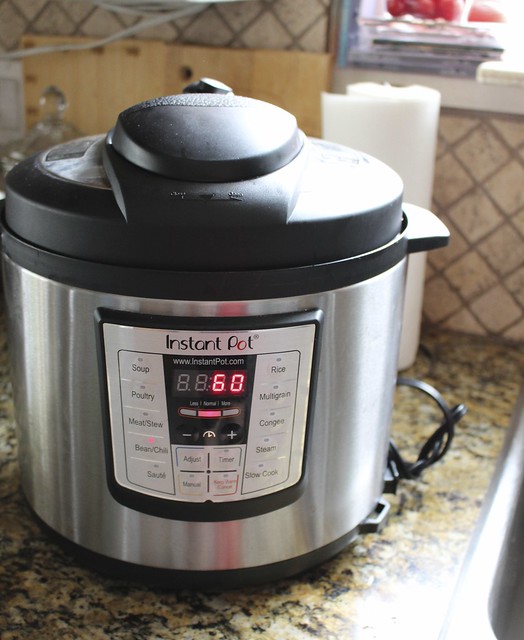
I pressure cooked them for 60 minutes. I wanted them to be closer to over-cooked than under-cooked. Thanks for the tip Dawn at Hardly Bored!
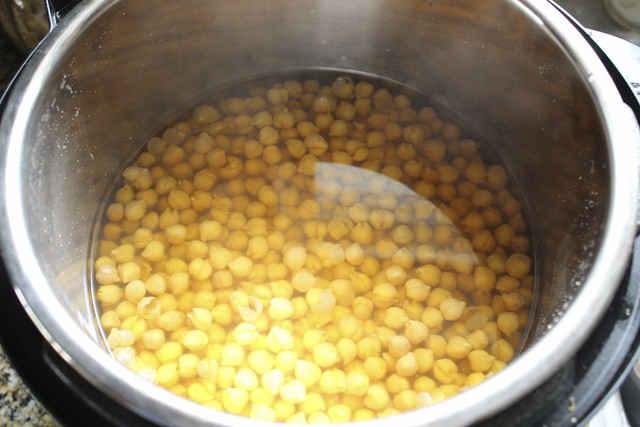
They came out perfectly.
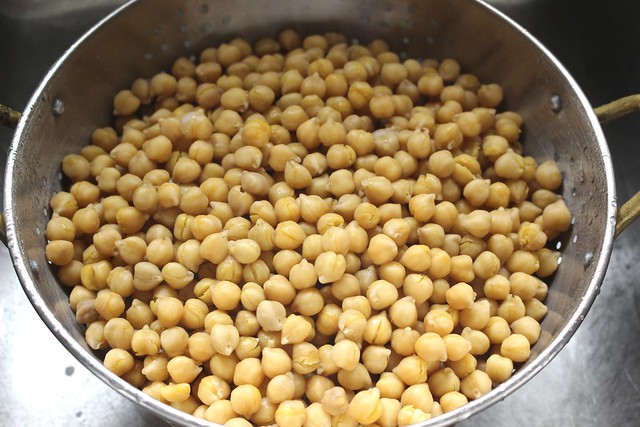
I drained them in the sink and then measured out 2 cups of chickpeas.

I thought using a food mill would be a smart way to remove the skins which can cause the hummus to be less smooth.
Bad idea! Just say no to the food mill in this case.
The Hummus
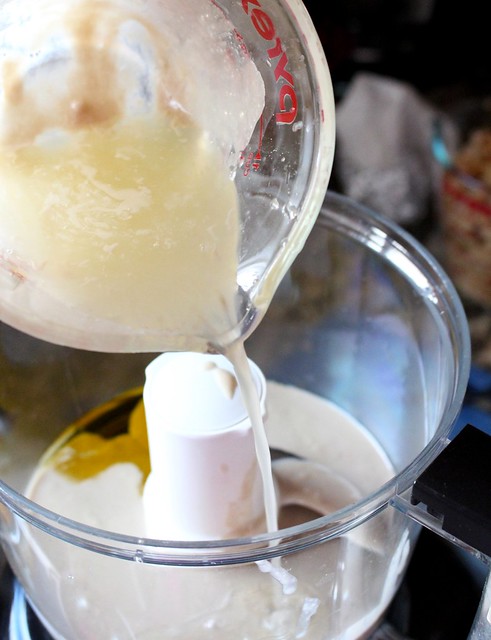
Another trick a Facebook friend shared with me is to put everything but the garlic and chickpeas into the food processor first: 1/2 cup tahini, 1/3 cup fresh lemon juice and 1 tablespoon extra-virgin olive oil.
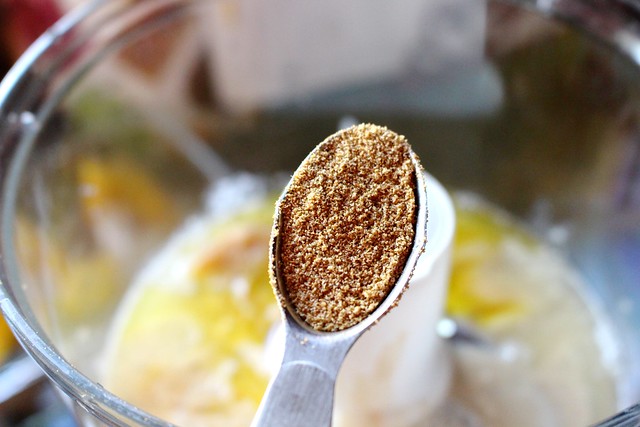
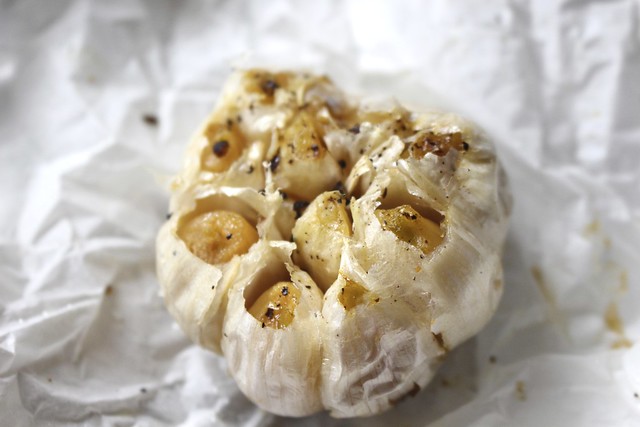
Then I added 1 tsp of salt and 1 tsp of ground cumin which gives it a rich and smoky flavour. I squeezed out all the cloves of the roasted garlic into the food processor.
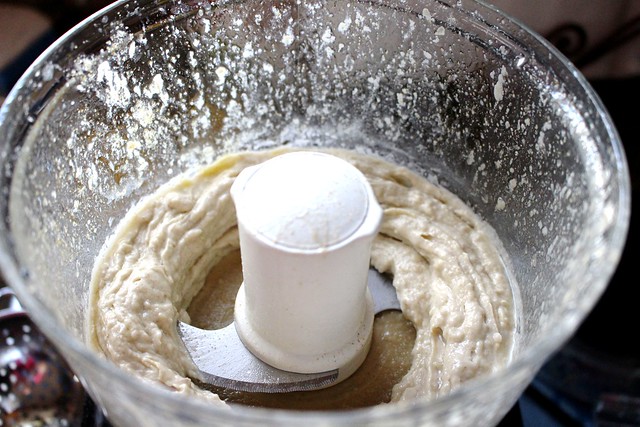
I whizzed everything together.
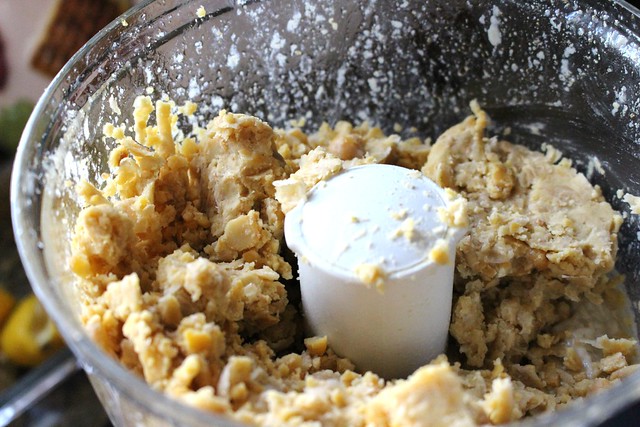
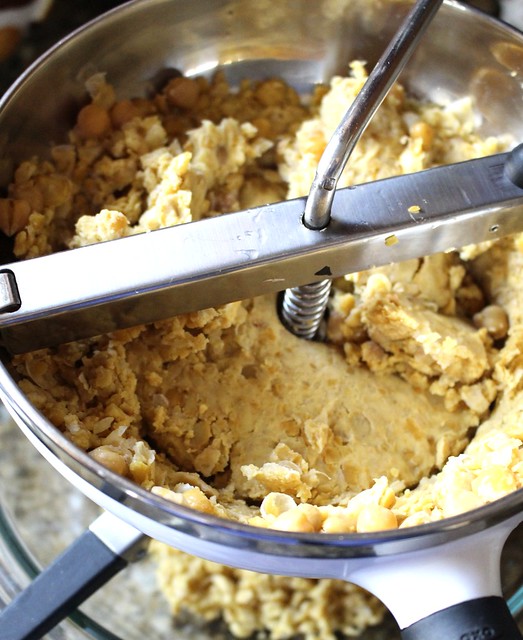
Then I added the chickpeas. It was a little thick but the flavours were perfectly balanced.
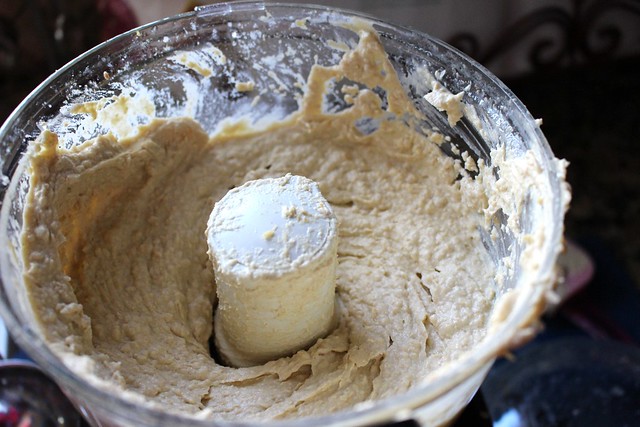
I just added a tsp or two of water and it all came together. My friend Rohinish suggested next time I use the blender to get it perfectly smooth which I am totally going to do!
Foodie Results
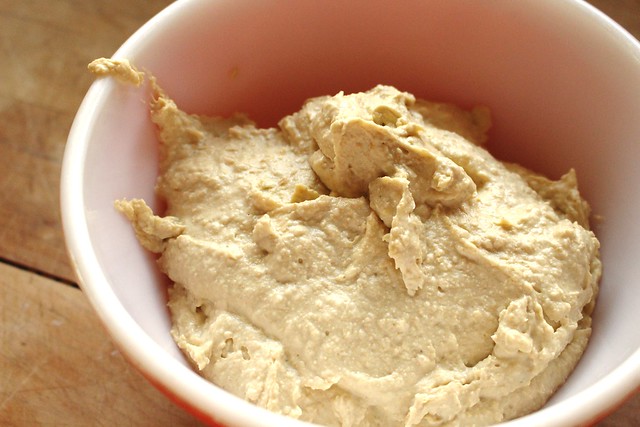
Now I have a ton of hummus for the week which I am going to enjoy on my salad wraps and with crackers. I also have a big bag of cooked chickpeas in the freezer for the next time I want to make hummus which will now take no time at all. Apparently hummus does well in the freezer so if this is too much, just freeze half the batch and you will have some for next week.
The great thing about using roasted garlic is it adds a richness to the hummus but tones down the dragon breath.
I promise, this is the best hummus around and is worth the effort! You will not be disappointed.
[yumprint-recipe id=’8′]


Dragon breath, LOL!
Yes! The legendary Dragon Breath of Hummus is tough to kill!
Roasted or baked garlic, there’s just NOTHING like it. Absolutely heaven. In fact, I have some baking away, as I type, with the organic chicken that just went in the oven.
Great post, Suzie.
I totally agree, love it! Yay for you making it too and nice, organic chicken. Yum! Thanks Ivy!
You can also use the liquid from cooking the chickpeas to help keep it moving!
Yes! That is an excellent idea Dawn and if I had not drained my chickpeas completely, I would have done that, LOL. Thanks!!!
I just did it in my instant pot. Its absolutely delicious! Thank you
Fantastic! So happy to hear it was a success. 🙂
I just cooked a big bunch of garbanzo beans in the Instant Pot. I also used a food mill, which actually does work. The beans need to be warm and you need to put the beans in their in small batches. You may not want this comment to remain here, because I’m giving a link to another blog, and you would probably like to keep people here. But, check it out for yourself! I just used the recipe at the following link. I finished off with my VitaMix and I got the smoothest hummus ever. I can’t get it that smooth with the VitaMix alone.
https://www.growforagecookferment.com/traditional-hummus-recipe/
Thank you so much for the tip! I never tried using my food mill but will give it a shot, thank you Peggt!