Ah pierogies… How we go so far back together. When I finished university and moved to Ottawa and lived with Reg, I attempted to live on pieroiges alone. They were one of the only foods I knew how to make and when I say make, I mean buy in a plastic bag and fry on the stove.
I have made pierogies from scratch before and it was such a long process, I did not think I would ever make them again. Then I saw Nadia G‘s pierogies recipe in her new cookbook Cookin’ For Trouble made with heavy cream, red wine vinegar, served with a sauce made with sweet gherkin pickles… It was so wild I had to make them. I just HAD to!
THE FILLING
Last week I knew Hal-Con was going to take over my life. Before it did, I wanted to spend time in the kitchen and make some real food. Nothing is more satisfying than pierogies!
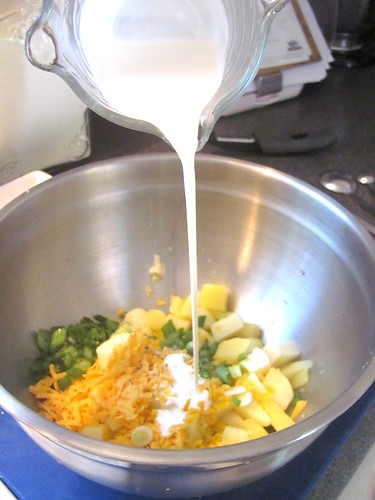
Cook 2 russet potatoes that have been cubed and 2 cloves of garlic in a large pot of salted water for around 15 minutes. In a medium bowl mash the potatoes and garlic with 1 tsp unsalted butter, 1/4 cup heavy cream, 2 thinly sliced green onions, 1/4 cup grated aged cheddar, 2 tsp red wine vinegar, 1/4 tsp sea salt and freshly ground pepper to taste.
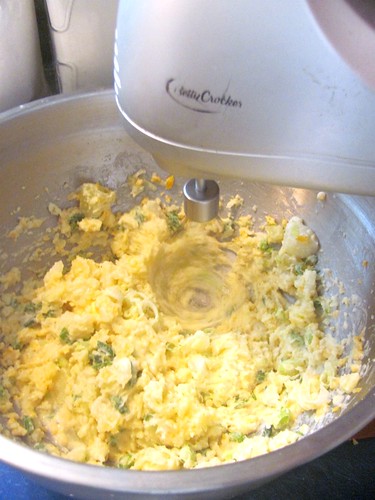
I am having a lot of wrist pain lately so I used the whisk attachment on my hand mixer instead. Worked like a charm!
THE DOUGH
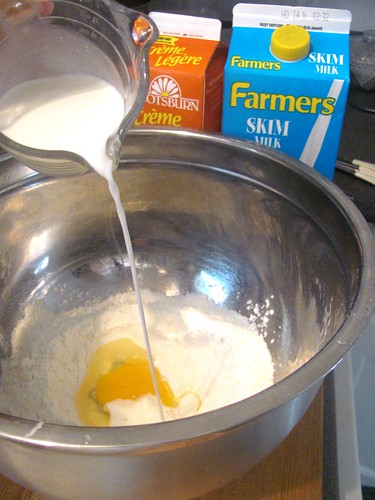
Add 2 cups flour in a large bowl. Make a well in the centre. Add 1 egg, 1/2 cup of whole milk and 1/4 tsp sea salt. I never have whole milk so I just combine cream with skim to fake it. Use your hands to mix in the flour until all the liquid is absorbed and the dough sticks together.
Um… This did not happen for me. Which is quite typical when I work with flour. In fact, it was so dry, there was a ton of flour on the bottom so I added some water until the dough came together. I left the dry bits on the bottom.
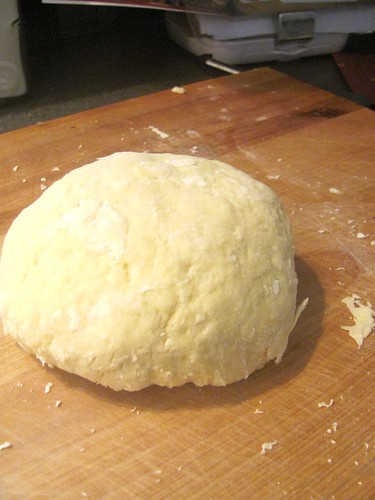
Shape dough into a ball, wrap in plastic wrap and refrigerate for 20 minutes. Doing the dough and the filling took all my energy that day so I kept both in the fridge until the next day.
Wow, did the dough ever get tough! I guess my fridge was extra cold because I had one hell of a time rolling that sucker out. The good news is the flour had absorbed the liquid when it sat so it was no longer dry.
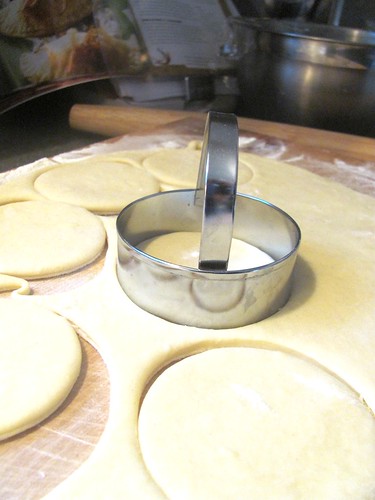
You were supposed to roll the dough so it was 1/8″ thick and use a 4″ cookie cutter to make 12 pierogies. That seemed quite big to me and I had a hard time rolling the dough out that thin so I used a 3″ cookie cutter instead.
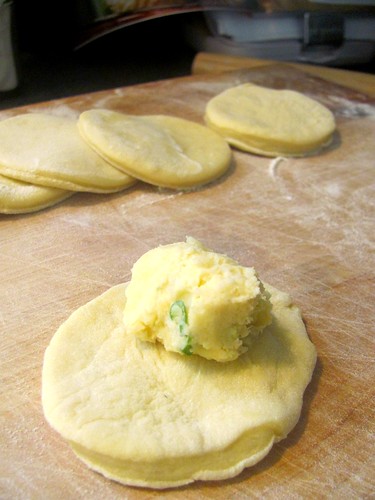
See how thick the dough is? I put 1 tbsp of the filling on one half of the dough. I folded the the other half over the mixture and pinched together, making sure the filling stayed inside.
Thankfully the warmth of my hands loosened up the dough a bit and turned, making it a 4″ dumpling. Excellent!
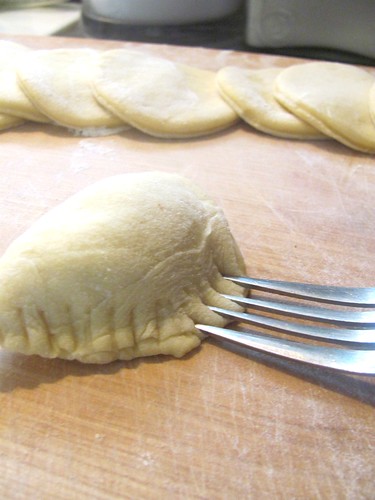
Nadia G. says to close the pierogies with the tines of a fork which did not seem traditional to my Facebook friends but these are big pierogies, you do not want any of them to burst open.
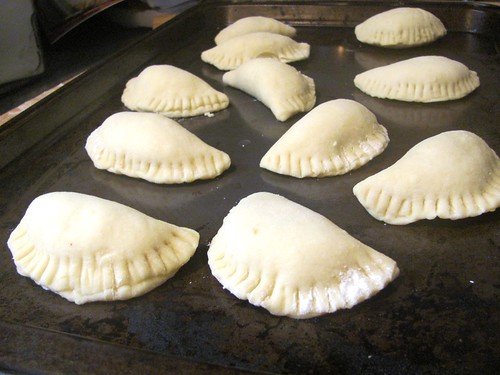
Put them on a baking sheet and cover with a dish towel.
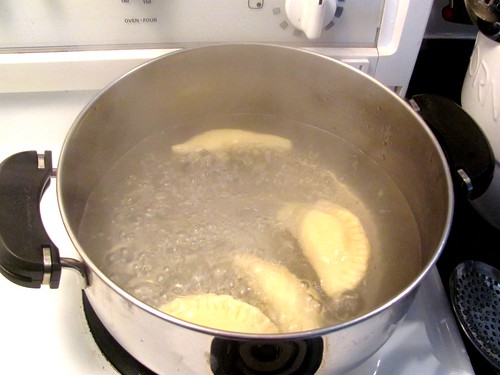
Bring a large pot of water to a boil and drop pierogies in four at a time. Boil uncovered for around 10 minutes. Nadia G writes, “until they float” but mine started floated after just five minutes. Keep them in there for 10 minutes. That is a lot of dough that needs to cook. Then strain the pierogies.
SHKIAFFING IT TOGETHER
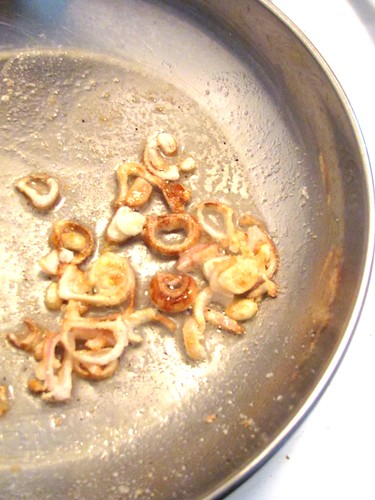
Nadia G. deep fries yellow onion for garnish but I do not deep fry. I do however like to make crunchy golden shallots.
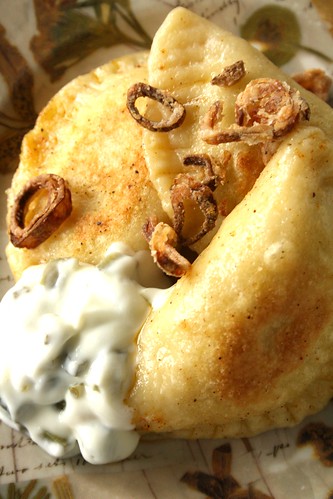
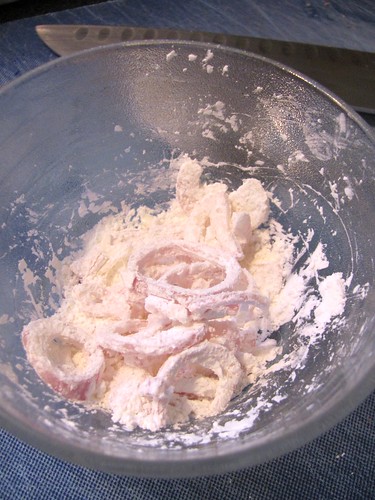
I thinly slice some shallots and toss them in cornstarch. I lightly fry them until they are golden brown in some olive oil. I move them to paper towel and then sprinkle with fine sea salt. Yummy and less fattening! You really do not need additional calories here.
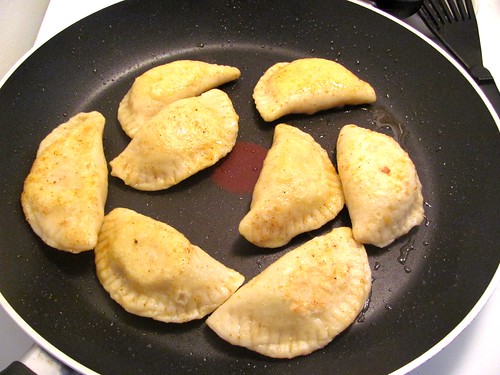
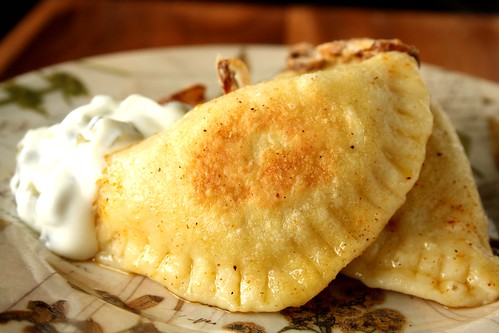
Pan sear the pierogies in a frying pan in some canola oil. She says 45 seconds per side until lightly brown. Mine seem to take much longer than that. I like to add MSG-free seasoning salt to them too, gives them a nice colour and additional flavour.
For the sauce, add 6 minced sweet gherkins to 1/2 cup of sour cream. Serve alongside the pierogies and top with shallots/onions.
These were wonderful pierogies! However, they were under seasoned, I am afraid. I asked people on my Facebook page if they added salt to the boiling water when they make pierogies. It was clear that everyone does, just like when you make pasta.
The second batch I cooked in the salted water were a million times better so make sure that if you make these, you add a nice handful of salt to the water. What a difference! The side sauce was a bit unusual for us. I am not a fan of sweet pickles but it felt very authentic to have with the pierogies. I think next time I will add sour pickles though but that is just personal preference.
If you add salt to the water, these are a four and a half out of five wooden spoons recipe. Filling, decadent and delicious.


Definitely bookmarking these in my “must try” folder! Yum!
I have just gotten into perogie making this year and love coming up with all kinds of different fillings. My favourite recently has been caramelized onion and gruyere cheese. I love Nadia G so will definitely have to try this.
ps… I don’t salt my water but I do salt them when I crisp in the frying pan.
They are perfectly golden and look delicious.
Those look good! I’ve only had perogies once before I think, and I’ve never made them. They sound amazing, though, and I have to try!