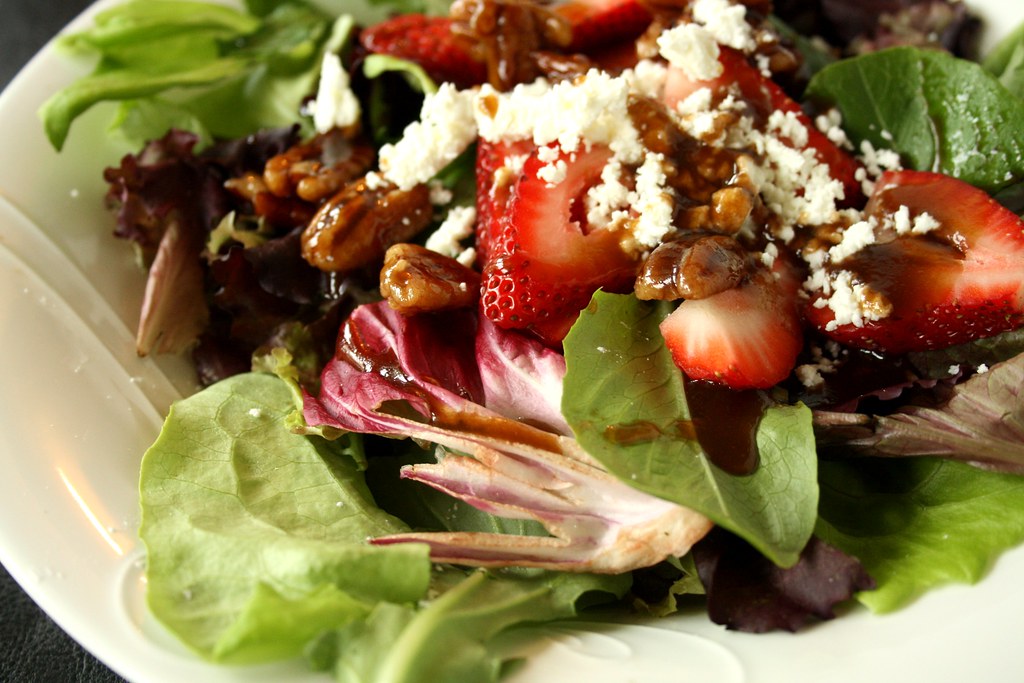
I learned how to make sugared/candied pecans when I found the “perfect salad recipe” at foodtv.ca. When guests come to visit, I always make this salad and what makes it unique and special are the candied pecans. I have tried making candy and I can tell you, most of the time it is so finicky and potentially dangerous (peanut brittle on the skin hurts!) but these are easy to make.
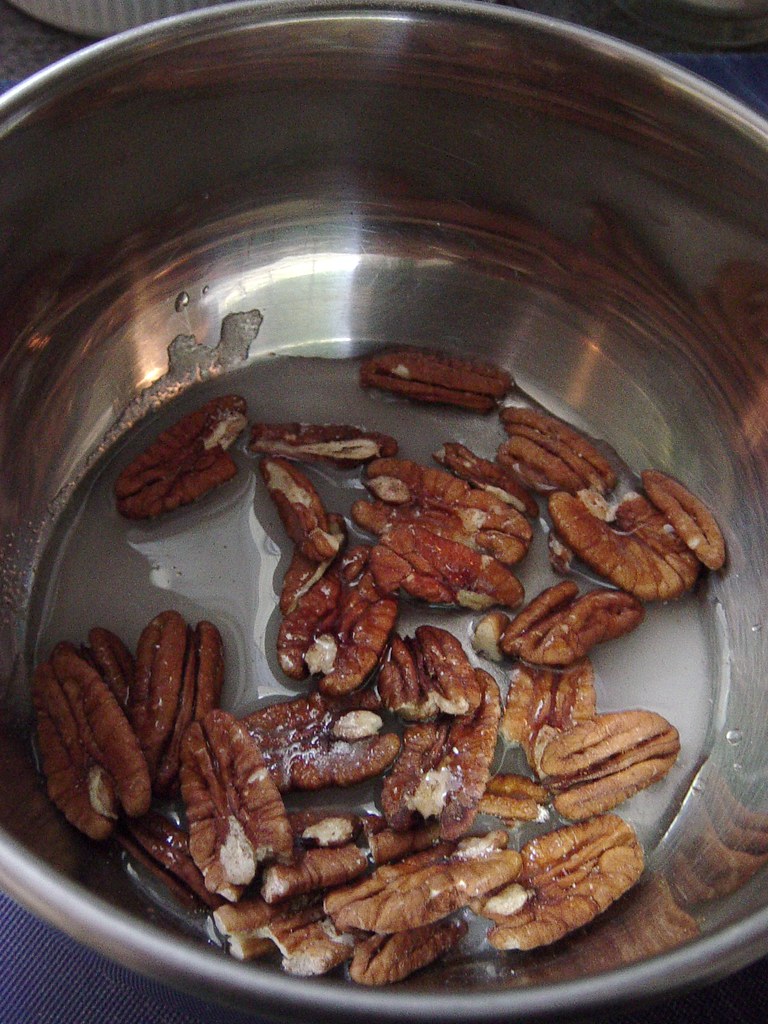
You take 1/4 cup of pecans and put them in a small sauce pan with 2 tbsp of sugar and 2 tbsp of water. Stir to dissolve the sugar and bring to a boil. Immediately turn down the heat to a simmer for 5-7 minutes. You want them to be golden and coated. It is very easy to forget about them and have them burn, trust me!
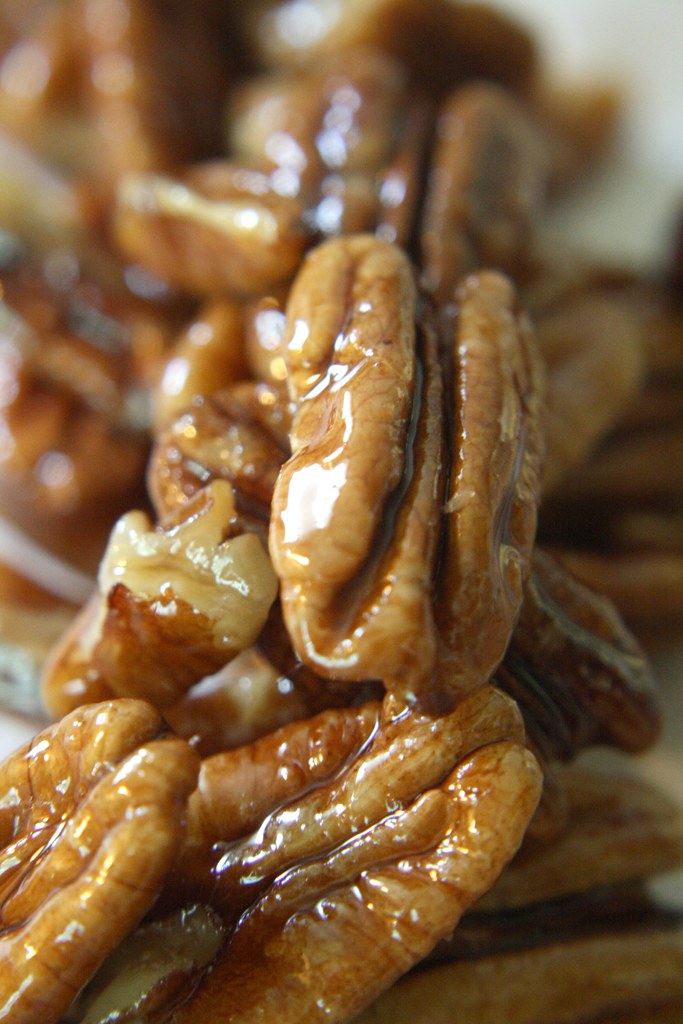
If the syrup is looking too runny, keep them on the stove. You want them to be coated and the syrup mostly gone. I have made these many times and taken them out too early so they are just super sticky which is still yummy but not what I am going for. Make sure to let them dry on parchment paper in a single layer. If you find these are not crunchy enough for you, you could pop them into the oven to crisp them up a little more.
These candied pecans are great not only on salads but in homemade ice cream. I wanted to make a homemade ice cream to go with the prosperity cake my sister Shannon and I made while she was visiting. We tried making this Maple Pecan Ice Cream and used the sugared pecans. Absolutely divine!
This is a simple and easy way to make candied pecans that are delicious. Again, if they are not crunchy enough for you, finish them off in the oven. I hope you give them a shot, they are truly stunning and take dishes over the edge of deliciousness.


Yeah, they sound divine! Thanks for the tip about the hot water rinse too.
Sounds easy to make! Pecans are always yummy, I should give them a try.
Super yums! 🙂
One tip I remember from a girl that used to sell pans was to wash it immediately after cooking with very hot water. She was making apple pancakes at that time.
do sound yummy! Salads with candied nuts are super yummy 🙂
Found a link to slow cooker recipes on fly lady – http://www.flylady.net/pages/FFT_SlowCook1.asp should be good ones – her goal is ‘doable’ stuff!!
hugs
yum, this sounds wonderful and simple too, that is if I stay at the stove and don’t forget them. Thanks for the recipe!
Fantastic photo of the pecans.
thank you for sharing this recipe! i’m making a brussel sprout slaw that called for maple candied pecans, but i’m out of maple syrup, so i googled candied pecans and found your post. i ended up using maple sugar in place of regular sugar and voila! maple candied pecans 🙂
I found your blog through a google search. 🙂 I tried this last night. It worked like a charm…and they were so delicious, they almost didn’t make it into my salad. 🙂
I made this tonight! It was so easy. Make sure you watch the pecans carefully. During the last few seconds of simmering they get crunchy looking. So good and so fast!
I made a huge batch of these for a salad bar pot luck (everyone brings a salad fixin), 2.5 cups of nuts. It took quite a while for the water to really reduce and I stirred almost constantly. I feared I would have pecan brittle. While I was stirring and watching it, it transformed over the span of about 20 seconds! Turned out fantastic and they taste even better!
So glad it was easy Maggie! Celeste, wow, that is adventurous. I only do a batch at a time, candy making is funny that was but it sounds like yours turned out perfectly. I couldn’t be happier to hear that!
These are great! I am not a candy maker either, so when you disclosed this about yourself, I ventured to try your recipe. I hope mine make it to the salad tonight!
Thanks for the lifesaver :o) I tried like seven different recipes before I tried yours and man, yours was easy and accurate and tastes divine!
I Heart Monster, that makes me so happy! I am thrilled yours worked after all that frustration. I have been making these for years and love the simplicity too. Thanks so much for you feedback, comments like yours keep me writing and sharing.
Instead of waiting for the water to get really hot in order to wash out your pan, I usually just fill the pot with water (any temperature), place the pot back on the stovetop, and then boil that water. The sugar melts and is greatly diluted, making it very easy to pour out all the sugar content and voila – clean pot!
That’s a great idea Anonymous! 🙂 Super helpful, thank you. Next time I will do this for sure.
Thanks Suzie, your recipe helped me a ton. Keep it up!
Substituting one of the tablespoons of water for one tablespoon of butter greatly cut down on the amount of caramelized butter that sticks to the pan.
You are welcome Awesome! Lauren, makes sense that butter would prevent the sticking but I personally am trying to cut down on extra butter but what a great and helpful idea, thank you!
I made these and they were delicious but my pecans weren’t crunchy. Did I do something wrong?
Molly, maybe next time add a little less water or let them cook longer. Sometimes if I take mine out too early they are a bit syrupy so I let them cook down a little more. For that really big crunch, you might want to try finishing them off in the oven.
Made these about ten minutes ago. They taste great, but are not crunchy at all. I will have to try again later in the week. I cooked them until they were dry.
Maribel, sorry to hear that they aren’t super crunchy. This is just an easy and simple version of making sugared pecans without getting out the candy thermometer. Perhaps you could try another recipe or finish them off in the oven?
Hello, I saw your recipe and immediately had to give it a shot. I’ve made three batches but I used your recipe as a template and kind of went from there. Thought I’d share how I made mine! I made a big batch so mine is double the ingredients.
I used:
about a cup of pecans
2 tbsp of sugar
2 tbsp of brown sugar
3 tbsp of water
1 tbsp of butter
then just followed your directions.
I also made a batch with extra butter, sugar, and water so I could warm it up and use as a glaze over ice cream……it is sooooo good, thank you for sharing your recipe!!!
Wonderful Promise Curry! That sounds great to me, so smart to use mine as a template. Oh that sounds fabulous, thank you so much for sharing!
Found this post from Google. I’ve made these twice in the last week to add to a salad. They worked perfectly! Crunchy and delicious. Thanks!
Excellent Noelle! That is exactly how they should be and thank you so much for letting me know they worked. 🙂 I live for comments like that!
Just made them this evening (to go with a dried cranberry and apple salad). Delicious! Thanks so much.
Excellent Erika! So glad they worked for you and they’re so easy, aren’t they?
You mention finishing in the oven to make them have more crunch. at what temp and for how long do you suggest?
I probably would try putting them on parchment paper and putting them in a pre-heated 350F oven for ten minutes and then check on them. I haven’t needed to do this before though so test it first. Most of the time they just need to air dry for a bit. Sometimes to rush it I put them in the freezer.
I love the recipe! I’ve used a few times since first seeing it only 2 weeks ago.
The only thing I found though was that mine actually took a lot longer that 5-7 minutes for all the syrup to thicken.
A few delicious variations and additions I’ve already played with are:
-Using brown sugar instead of white.
-Adding honey, molassas and/or Golden Syrup.
-Adding about a 1/4 tsp of ground nutmeg, ginger and/or 1/8 tsp of ground cloves. (it makes them tates very festive and are just great by themselves)
The only problem with this recipe: I never seem to get them onto the Salad, my family eats them all of the parchment paper as they walk by. The solution: Make double.
Thanks again
Ratios… It’s all about the ratios and I like yours! I was in Madrid last fall and a vendor at a market made candied sunflower seeds that were amazing. While I haven’t been able to get mine just like his- he had a little machine- they come close.
With your recipe, only change I made was omitted the butter, spread them out on a parchment lined baking sheet and popped em into a 350F/180C oven. Checked at 2 minutes, then another 2 until they were nicely golden brown. Took about 6 minutes total.
Like Anna above, if the hubby and I don’t eat them all before dinner, they’ll be a nice salad topping but a blog post on the process either way! Thanks Suzie 😉
I just made these to go on an arugula, pear and goat cheese salad. I 4 x the recipe and added a dash of cinnamon. I also put them in the oven for about 10 minutes to make them crunchy.
I just made these for a spinach salad. Yummy! I think the secret to getting them coated and crunchy is to stand over the pan until that happens, stirring them and they turn out perfect. Thanks for the recipe!
Suzy
just made these after a disastrous attempt sans recipe.. I also found they took longer to reduce and I finished them off in the oven. Plan to use them tonight – if I can stop eating them!
Humidity can have a lot to do with how long it takes to finish them off so putting them in the oven is a good idea. The most time they have to harden, the crunchier they will be. When I am desperate, I sometimes finish them off in the freezer so they will be cool enough to have with dinner.
This was a great, easy recipe. I did a larger batch, and ended up needing to cook it a lot longer, and was wondering when they might stop being sticky, but eventually they turned out to remind me of prailene pecans. They were fantastic.
I melt butter in my small omelet pan, throw in some brown sugar, and several dashes of Tabasco sauce then stir in a handful of pecan halves coating completely. Keep stirring until all moisture has been absorbed/evaporated and there’s a nice crispy coating. Great in salads with feta or crumbled blue cheese, dried cranberries, sliced strawberries, and some good mixed greens. Not too sweet or spicy.
Ive used orange juice and brown sugar then zested in some orange peel on them as the juice thickened in the pan…Fabulous!
I have a question. I made these and it seemed to take longer for liquid to evap. and when it did the pecans got fuzzy is the best way I can describe it. They had a hard sugar coating on them not like your pic. What did I do wrong?
Vicki, it may be the summer humidity effecting the process. Not your fault at all. I have to say it has never happened to me before but maybe next time use higher heat and keep them on for less time. I hope that helps!
can you use stevia? I am diabetic
No, I am sorry Brinda, I don’t think so. Cooking the Stevia would make it bitter and I don’t think it would crystallize.