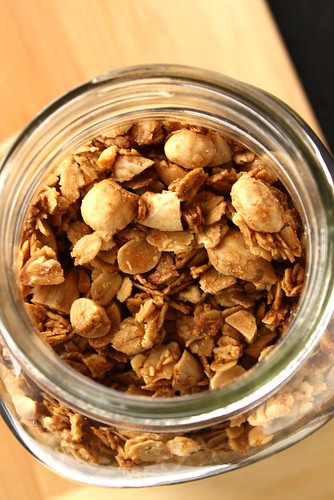

A few weeks ago I was so excited to attempt Cook’s Illustrated Adam Reid‘s homemade granola! I thought I was all set and then realized I did not have almonds and only had quick, not old-fashioned, oats.
Winter weather has definitely been getting to me. I got so frustrated. I wanted to make granola and getting out for the two ingredients I needed was too challenging for me because of my fibromyalgia and not being allowed to drive.
Then one day the sun came out and I got to the grocery store. I could only find “large flake” oatmeal. What?! That’s new. Hoping it was the same thing as old-fashion, I picked some up.
I came home to realize the almonds I bought from the bulk section was a lot less than the 2 cups I was supposed to coarsely chop.
The idea behind this recipe is you have to follow it exactly to get the perfect granola. So I had to ask myself whether to make a full batch but with not enough almonds or halve it and hope for the best?
I chose the latter. It was a mistake.
I will write the recipe out in full for you even though I divided it in half. Do not divide it in half!
Whisk 1/3 cup maple syrup, 1/3 cup packed light brown sugar, 4 tsp vanilla and 1/2 tsp salt together.
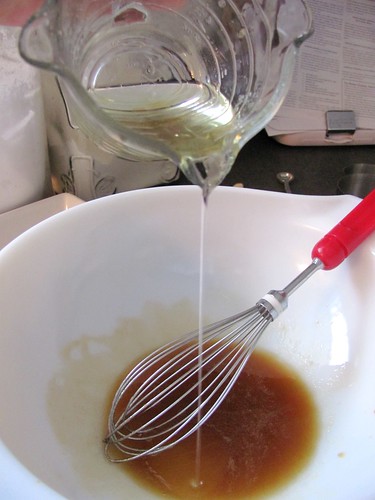
Whisk in 1/2 cup vegetable oil.
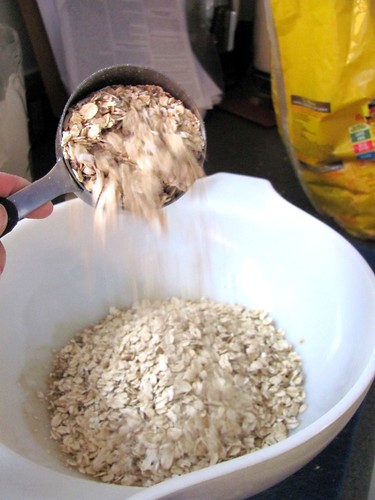
Fold in 5 cups old-fashioned rolled oats…
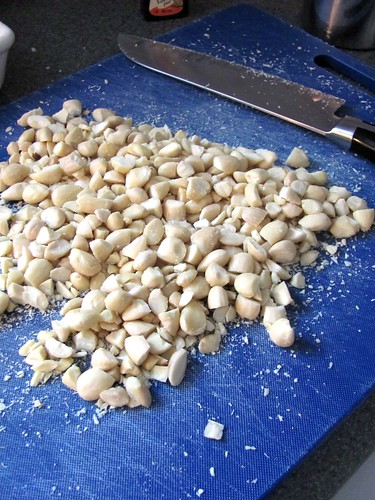
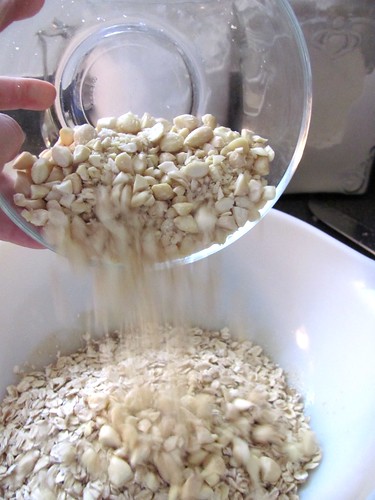
… and 2 cups of raw almonds, hand chopped coarse. Yes, they had to be hand chopped to get the “superior texture and crunch.” This KILLED my hands BTW.
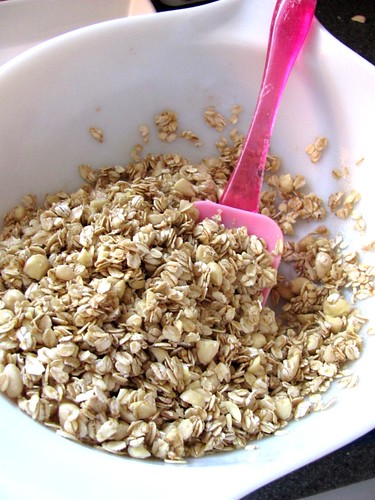
Fold everything until the oats and almonds are thoroughly coated.
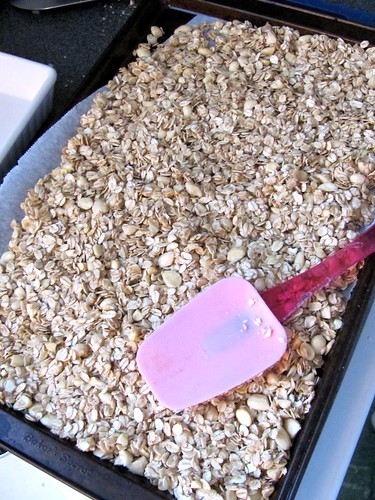
Transfer granola to a parchment-lined baking sheet and spread across into a thin, even layer.
Use a still metal spatula to compress the mixture. Bake in a 325F pre-heated oven with rack in upper middle position. Bake until lightly browned, 40 to 45 minutes rotating pan halfway through. Cool to room temp on a cooling rack for an hour. Break into desired pieces and add 2 cups of dried fruit, chopped.
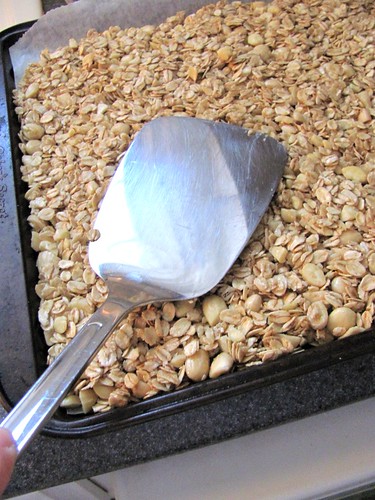
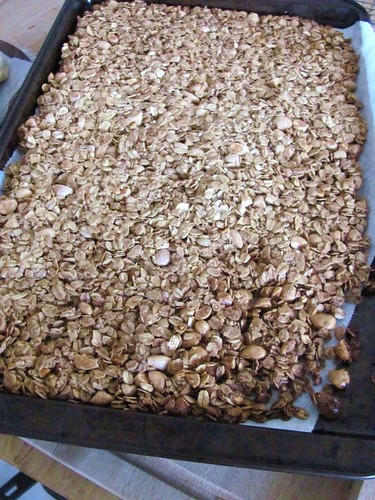
No, it is not supposed to look like this! I thought if I only have the granola in there for 25-30 minutes I could have a nice batch of granola but it totally got scorched, especially around the edges. About half of it ended up in the compost.
It was barely edible, very close to being too browned/burned. A far cry from what it should have been.
Worst of all, I got so angry at myself. Furious with my situation that impacted this experience in so many ways, I have had to reassess a lot of things. It is still cold and the weather sucks. Yesterday we had hail, rain and snow. This is the time of year my cabin fever is at its worst and my pantry is pretty darn empty and life continues to be challenging. After I made this I just fumed and fumed at myself. I realized at this moment, food had ceased to be fun. Not good! More about this to come on my blog tomorrow.
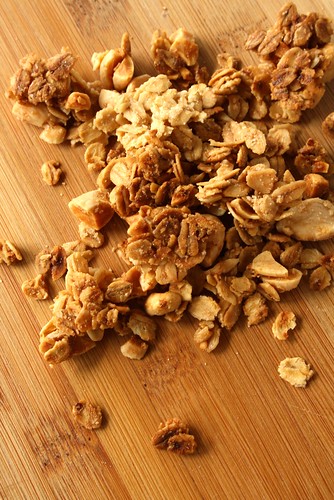
For now, I am sure that when made properly, this is a kick-butt granola. Don’t be a miser or a tinkerer with this recipe. Adam Reid worked really hard to make the perfect chunky granola recipe. One day when I have gotten over my stupid foodie fit over screwing this up, I look forward to making it.



Sending sunshine your way! Thanks for a wonderful recipe. I ALWAYS burn the first batch of granola…will make this for the second batch.
Every recipe I’ve ever used for granola says to constantly turn it so it will toast evenly. It may not have been your error; it might have been the directions.
So sad having to throw out granola!
I find that baking “kibble-like” stuff to be very finicky and yes, it can easily burn. I burnt a whole batch of pumpkin seeds many years ago, I felt so bad because the seeds came from my daughter’s classroom when they carved their pumpkin. I volunteered to toast the seeds so the kids could taste them the next day and they were just awful! Needless to say I had to get store bought ones to replace them. Damn those hot ovens and cookies sheets sometimes lol.
I know your next batch will be perfect 🙂
Boy, do I relate!
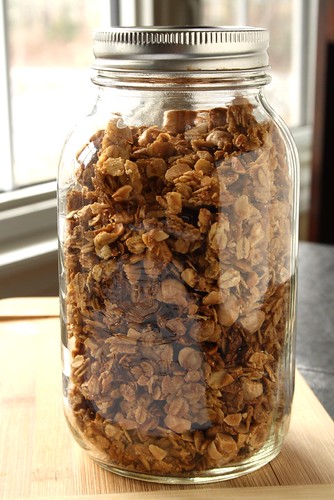
For the record, I love the photo of the granola in the Mason jar.
Lets hope the sun comes out soon…
I’ve made this recipe multiple times. Do NOT turn it! It turns out perfectly when you follow the directions precisely. I find it much easier to press evenly into the pan if I use another half sheet pan and push down on it to compact everything evenly. This might be easier for you with your fibromyalgia than using the spatula. Do give it a try again when you can get out to get what you need. It’s fantastic by itself and wonderful with yogurt.
Oh Ava, that’s a sad story about your pumpkin seeds! Thanks Lyndsey! I love putting everything in Mason jars, LOL.
Anonymous, thank you so much for your comment! OK, so follow the directions exactly EXCEPT for turning it? I can dot that. I like the half sheet pan press down idea too, I think that would be easier. I’m also going to use a food processor next time for the nuts, not doing that to my hands again. I will definitely do it again now, thank you!