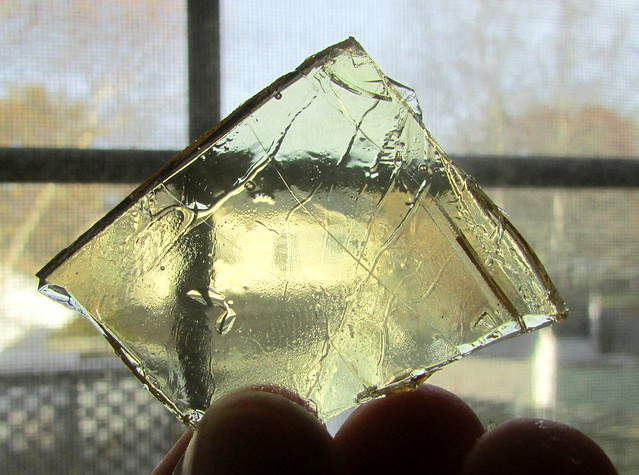
White Grape Jellies & Halloween Eyeballs turned out OK which gave me to the confidence to try and make… sugared glass!!! Something I have failed at a few times but I absolutely wanted to have fun with glass shards for Halloween this year. This YouTube tutorial helped me a lot and man, did I have fun stabbing things this morning!
The Recipe
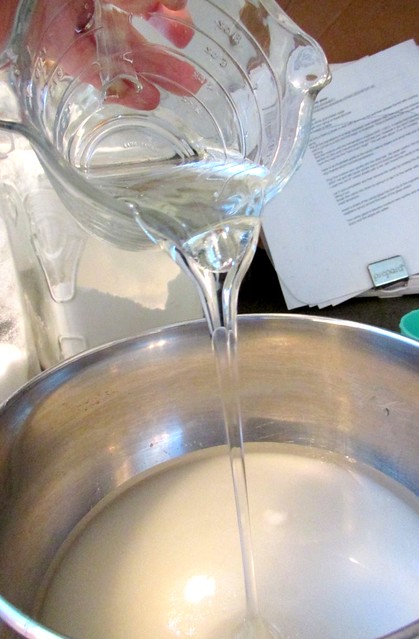
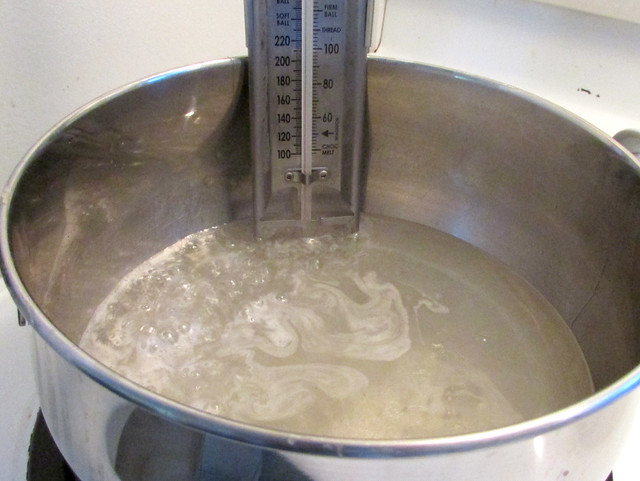
I had to divide the recipe in half because I did not have enough sugar but here is the original list of ingredients: 2 cups water, 3 1/2 cups white granulated sugar, 1 cup light corn syrup or liquid glucose and 1/4 tsp cream of tartar. Pour into a medium sauce pan and put over medium high heat.
ALWAYS make sure that when you make any kind of candy to have ice water nearby in case you get some on your skin. Also, it is a great way to test the sugar for what stage it is at. Make sure to cover 2 baking sheet in well-greased foil.
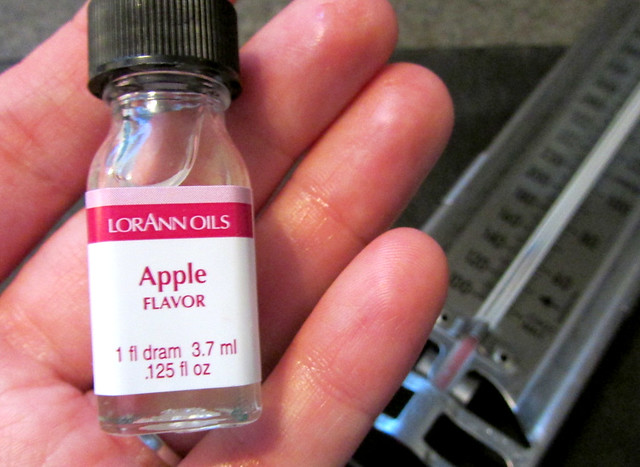
I got out my LorAnn Oil: Apple Flavor because I wanted it to taste like a candied apple.
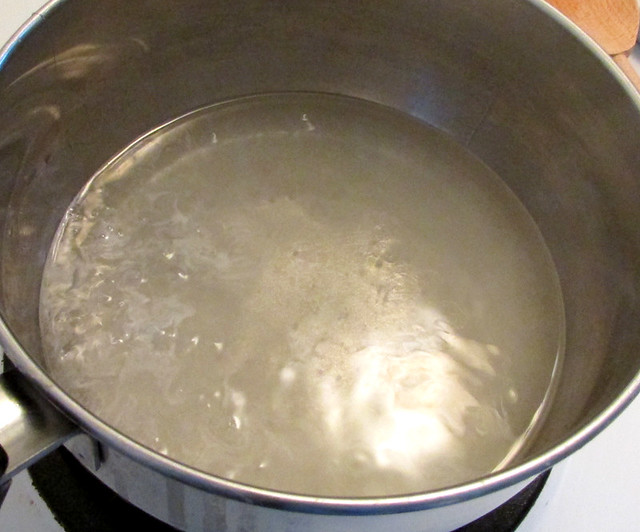
The key to making candy, I am learning, is patience. You want the pot to get hot enough to dissolve the sugar and bring everything together but not too quickly or else it will caramelize too fast and colour before you get it off the stove.
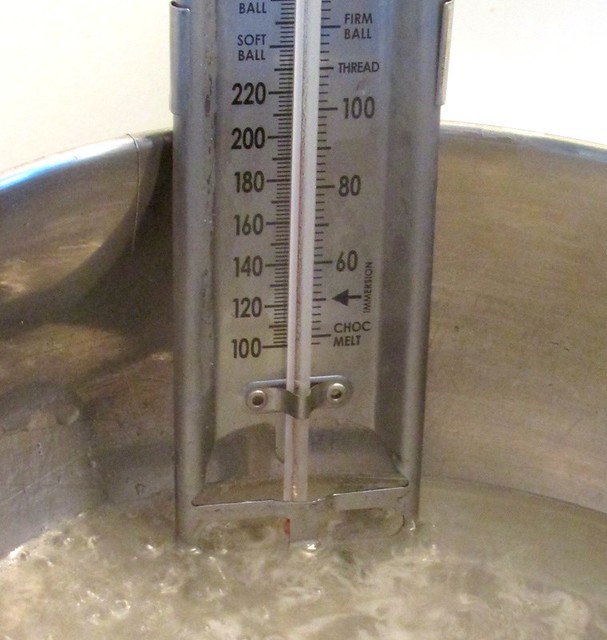
I attached my Taylor Candy Thermometer to the side of my pot as the mixture started to bubble. Then I realized that it was not down deep enough, damn it.
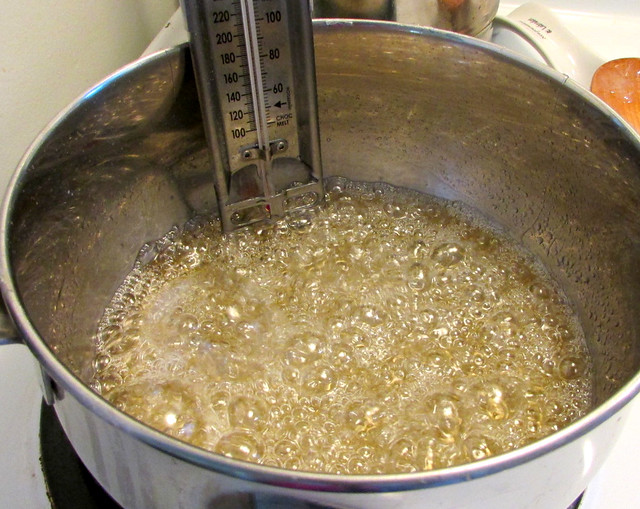
Plus, over time, the mixture would cook down. So? Every now and then I tipped the pot to check the real temperature. Nothing was going to stop me from doing this!
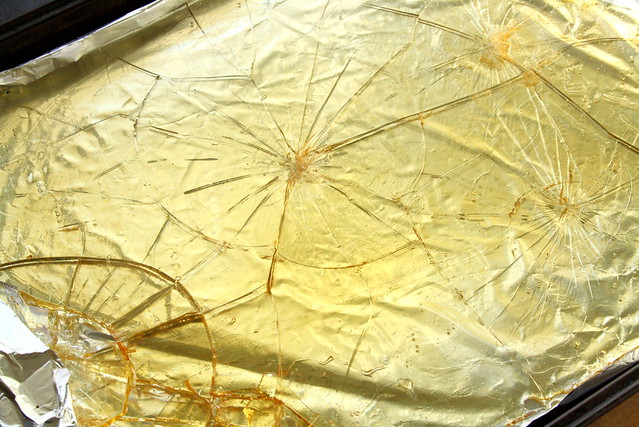
You want the mixture to reach 300F (150C) which is hard crack stage. I tipped the pot and sure enough the temperature started to skyrocket past 300F and the sugar was darkening. I quickly added my apple flavouring and carefully poured the sugar onto the foil-lined and greased baking sheets.
Yes, it coloured a bit but at least when I took a meat tenderizer to it after it cooled, it cracked. Perfectly!
Not only is it beautiful but it tasted just like candied apples. Perfect!
Foodie Inspiration
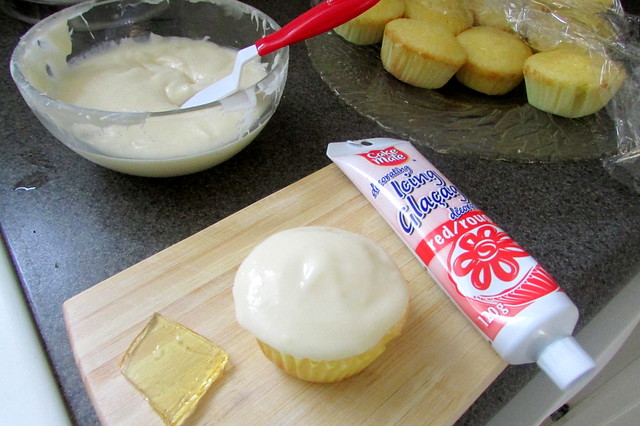
I made cupcakes and icing (recipes and product reviews to come) and bought what I thought was red gel icing.
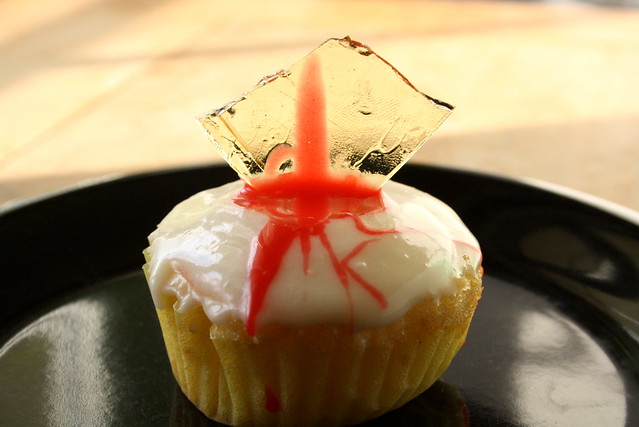
It wasn’t! It was regular icing and it looked horrible! I removed the icing from the offending cupcake.
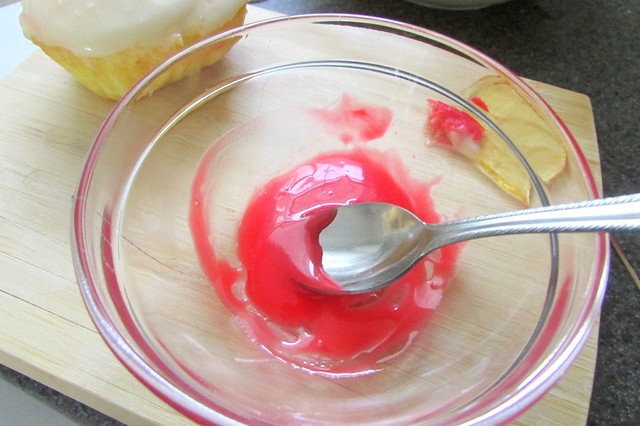
I put some of the icing into a little bowl and added some clear corn syrup. This made it much more drip-able and shiny. Much better!
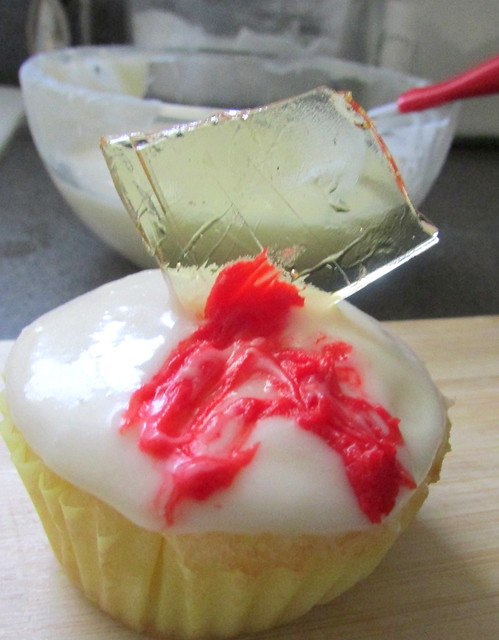
So I stabbed that cupcake with my own homemade bloody sugar candy glass shard!
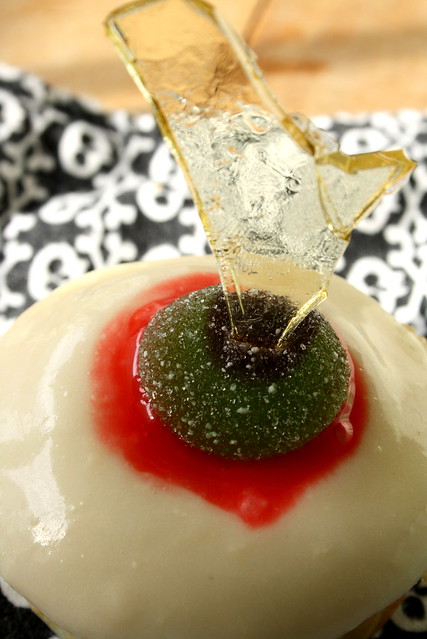
I bought some candy eyeballs from the store, put some of the icing underneath and jammed a shard into it on top of a cupcake. OMG, so gruesome, I giggled!
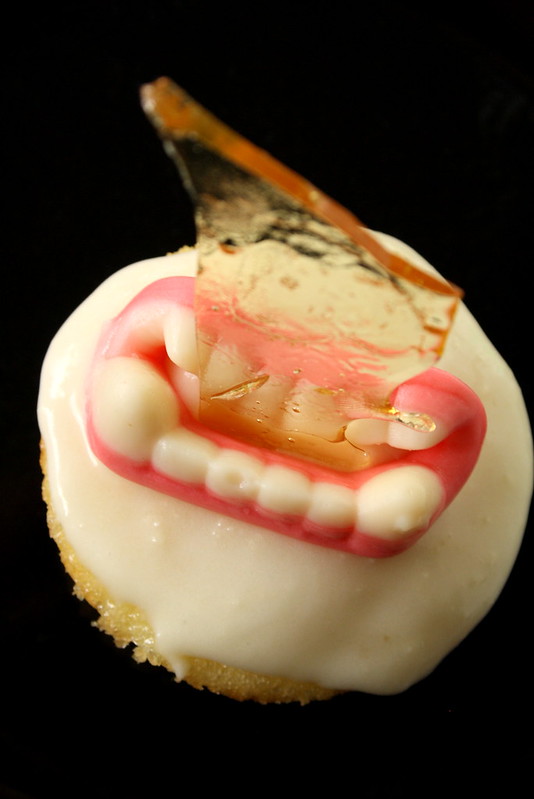
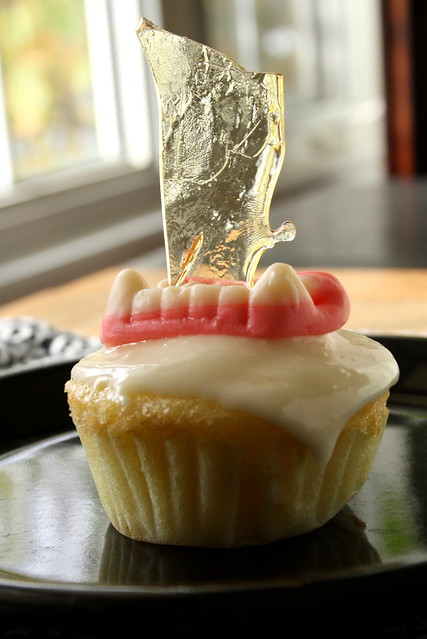
This was my personal favourite though. These are candied teeth I bought and while placing the shard down its mouth, LOL, I just loved how it looked! There is no end to what you can do with these sugar shards. Let your spooky Halloween imagination run wild!



It looks very gruesome!!!
Awesome Amelia, that was going I was going for. Thank you!
that is so cool! i’ll have to try that!
blessings
~*~
Thanks Laura! It was very cool and such a great learning experience. I finally did it right and got it off the heat before it got too dark. OK, well, it’s golden but still.
Wonderful! 🙂
This is a great post! So gruesome, well done.
Thank you Heather and Rana! 🙂 I do love gruesome, especially when it is delicious.
So cool Suzie!! I love sugar work, but have never tried it myself. (It scares me!) I’m always amazed how beautiful it can look. Your shards are awesome!!!