I have been really wanted to learn how to make candy. All different kinds of candy. It started before Christmas. I wanted to give homemade caramels as little treats and I wanted to make it old school style.
The Tools & Preparation
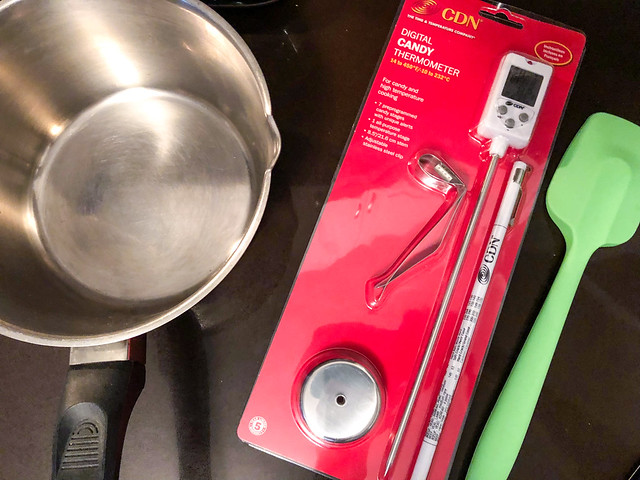
For this recipe I did want to use a digital candy maker thermometer which I bought as a Christmas gift to myself. It was absolutely worth it.

I have various thermometers but this one was so easy to use!!! I could actually set it for making caramel! Although it has preset temperatures and not the ones I wanted but still, it really helped.
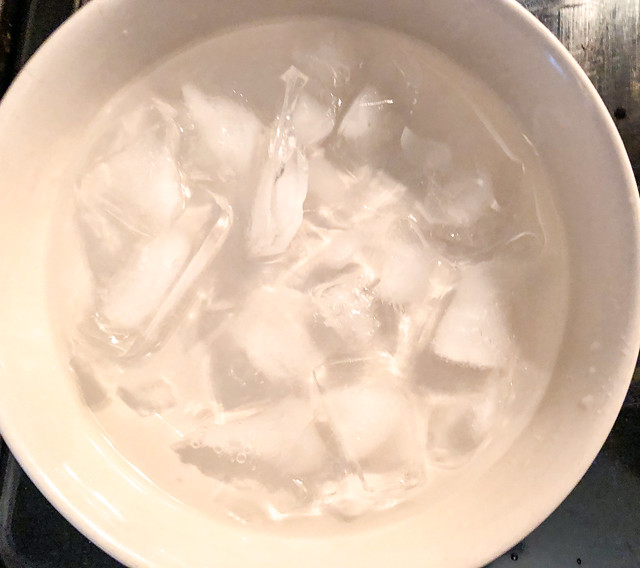
Candy making often requires extremely high temperatures and sticky substances so always make sure you have some ice water nearby. Safety first!
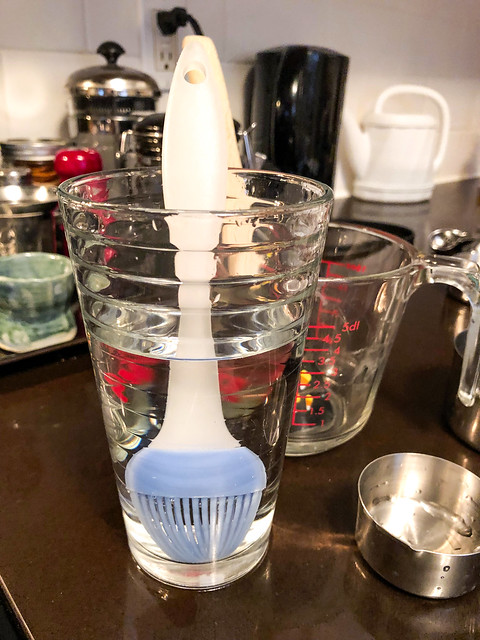
You do not want to brush the sides of the pot with water to prevent crystalization from forming too often but have that water and brush ready. Once you start making candy, you do not want to leave the pot’s side.
The Recipe & Tutorial
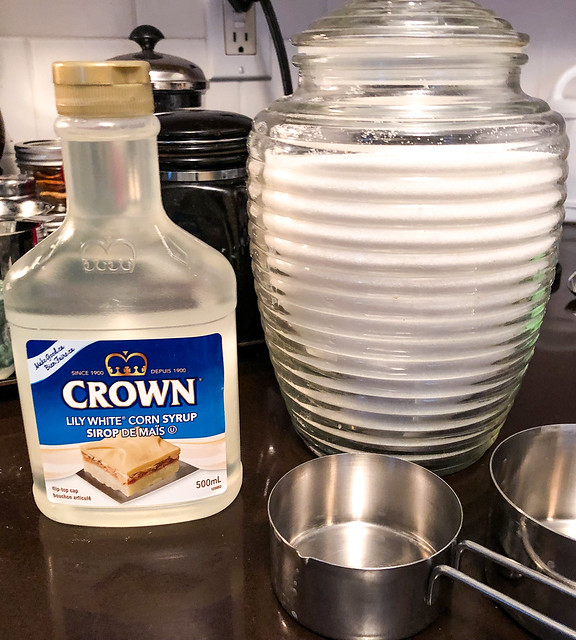
FYI this recipe calls for white corn syrup, not golden corn syrup. Make sure you have the right kind!
For this recipe you will need: Nonstick cooking spray (I used butter flavoured Pam), 1/2 cup light corn syrup, 1/4 cup water, 2 cups sugar, 1 1/2 cups heavy cream, 1 1/2 cups unsalted cubed butter, 1 tsp sea salt and 1 tsp vanilla extract.

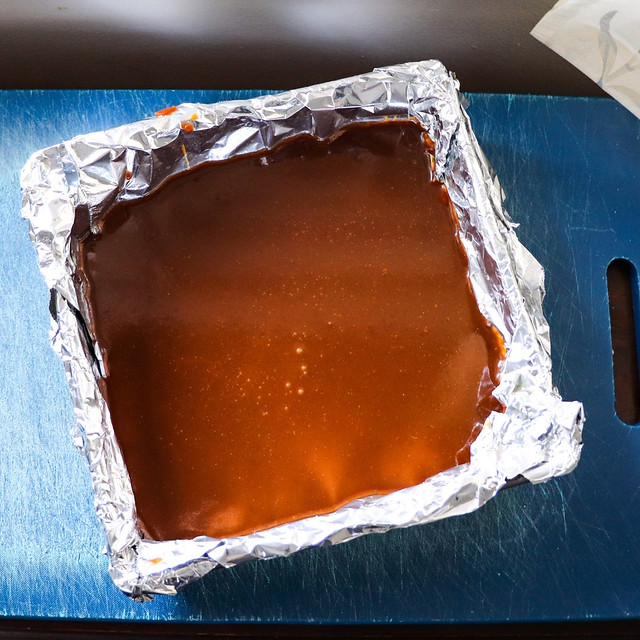
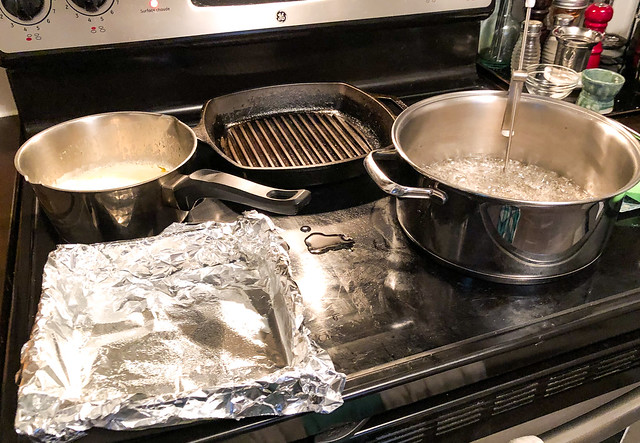
First line an 8″ x 8″ pan with parchment paper and spray with cooking spray. You will notice I used aluminum foil like the original recipe says but it was a disaster. Trust me, use parchment paper.
Combine cream, butter and salt in medium pan and bring to a simmer over medium heat. Remove from heat and set aside.
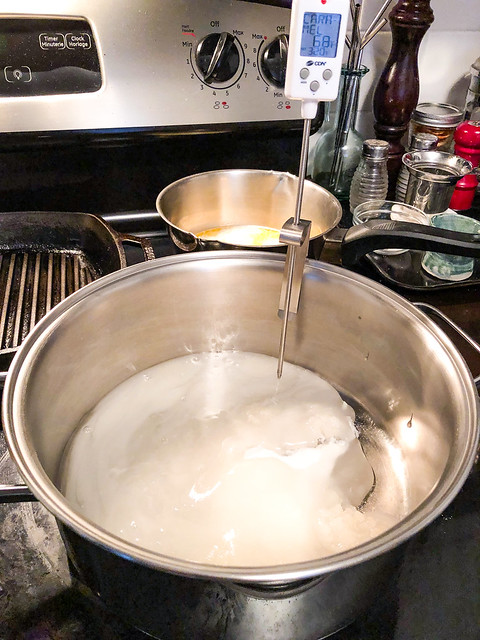
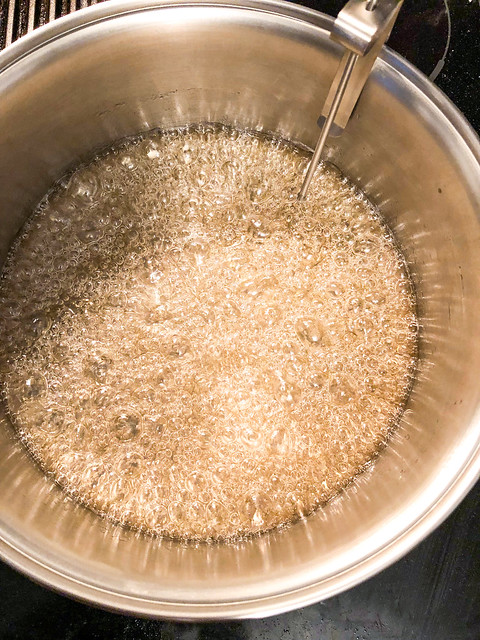
In a large pan combine 1/4 water water, corn syrup and sugar. Put over medium heat and stir while sugar dissolves.
Brush down sides occasionally with wet pastry brush to remove crystals.
Once it starts to boil stop stirring and insert candy thermometer.
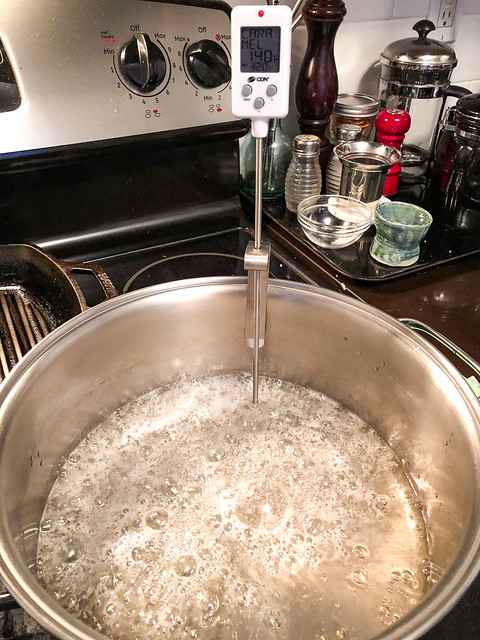
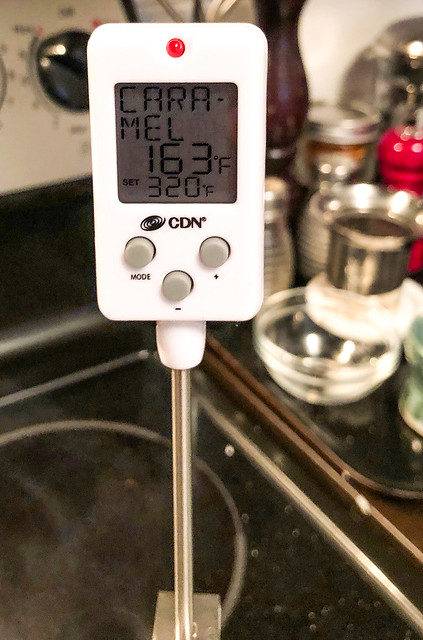
Allow sugar to cook until it is medium amber and registers 330F.
Here you can see it turning golden.
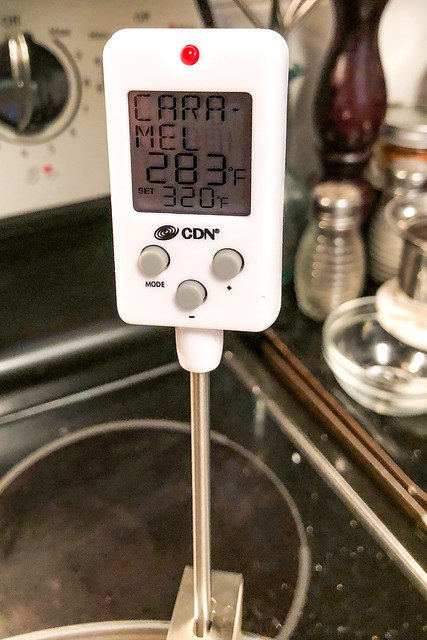
This part takes a while but when it starts getting hotter it can shoot right past the 330F which is what happened to me so keep an eye on it and work fast.
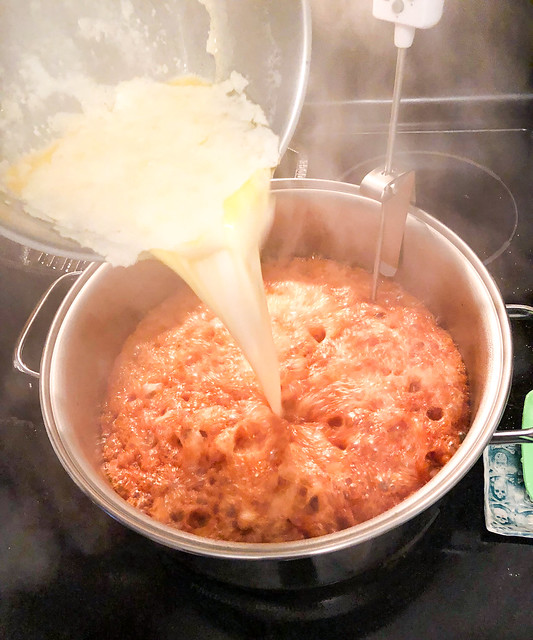
When caramel has reached 330F carefully add the hot cream to the pan and watch out for the molten lava boiling action that will occur!

Stir cream and caramel together and heat until it registers 248F. This will give you a soft caramel.
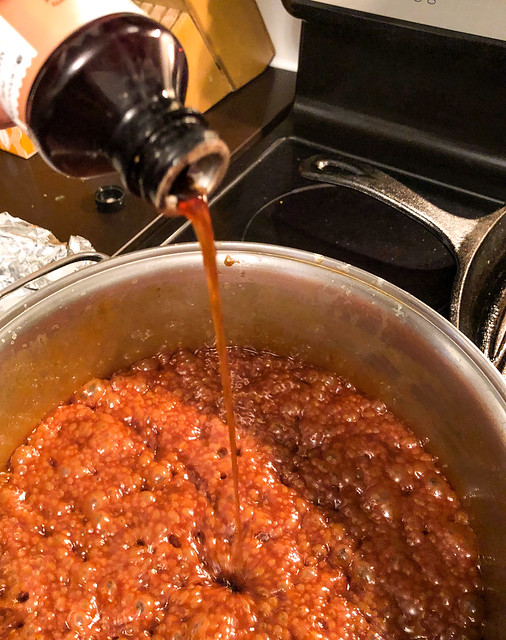
Remove from heat and stir in vanilla extract.
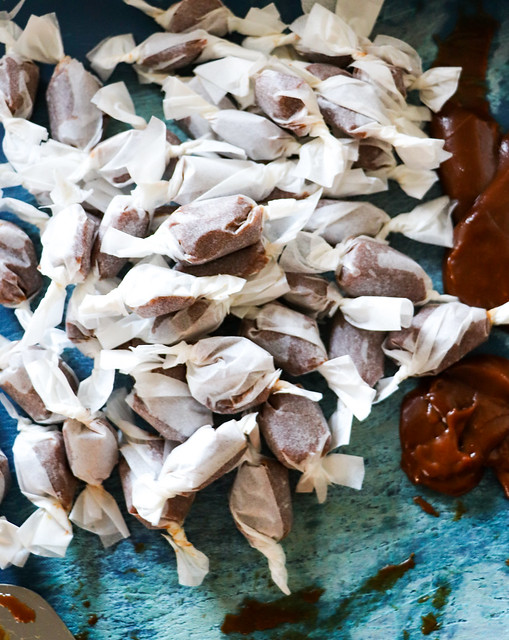
Please note: because I was taking photos the caramel went hotter than I wanted to so it got darker than it should have! Oh the woes of food photography. Make sure yours is not this dark!
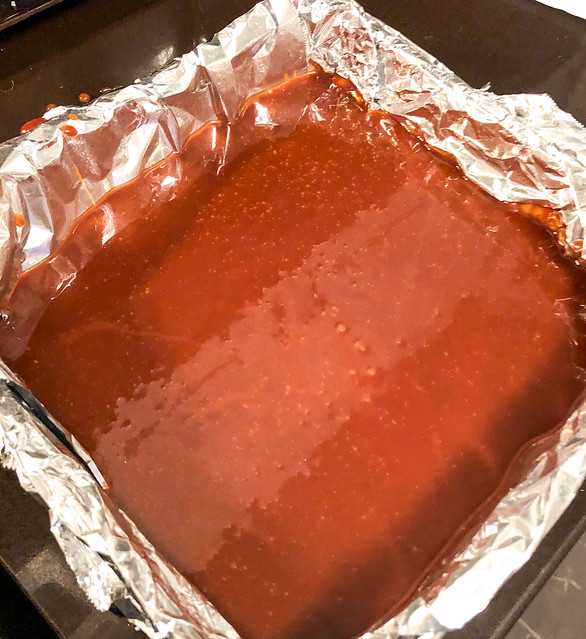
Pour into the parchment-lined pan and let sit 4 to 6 hours until set.
The Foodie Results
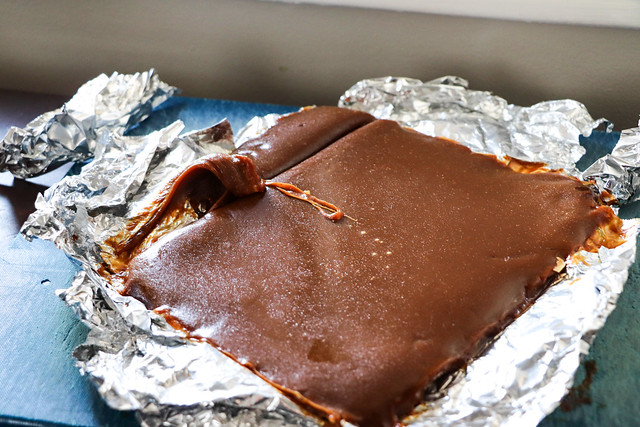
It is at this point you are supposed to be able to remove the caramel and slice into pieces. Ugh, nope. The aluminum foil just tore
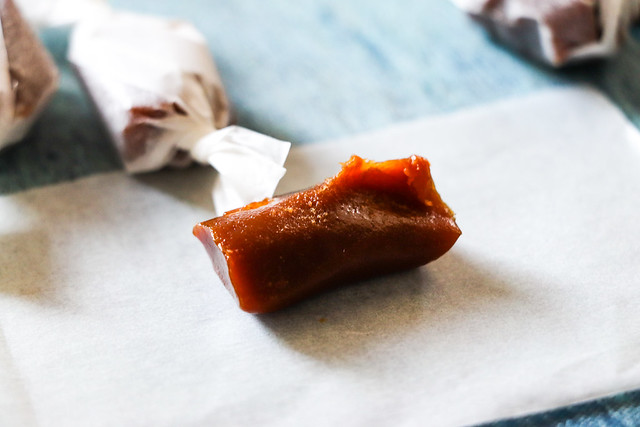
Cut into small pieces and wrap in parchment paper.
Caramels can be stored in an airtight container at room temperature for up to three weeks.
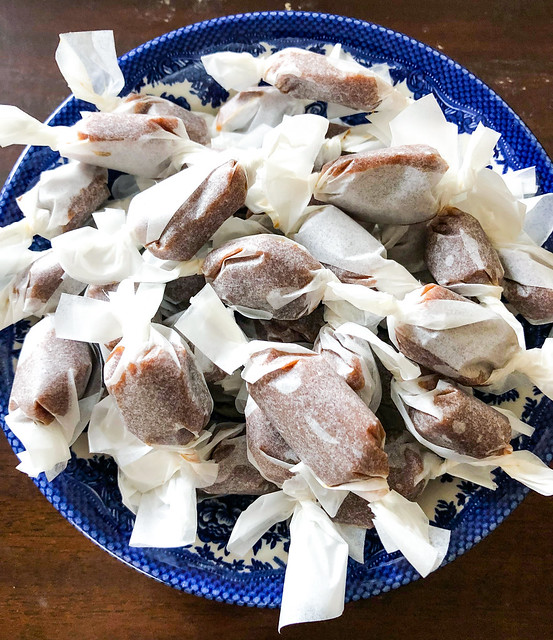
My first batch that I photographed for this post did get a little too brown because I was so busy taking photos. I made them for friends without taking photos and paying strict attention to the temperatures and colour of the candy and they turned out perfectly. Everyone loved their chewy and soft texture and this recipe makes a lot of treats.
I know candy is out of foodie fashion these days. Everyone is so focused on vegan sugarless this and that but for me, if you are going to have a treat there is nothing more special than something made with love and attention. This is a ritual of time, attention, love and patience. I am so ecstatic I not only learned how to make old school caramel but nailed it on the second try.


Caramel has always been one of my favourite flavours of candy. Yours looks delicious! Love the molten lava boiling action, LOL!
Mine too Debra! That is one of the reasons why I wanted to make it the old school way. Isn’t that crazy? You seriously need to be a badass to make candy. It is dangerous and awesome!
We usually used wax paper when we did candy making (parchment wasn’t an available thing back then and it works fine), but if you only have foil, I’ve found it’s best to butter it instead of using spray. The liquid doesn’t apply thoroughly enough and it settles while you’re busy making the candy. I’ve even had this problem with baking pans. Smoothing the butter on allows you to also flatten the little creases out of the foil, so there’s fewer ridges to get stuck. And more butter’s never bad:-) When it’s set, you can chill the pan briefly, then turn out the entire pan upside down onto a greased (or clingfilmed) cutting board and peel the entire piece of foil off. Then cut. When we did Christmas baking, we used foil in all our pans too because we didn’t have enough pans for all the recipes. Leave enough overhang so you can just pop the whole piece out of the pan and wrap it in the foil. 🙂
Yes JC, wax paper is a good alternative! Probably cheaper too. Oh good to know about the butter, it is always better, isn’t it? Good point, thank you! Oh chilling it is smart for cutting! Thank you so much for your advice, I really appreciate it!