Suzie The Foodie

Food Writer, Photographer and Product Reviewer

Follow Suzie the Foodie

Facebooktwitterpinterestinstagramby feather
  • Home
  • Contact
  • Recipes
  • Product Reviews
  • Older Posts
  • Instant Pot
You are here: Home / bread / Back to Basics: Homemade Bread by Hand!

Back to Basics: Homemade Bread by Hand!

January 18, 2010 by Suzie the Foodie 11 Comments

Back to Basics: Homemade Bread by Hand!

This was a huge challenge for me to do. Number one: I have sensitive hands because of my fibromyalgia and they get hurt very easily. Number two: I have been so down and depressed lately that I can barely get off my couch let alone bake or cook. Number three: I usually avoid baking when sad and depressed. The results? Yup, I totally screwed up the recipe quite a few times and yet, this bread rocks!

My friend Kelly told me about The All New Purity Cook Book which is a Canadian classic and apparently it has been re-printed and I got it for Christmas from my sister Jamie and my Dad, LOL. Nice choice! I totally love it, especially since they use all their old photographs to demonstrate how to make their recipes, that is right up my alley. I started with recipe #1: White Bread. Now I did not want to make four loaves so I cut the recipe in half and on a good day that would be no big deal but, well, I kind of screwed up. I am getting ahead of myself though!

Melting the butter

Scald one cup of milk on the stove. Apparently what that means is to heat milk just before its boiling point so there are little bubbles around the edges and steam is rising. In a large bowl put in 2 tbsp of sugar, 2 tsp of salt, 2 tbsp of butter and 1/2 cup of water. Add the hot milk and stir until the butter has melted. The recipe calls for shortening but I choose butter instead.

In a small cup dissolve 1 tsp of sugar in 1/2 cup of lukewarm water, which means it is just a little warmer than body temperature. Then add 1 package of yeast which is about 2 tsp. Let stand for 10 minutes.

Adding Yeast

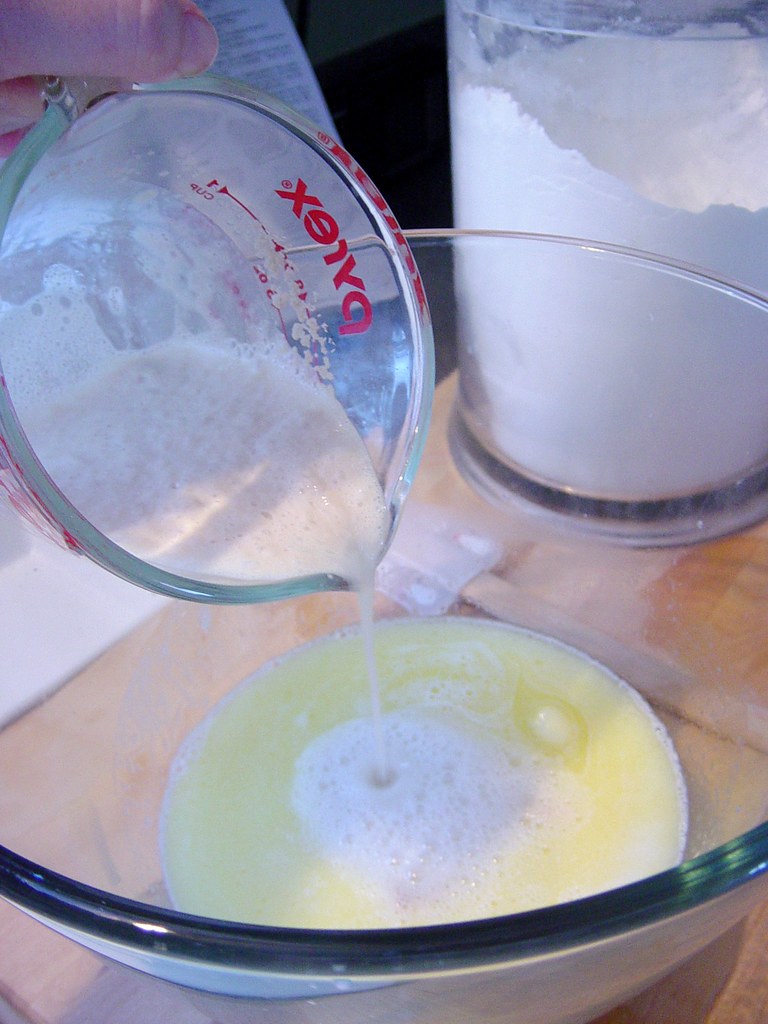
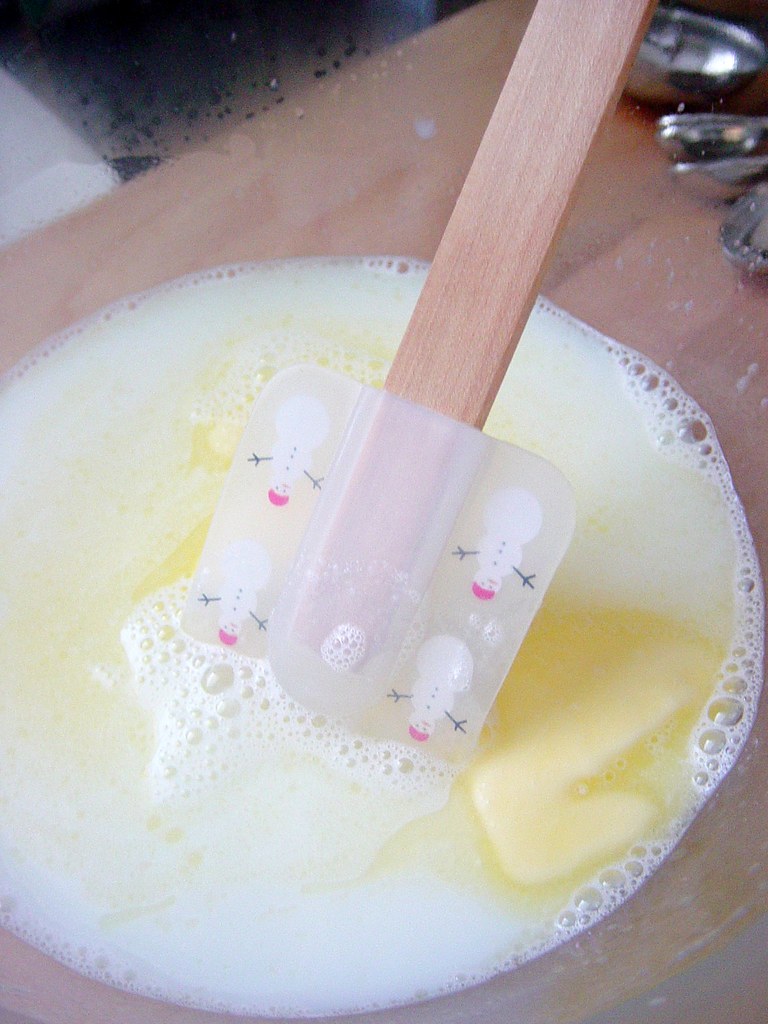
You want your yeast to be bubbly and frothy after it sits. If it is not like that, then do the yeast procedure all over again! If you do not you are going to waste lots of time and ingredients for nothing. The yeast must be active at this point. Stir it in to the other wet ingredients.

Adding Flour

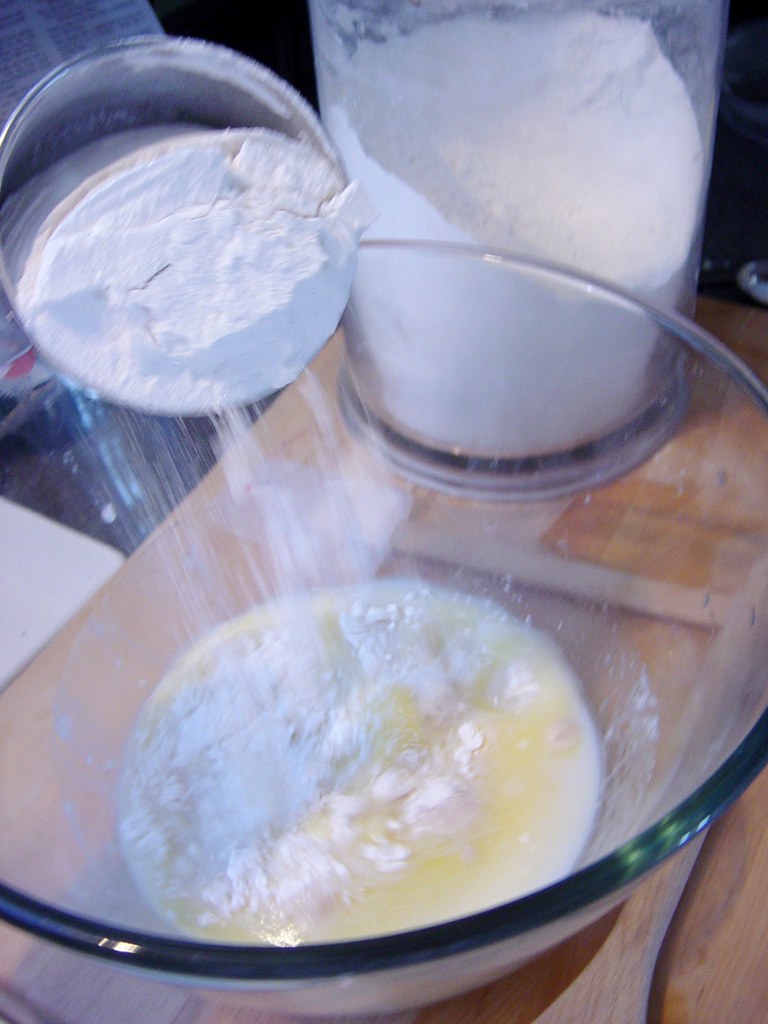
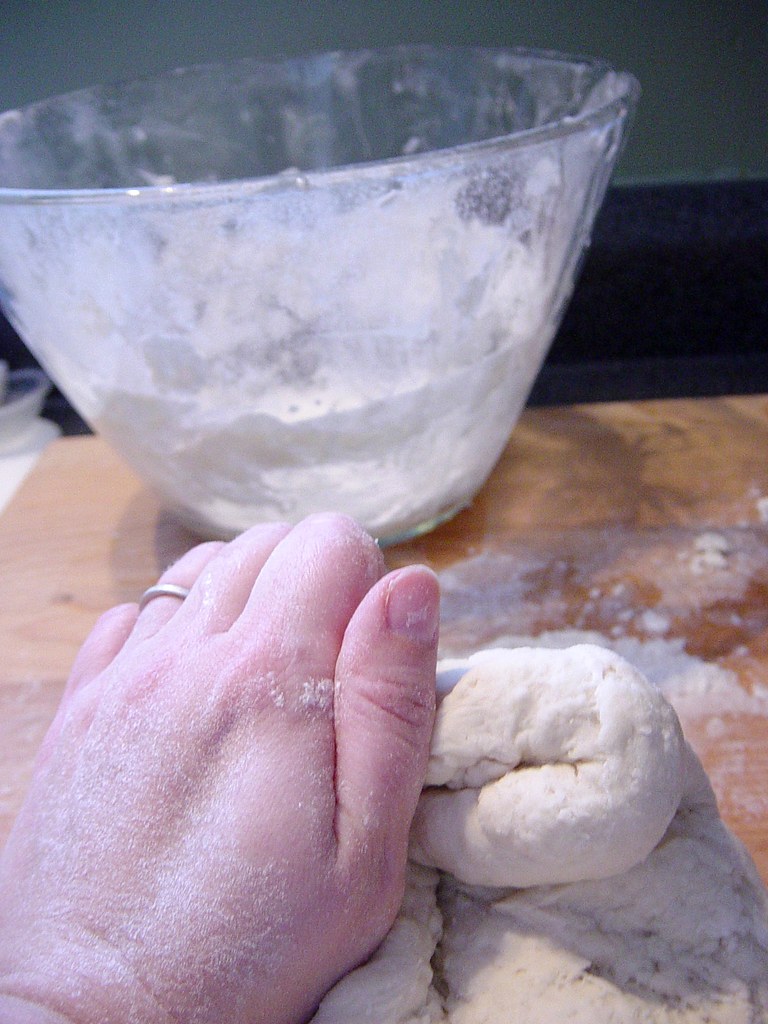
This is where I was supposed to add 2 1/2 cups of flour and stir it into the wet ingredients. Then add 2 1/2 more cups of flour.

Too much flour

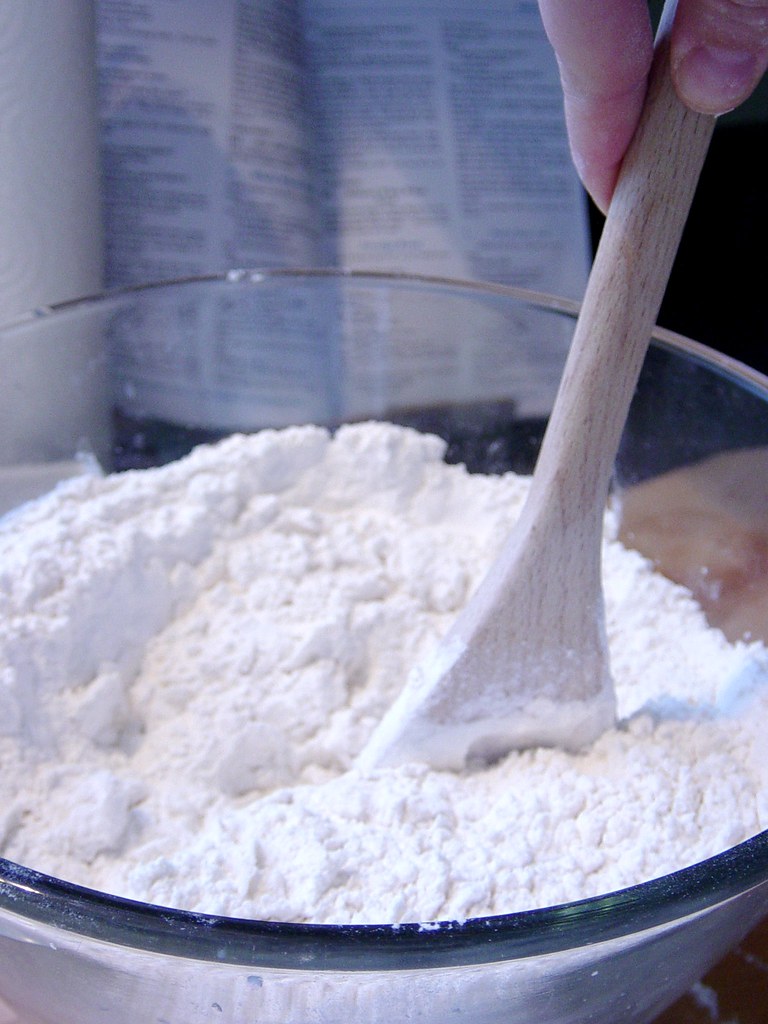
Ummm…yeah, this is where I screwed up. I misread the directions and dumped in the entire five cups at once instead of adding the rest of the flour gradually! OK, I thought it was over at this point but I did not give up. I managed to stir and bring the dough together, albeit a rough, dry and tough.

Kneading the Dough

Oh my god, my poor hands. Kneading that dough was brutal! And entirely my fault. I did it though. I turned on CBC, put the timer on for eight minutes and I kneaded my heart out. At this point it was late afternoon and I was supposed to let the ball of dough rise for 1 1/2 hours. No problem, I put the dough in a greased bowl and into the microwave with a warm cup of water so it would have a nice snug and warm place to rise.

I decided to take a nap. I was exhausted and hurting. Next thing I knew it was close to dinner time and my hands were throbbing! I got back in the kitchen, cut the dough in half and let it rise for 15 minutes. No problem. Then I saw that you were supposed to put the dough in greased pans, grease the tops and let rise for 1 1/4 hours! OK, I think to myself. I can not do that and have time to bake these to go with dinner. Instead I followed a suggestion my dear online friend Tori recommended to me: nuke the dough for six seconds to cut the rising time in half. It seemed to help because they did rise a little after I nuked the dough and put it in bread tins and left them alone for half an hour:

Let rise in pans

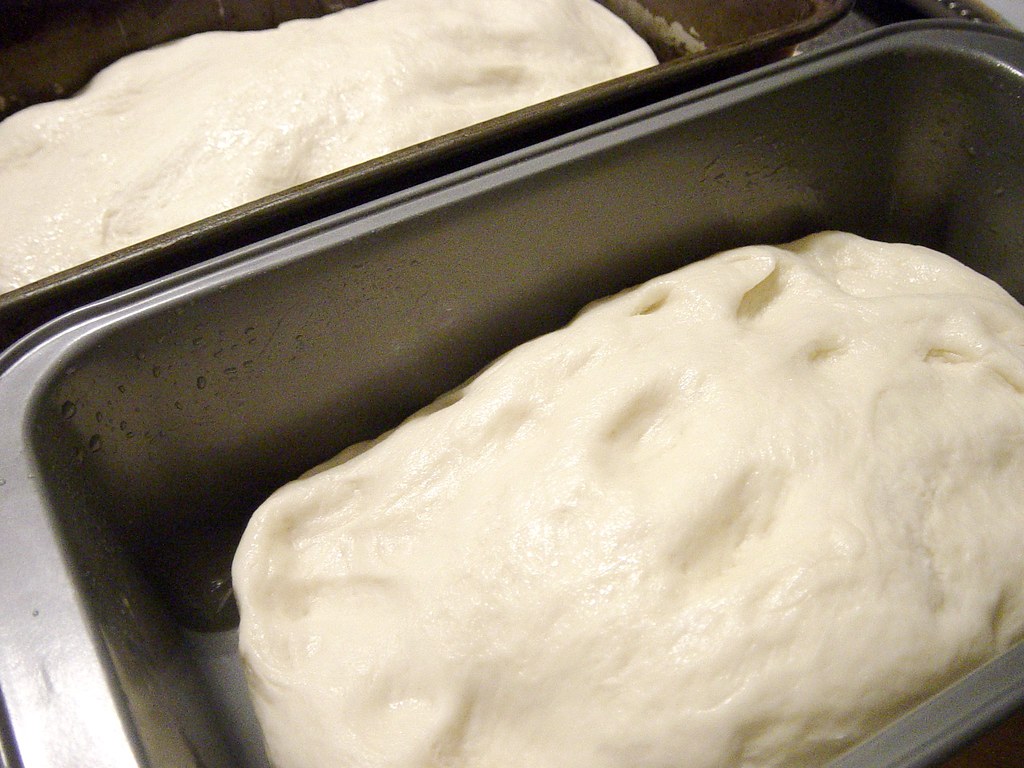
OK, not super risen, I realized at this point, but better than before. Time was running out, it was getting late and we were starving. I put them in the preheated 425F oven and baked for 30 minutes:

Bread hot out of the oven

I actually took them out a little earlier than recommended because I could smell the dough and they were smaller in size than they should have been thus taking less time to bake.
 
It is so funny that I can screw up recipes so badly and the food is still amazing. My husband grew up in a house of bakers and is very finicky about bread and he could not stop eating mine. He loved it so much. Yes, it was denser than it should have been but it did not matter, it tasted like real bread to him. I must admit, normally I forego eating the crust of bread but not this time, it tasted nutty and delicious! We even had this bread as French toast and it was divine.
 
The moral of this long and kind of crazy bread-making story? Do not give up. Yes, we all screw up in the kitchen but do not get discouraged and keep trying. I could have easily just dumped that hard dough in the compost but I did not do that, I kept it, worked with it, screwed it up a little more by not giving it enough time to rise and it was still delicious.
Print Friendly, PDF & Email
Share

Filed Under: back to basics, baking, bread Tagged With: back to basics, baking, bread, Suzie the Foodie, tutorial

Comments

  1. AvaDJ says

    January 18, 2010 at 2:52 pm

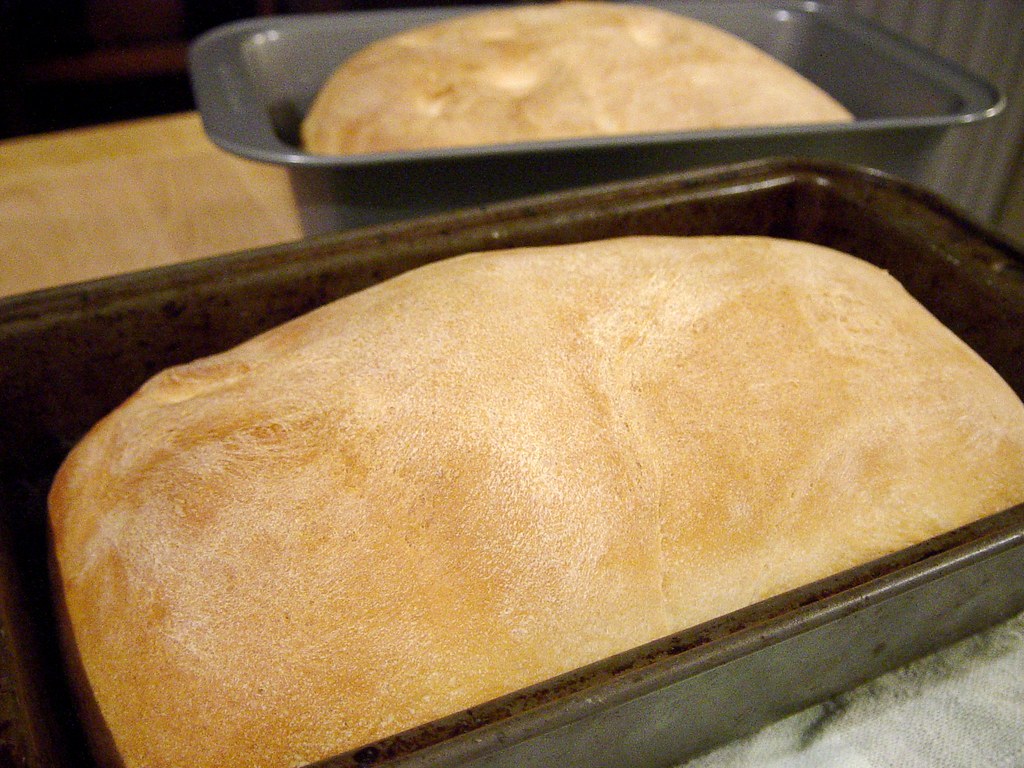
    Way to go Suzie, nothing like fresh baked bread (with butter?) YUM. I tried making my own pizza dough one time, what a disaster. It ended up out the back door in the yard. I had to go out and scoop it up after, I didn’t want to be responsible for killing the neighbourhood raccoons! LOL.
    Ava

    Reply
  2. Suzie Ridler says

    January 18, 2010 at 3:02 pm

    Ava, oh that is so frustrating! I have dumped many a recipe in the garbage too. It can be so frustrating. Oh no! Yes, I agree, killing raccoons with bloated pizza dough bellies would not be good but I can commiserate with your frustration.

    Reply
  3. Debra She Who Seeks says

    January 18, 2010 at 4:29 pm

    A great story of triumph over adversity!

    Reply
  4. AvaDJ says

    January 18, 2010 at 7:25 pm

    It’s good to see Suzie’s kitchen is up and running again. There’s alot of us who missed you! Feel better soon.
    Ava

    Reply
  5. softmechanic says

    January 18, 2010 at 8:53 pm

    Loved this post! You are one tenacious baker Suzie!

    Reply
  6. Janice says

    January 18, 2010 at 10:13 pm

    cool!

    Reply
  7. Simply Yummy Goodness says

    January 20, 2010 at 2:01 pm

    Congrats on the top 9. I was so thrilled to see that you made this bread by hand and had success. I made a loaf of bread this weekend as well, except for my loaf could break windows. Good work!

    Reply
  8. Chow Down Seattle says

    January 20, 2010 at 4:47 pm

    Great post! I love homemade bread. I’m going to try out this recipe, thanks!

    Reply
  9. mickimotomama says

    January 20, 2010 at 10:27 pm

    Congrats on your wonderful bread and Top 9 honors! Sounds like your husband knew it was a winner immediately. Thanks for your encouragement to the bread-maker in all of us.

    Reply
  10. Danielle says

    January 21, 2010 at 5:40 am

    nothing beats homemade bread….and yours looks wonderful! Have you ever tried any of the no-knead bread? Its a bit more rustic and soooo easy

    Reply
  11. Jeannie says

    January 21, 2010 at 5:52 am

    Hi, you have a lovely blog. And that loaf of bread looks delicious. I really salute you for making it by hand. Congrats!

    Reply

Leave a Reply Cancel reply

Your email address will not be published. Required fields are marked *

Product Review: President’s Choice Ascolana Fried Olives Stuffed with Cheese

Product Review: President’s Choice Ascolana Fried Olives Stuffed with Cheese

Sweet! First 2022 Holiday President's Choice Insider's Report product review is up! Olives and cheese? Yes please!

Search Suzie the Foodie

I Am Alive!

I Am Alive!

It has been over a decade and my time as Suzie The Foodie is over! Thanks for all the love and support and remember, do not NOT feed the trolls. ~ Suzie The Foodie

Save $25 On A Magical Butter Kit!

Save $25 On A Magical Butter Kit!

Not only can you save $25 on a Magical Butter Kit with this coupon you help support me and my site when you purchase one!

Want a big discount on your purchase? Use the coupon code "SUZIE” when you check out!

Instant Pot Spicy Peanut Soup with Sweet Potato And Kale

Instant Pot Spicy Peanut Soup with Sweet Potato And Kale

Super fast and delicious soup made in the Instant Pot and saved my bacon!

My WordPress Guru

Special thanks to my WordPress Guru and long-time friend Mike D. Without your help, this website would not have been possible.

Copyright © 2023 · Metro Pro Theme on Genesis Framework · WordPress · Log in