I always wondered if homemade pita bread would be better than the dried-out stuff you get at the grocery store. The only problem? To make a real-deal pita you need a baking stone. I do not have one so this is more a Greek-pita fakeout but the dough recipes comes from the cookbook The Bread Bible by Beth Hensperger published by Chronicle Books.
The ability to be flexible in the kitchen is one of the best tools you can have and comes with experience. Wish I could be that way outside the kitchen!
Note that I am using my mixer named Rebel again! She is back from the shop and there is quite a story to be told… soon!
You begin with sprinkling 1 tbsp of yeast into a measuring cup containing 1/2 cup of warm water (105-115F) and a pinch of sugar. Let sit for ten minutes. In the meantime, combine 2 cups of warm water, 1/4 olive oil, 1 tbsp salt and 3 cups whole wheat pastry flour. I did not have whole wheat pastry flour so I just used regular whole wheat flour.
Beat hard until creamy for about a minute. For this stage of the dough-making, use a paddle attachment on your mixer.
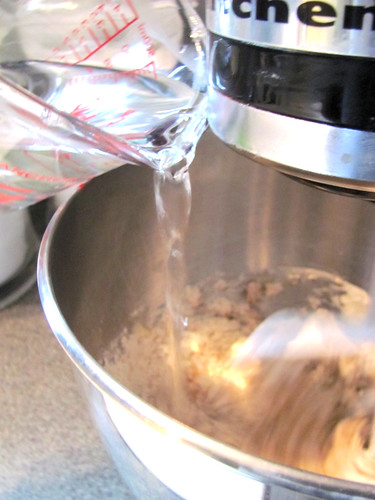
Now when I made the same cookbook’s Morning Mexican Buns and Rosemary Raisin Bread the doughs were way too moist and I must admit, that kind of screwed me up for this recipe. I had a hard time following it to a T since I did not have complete confidence in the recipe. As a result, I did not pour in all two cups of warm water. This looked creamy enough to me so I put it aside.
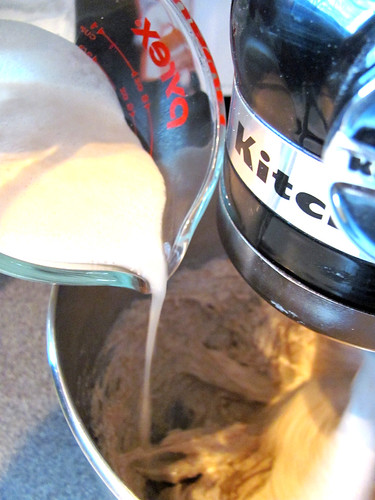
Add in the yeast mixture.
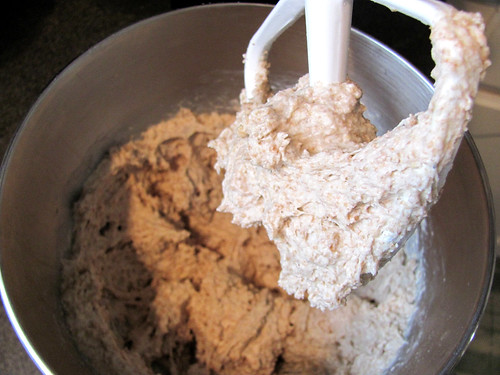
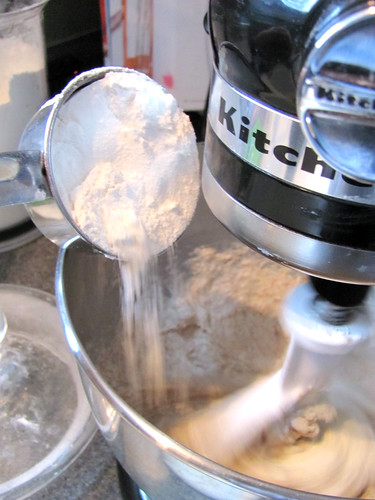
Add three cups of all purpose flour, half a cup at a time. As I was adding the flour I noticed that the dough was kind of looking dry… damn it! Fine… I added the warm water until it looked more… normal.
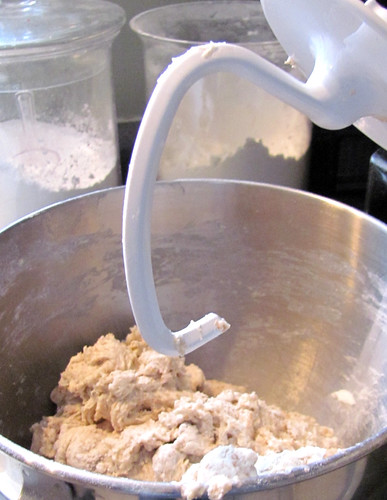
The dough is supposed to be soft and shaggy and clearing the sides of the bowl. I switched to the dough hook for the kneading process. Knead for two to three minutes.
Take my advice though, do not knead on a high setting or the bowl might get wedged on and you will risk injuring your shoulders trying to get it off.
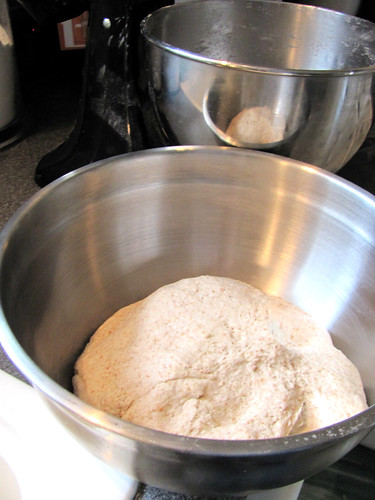
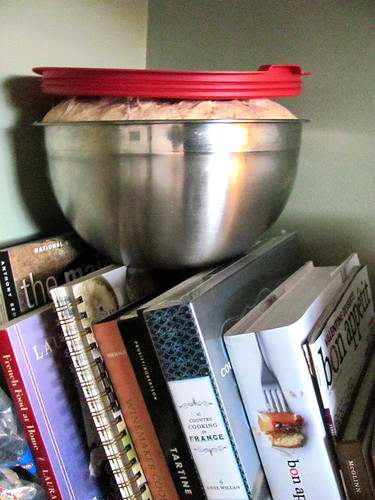
Transfer to a lightly greased bowl, make sure to flip the dough so it is also covered a little in oil. Cover with plastic wrap and let rise at room temperature about an hour to an hour and a half. I usually use this salad bowl with plastic lid for my dough-making…
Oops! That is the first time that has happened to me! Too funny, LOL.
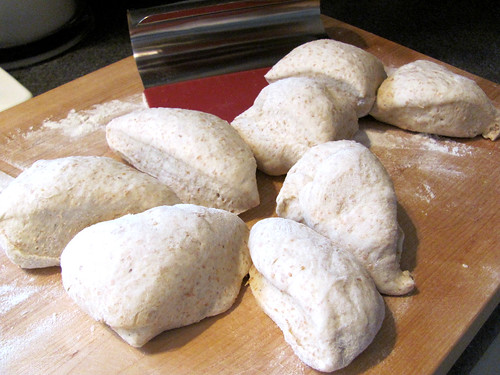
Divide dough in half. I covered one half with plastic wrap, put in a large Ziploc bag and then put in the fridge to make later. Divide remaining dough into eight pieces.
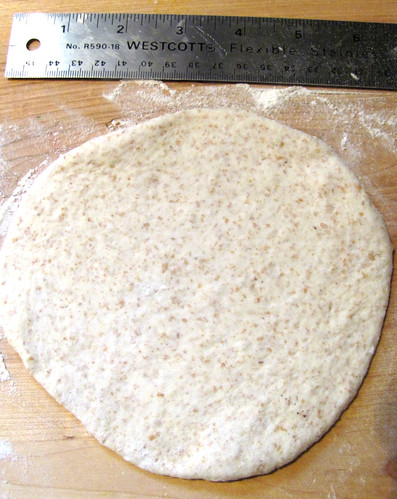
Shape into a ball and then roll out into a 6″ circle. You are supposed to let rise for 15 minutes but I did not. I cooked them right away. I was hungry!
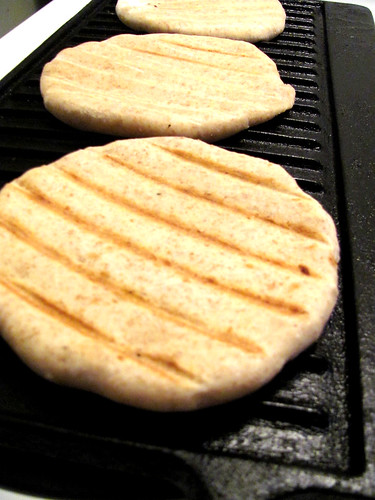
I use a heavy duty reversible cast iron grill pan that has been heating on medium high heat to cook the dough. For smaller bread like this, it will take about three to four minutes per side to cook through.
You could always use a frying pan to cook the dough or use your baking stone. According to the cookbook you need to put the baking stone in a preheated 475F oven on the bottom rack. Flick the pitas onto the baking stone, close oven door and let bake for four minutes. Do not open the oven door. “Bake eight to ten minutes.” Huh? On top of the four minutes or altogether? Man, I hate vague instructions. I prefer my method!
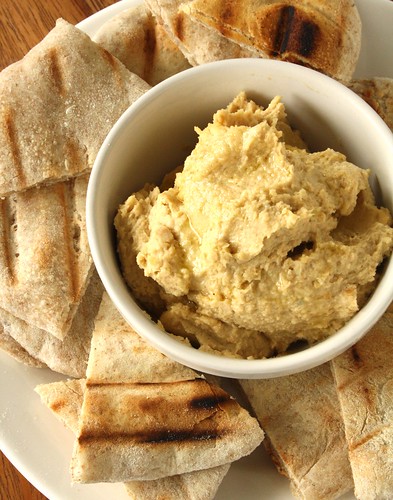
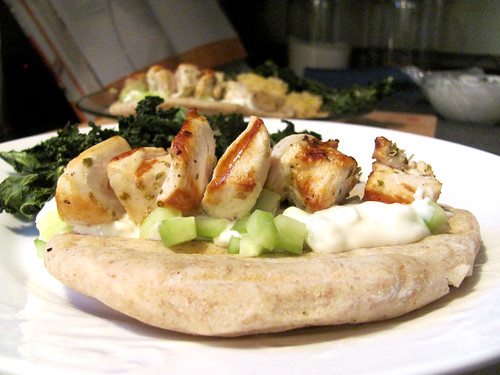
I used these pita to make my donair-style chicken souvlaki, as well as for dipping into my favourite hummus of all time. They were perfect! No, you couldn’t use them as a pita pocket but that was not why I made them. Despite being whole wheat, they were so much softer and more tender than the pitas from the grocery store. Not to mention healthier and soooooo much cheaper!
Instead of making a large batch of pitas I kept the dough in the fridge and have made them as I needed them. That way they are always soft and hot off the grill, just the way I like them. Totally worth the effort and this recipe makes a ton of pita for very little money!
I give this recipe four and a half out of five wooden spoons.
[yumprint-recipe id=’92’]


Awesome! I have pita on my schedule for the weekend, believe it or not! I’ve been making falafel regularly, and the pita we can find here isn’t very good (and we have to make a special trip to another store for it…) I have a recipe that I got from our chef at the culinary center, but I really like your grill pan idea – I’m going to try that!! Yay! Glad yours were a success – gives me a boost for mine! 🙂
Yum, Suzie they look great! So does that souvlaki. Is it lunch time yet?
Hungry!
Just GREAT!!!!
I am going to try those next week! My kid LOVES pita and tzatziki and I hate throwing out stale pita. If i can make him a fresh pita every day I would be so happy. Do you think this dough would freeze well? I would love to able to freeze the dough in one serving balls
Tammy, I can’t get over the time, how bizarre. Now you can totally have everything homemade when you make falafel. I gave up on pitas in stores. They’re like $1 each and they dry out so fast.
Shelagh, hope you had a good luck! 🙂
Linda, thanks so much!
Mamashack, we had these with homemade tzatziki too and both were a huge hit. I would freeze the dough in batches so you can make it fresh every day. I froze the first half of my dough and it defrostred just fine. One serving balls would be a great idea, wish I had done that!
Oh my sad, frozen, store bought pita bread so pales in comparison to your, soft, warm and tasty ones. Suzie these look truly amazing! You totally have the bread making skills, and that hummus looks to die for.
Love that reversible grill. Do you just use it on your burners stove top? I saw them at Costco and thought it looked pretty cool, but quite heavy.
LOL, sorry about that Ava! You gotta try that hummus too. So easy and the best I have ever had.
I got that reversible grill at the Superstore years ago. It does go over two of my burners but I will admit that thanks to the heaviness and my clumsiness that I have damaged the top of my stovetop as a result, dinged the tile on the floor and hurt my knuckles. Yeah, I’m a bit of a mess that way. They’re crazy heavy and need to be seasoned which set off my fire detector continuously for hours. Still, I love it. Totally worth it despite the accidental drama. I use it for everything and it only cost me $10.
I have 2 baking stones so I should really try. You did so well. With the chicken it looks so good.
The perfect snack! Oh my…this makes me feel like I should be spending more time in the kitchen! 🙂
This would be the perfect way to try out those baking stones Helene!
Charissa, I hope you do get more time in the kitchen, food is so much fun. And yes, this was a great snack!
I need to get a cast iron grill pan…these look fantastic!