
These are are super easy to make, if you have the ingredients. Which are not unusual but considering I tried to make them three times before I had everything I needed… it shows just how rarely I am getting to the store these days.
The recipe comes from the lovely Glo McNeill‘s new cookbook Cooking with Glo: The Cookbook for People Who Believe Kitchens are for Everybody. At the top of the page of this recipe Glo writes, “These are quite addictive. I know there are many nice crispy recipes around, but I have never met one like this.”
Of course I had to make them after reading that!
The Recipe

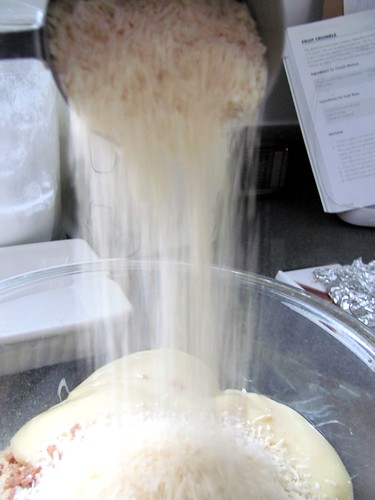
Place 5 cups of rice crispies in a food processor. My box says they are The Original Special K but they look like rice crispies to me.
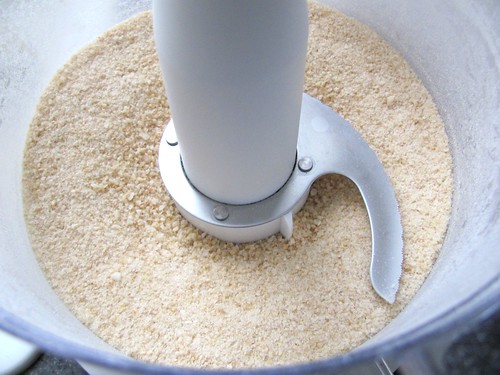
I ground mine quite fine.
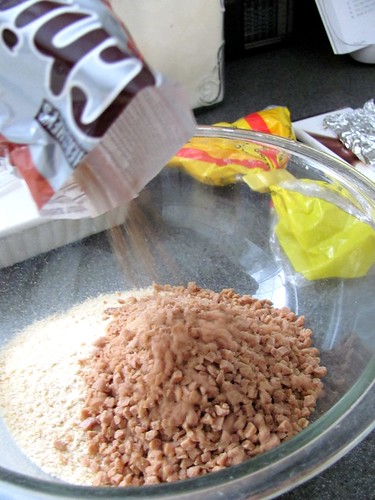
Put them in a large bowl and add a bag of caramel/Skor chips.
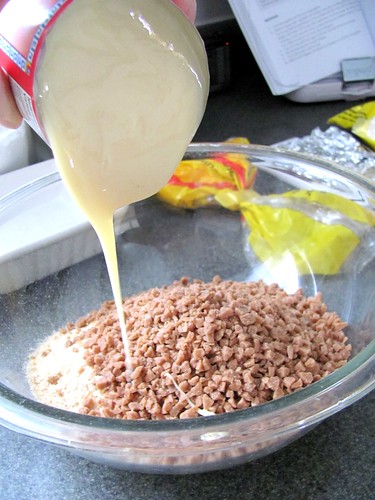
Add 1 can of condensed milk.
1 cup of coconut. (I used sweetened.)
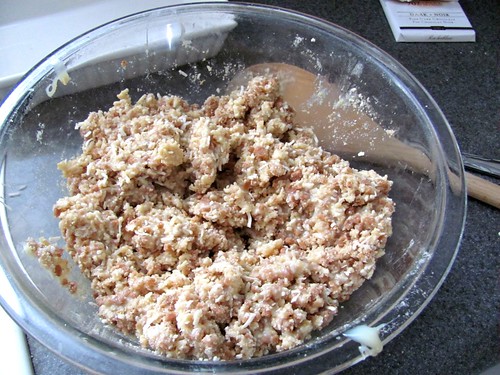
Mix well. Which is a tad challenging but definitely doable.
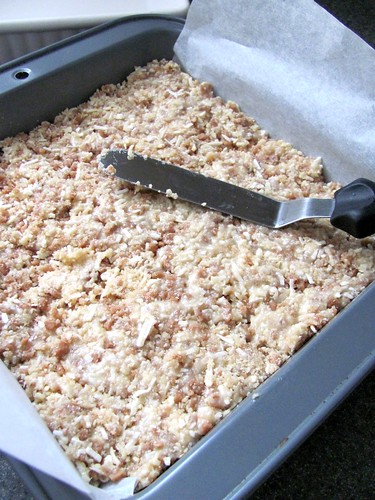
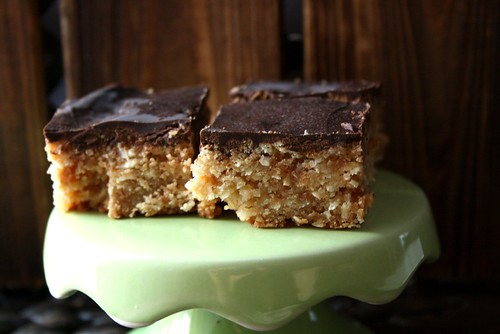
Add to a parchment-lined square baking dish and smooth the top.
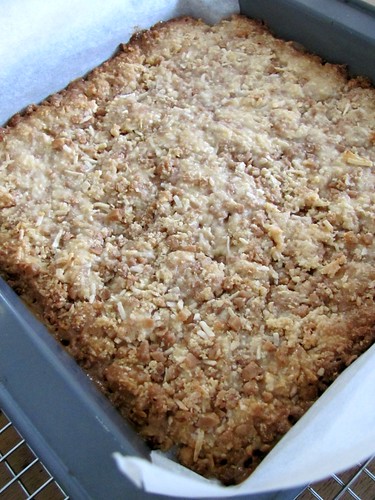
Bake at 350F for around 25 minutes, until golden brown. Mine was ready to come out at 20 minutes.
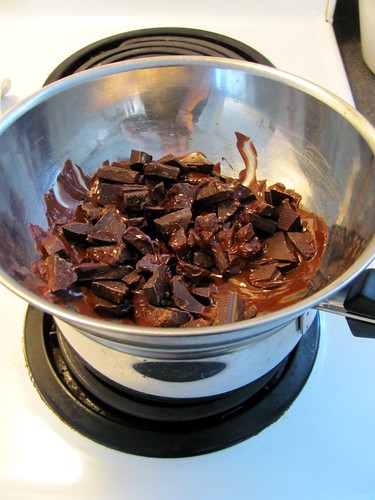
Melt 5 oz bittersweet chocolate in a double boiler.
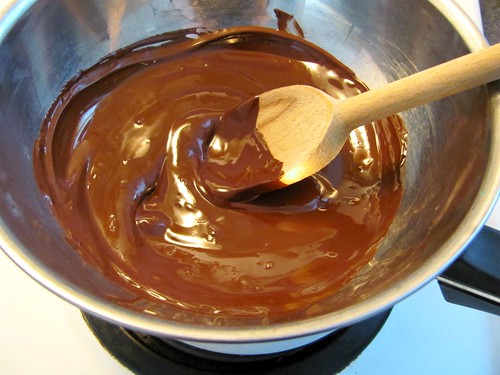
I am impatient and so I usually go check my email and when I come back, it is mostly melted. Stir the last of the pieces into the melted chocolate.
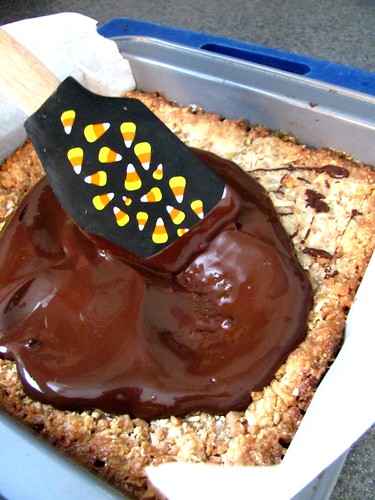
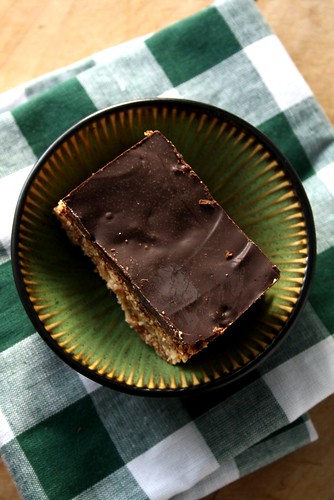
Slather on top of the bars.
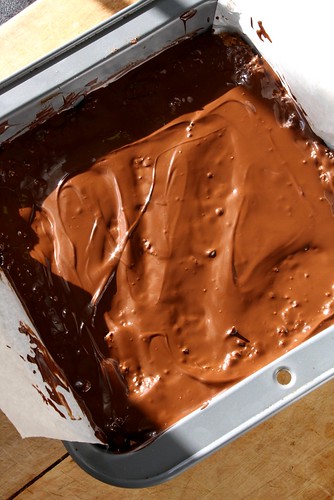
Chill until firm. OK, here I broke the rules. I could not wait and that melted chocolate just looked too damn good. And it was!
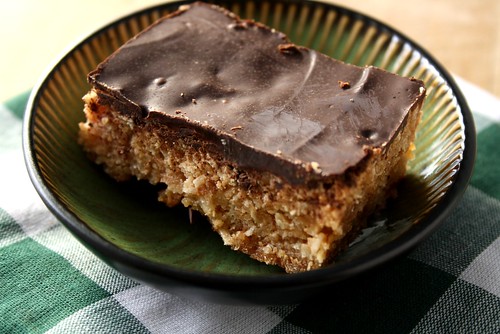
This is a complete re-invention of rice crispie squares and thank god! I am not of a fan of those and these are so much better. All the flavours meld together quite well and yet stand distinct as you devour it. They are quite sweet and rich though so we just have small pieces of it so it is lasting a long time.
These are really not hard to make and totally worth it. Something different yet using ingredients (ahem, note to self) that should always be in your pantry!
I give this recipe four and a half out of five wooden spoons. Simple, not expensive, packed with flavour and very original. Well done Glo!


Great photos! Although that spatula threw me off a bit. I thought at first that you were adding candy corn!
Holy crap–these are proof the Universe wants our mouths to be in a happy place. 🙂
Question for you! Do you have any tips on making layer cakes? I want to make one for a girlfriend of mine who’s birthday is coming up. I REALLY want to make her a silly multilayered cake–but I’m a little freaked out. Any suggestions??
Thanks Debra! Had great lighting that day, makes all the difference. Oh wow, candy corn?! I wonder if that would work?!
Molly, I totally agree. Good homemade food = happiness.
You got it! I put together a tutorial a while ago on making a layered cake:
http://suziethefoodie.blogspot.ca/2010/12/product-testing-tutorial-how-to-bake.html
It’s just two layers but the tutorial should help. I would start with two if I were you but of course, you can always go bigger as long as you have the icing.
This torte is also awesome:
http://suziethefoodie.blogspot.ca/2009/06/latvian-hazelnut-torte.html
But not a traditional cake!
My mom has been making these for years … Not sure what she calls them but will be next next treat I bake. (Next is PC decadent cookie mix!)