Warning: This recipe takes two days to make!
This was the first time I have made jelly and only the second time I have gone through the process of canning a preserve. I wanted to do the canning process completely at least once for reviewing the cookbook We Sure Can! by Sarah B. Hood, published by Arsenal Pulp Press.
I could only carry home one 4 lb bag of apples so I adjusted the recipe accordingly but will write it out in full for you.
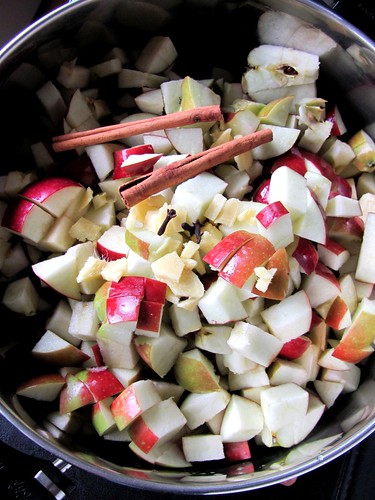
Wash 6 lbs of tart, crisp apples (they can be under ripe) and chop them coarsely without peeling or coring them. In a wide and deep non-reactive pot, combine apples with 2 cubic inches of peeled fresh ginger, 4 1/2 cups of water, 3 cinnamon sticks and 8-10 whole cloves.
Bring to a boil, turn heat to low and allow mixture to simmer, stirring occasionally, until apples have broken down (around 30 minutes).
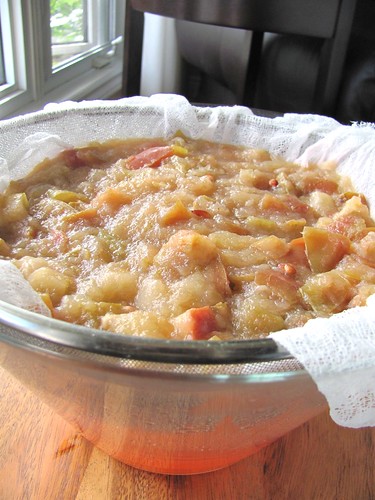
Put the mixture into a jelly bag or two to three layers of cheesecloth over a sieve. Make sure to wet the bag or cloth ahead of time and hang over a bowl to drip overnight. Do not squeeze or press through because it will discolour the jelly.
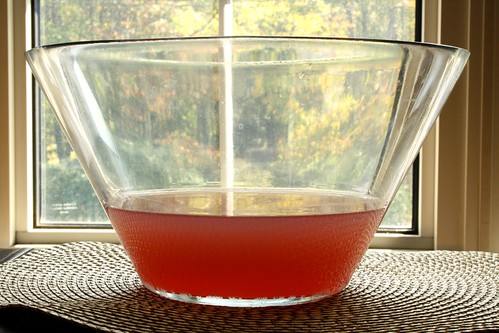
This is how much juice I had after letting it drip overnight. It did eventually get out all the liquid from the apples.
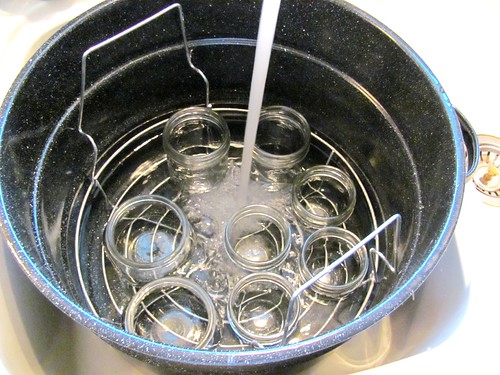
I got out my Bernardin Canning Starter Kit and started to get everything ready. The recipe says it makes six cups of jelly but I did not know how many jars I would end up using. As a result I put in a whole bunch of jars that I cleaned in the dishwasher.
I covered them with cold water, adding extra on the top, at least 1″ over the tallest jar. I put the canning kettle on my stove, put on the lid and turned the stove on high. It takes at least 30 minutes to boil.
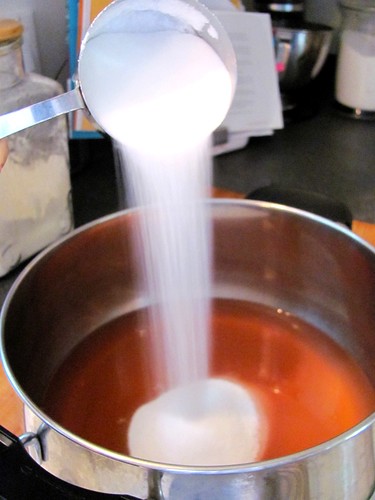
In a large and wide pot measure the liquid. Add 2 1/4 cups of sugar for every 2 1/2 cups of juice. Stir well until sugar dissolves completely. Boil gently, stirring frequently.
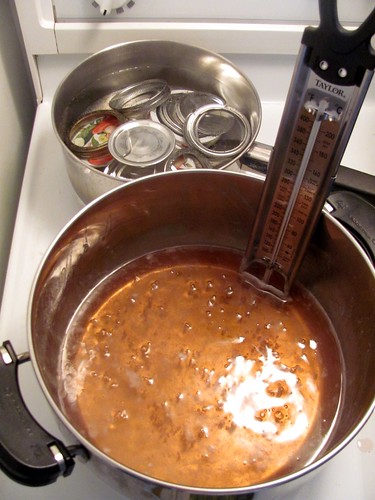
Skim off foam until it reaches setting point. I put the foam in a bowl this time. After it cools, it completely comes off the top and leaves a beautiful syrup underneath.
While the jelly started to boil I also put the lids and rings in a pot of hot water but did not let water in that pot come to a boil.
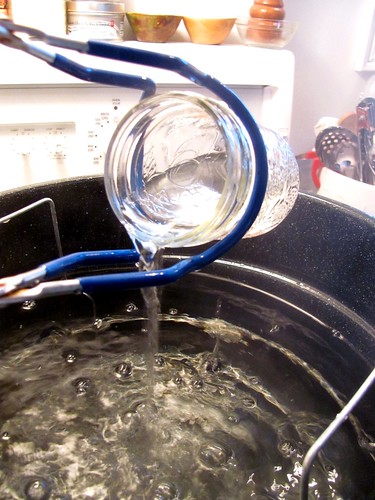
After the water reached a full boil in the canning kettle, let the jars sit in the boiling water for ten minutes at a full rolling boil. With jar lifter, remove the jars from the water and pour the water back into the pot. They are now sterilized. Set aside on a clean cloth until you are ready to can.
This is where I got confused. Earlier in the book there is some advice from chef Georges Auguste Escoffier who says you should boil a jelly down as quickly as possible. Yet the recipe itself says to boil gently. What to do?
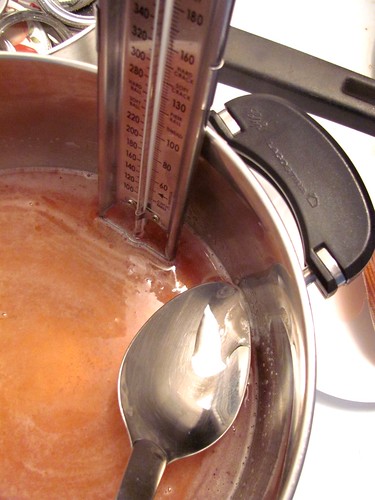
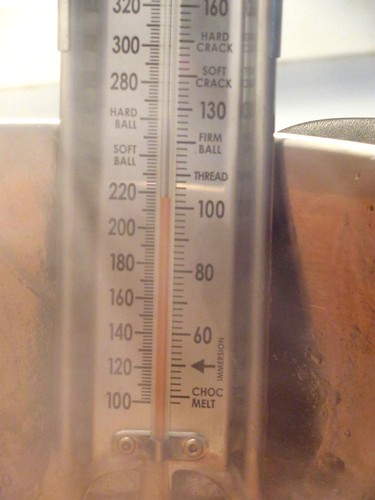
I decided to get out my candy thermometer this time to determine the setting point which is 220F. I started off boiling gently and then, because it took so long and everything seemed to be evaporating away, I turned up the heat. Once the thermometer finally started its approach to 220F I took a photo and took the pot off the stove.
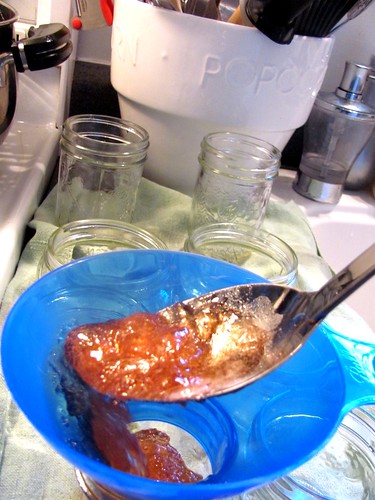
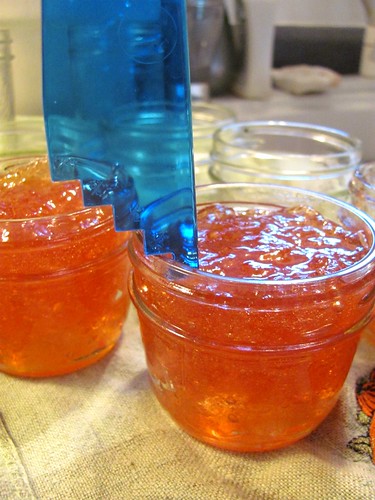
I had read earlier in the book to prevent bubbles, to ladle the jelly along the side of the canning funnel. I made sure there was 1/4″ of space at the top of the jar.
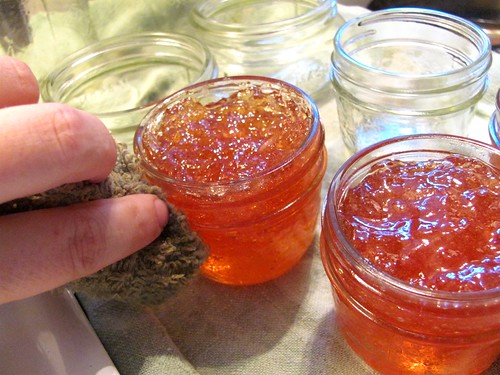
I cleaned the outside ring and top of the jars without touching them using a clean kitchen towel.
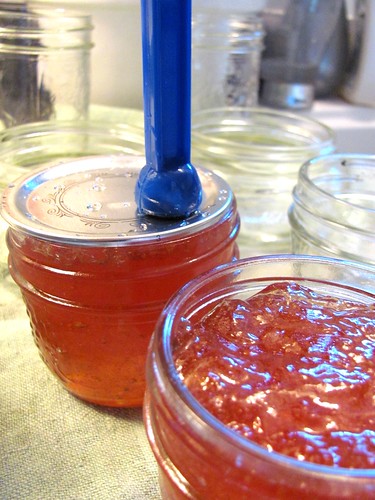
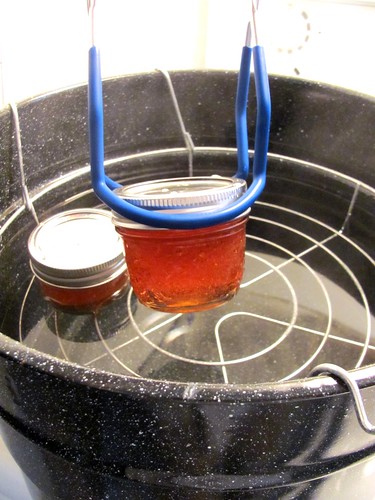
I added the lids using the magnetic wand tool. I added the ring kind of tightly but not too tight. I put them back into the hot water with the jar lifter, brought it back to a boil and processed for ten minutes. I took them out and let them cool for 24 hours on my kitchen counter.
Within 15 minutes I heard the seal pop and knew they were done properly. My only issue was the rings ended up being loose after the jars cooled but Sarah B. Hood emailed me and assured me they we can were properly sealed, I just had to tighten the rings.
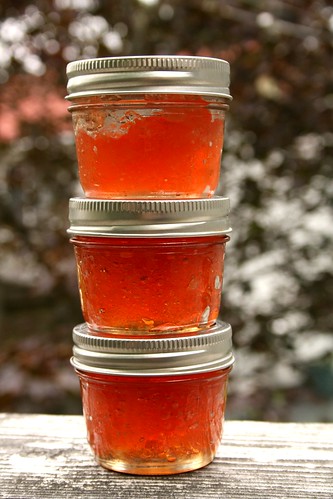
Unbelievable that four pounds of apples only made two and a half small jars!
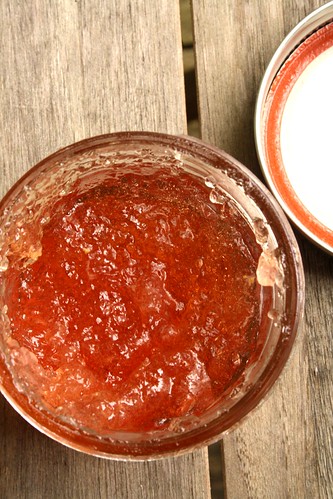
Even though I removed the jelly from the stove at the right time according to temperature, I do wonder if I overcooked the apple jelly. It got quite hard. I was worried that the ginger was going to be too strong and was not exactly “classic” when I think of apple jelly but overall, it was actually super mild. Not a lot of strong flavour at all but quite lovely. I adore that the skins from the apples gave the jelly a naturally delicate pink colour.
COOKBOOK REVIEW
Overall I did enjoy making preserves from the cookbook We Sure Can. My one major complaint is having to leave the page of the recipe to go to the other pages on either canning or setting point. I love that there is bare-bones sterilizing cheat sheet on the jacket of the book, a very clever idea, but each recipe seemed a little different in how you make the preserves so it sometimes contradicted other information within the book. When that happened it left me confused and unsure of what to do.
That said, if you want to know just about everything about canning and learning from the many people interviewed in the book about their passion for making preserves, this is the book for you. Sarah travels all over learning what she can from canning enthusiasts and shares their wisdom with the reader. The photographs are lovely but are not necessarily the finished product of each recipe. In fact, the recipe section is quite text-heavy but the layout is extremely clear which I appreciated so much. I made mostly classic recipes but there are many adventurous ideas such as picked wild leeks and lavender peach preserves with Kirsch.
I will be using this book in the future now that I feel more confident about making jams and jellies thanks to Sarah B. Hood who was incredibly helpful. I was nervous about canning and she guided me through the process in both her book and through emails, what a sweetheart! I feel I have only just begun with this cookbook and can not wait to try more recipes.
I give this cookbook four out of five wooden spoons.
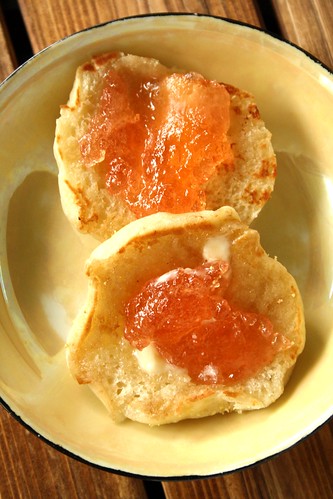


That is lovely looking jelly!
Hooray, you did it!! Now you can put the “Official Canner Badge” on your foodie apron. The jelly turned out so pink and lovely, although a long process I’m sure it tasted amazing.
An impressive photo essay, and the jelly looks lovely.
I have been wondering whether you could have got a bit more jelly out of those apples if you’d cooked them right to mush; there still seem to be some solid chunks in your photo.
And yes, the set seems a little stiff. If you got the pot off the heat as soon as it reached 220, I don’t know why; I hope you’ll try again until you get to the point where some of these steps are second nature.
By the way, the flap on the inner front cover can be used as a bookmark to save jumping back and forth through the book, and as you get more used to the basic steps, you shouldn’t see any confusion between those steps and the various recipes.
Cheers!
Thanks and yes, I love the idea of getting a badge for canning the jelly, LOL. It was a long process!
Sarah, I cooked the apples for 30 minutes but you’re right, maybe they weren’t mushy enough? There was no liquid left after leaving them overnight though.
I think next time, now that I have done it once, I will just listen to my instincts and leave the thermometer out of it. I didn’t realize that the flap could be used as a bookmark, clever! Yes, that would help so much. Thanks for the clarification.