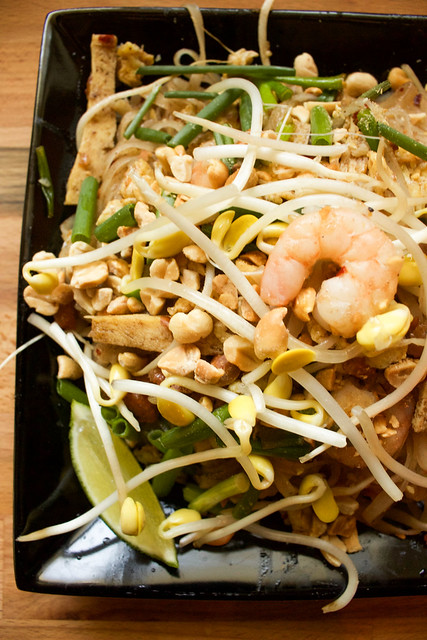
I did it! I finally created a Pad Thai that tastes like restaurant quality and has that authentic flavour. It did not come easy though (check out my how NOT to make Pad Thai post). I got some help from the Craftsy class Thai Cooking Essentials with Robert Danhi but I totally ended up going off on my own foodie path to come up with this recipe and tutorial for you.
There is a lot of prep but do not miss a step! Each one is important to getting that fabulous Pad Thai flavour.
Roasted Peanuts
When I had Pad Thai recently at Thai Basil Restaurant I noticed their peanuts were a little ground up and then roasted so that is what I did.
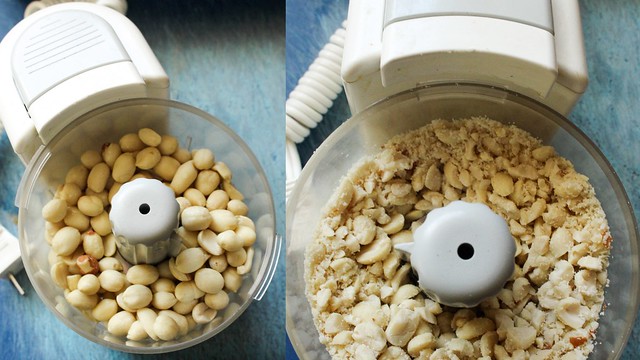
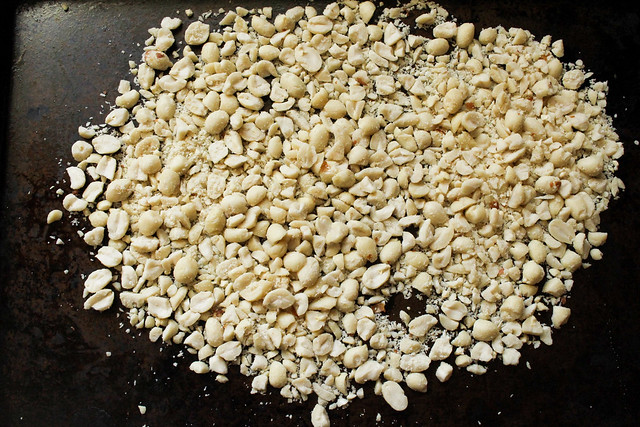
First break up around 1 cup of raw peanuts in a mini food processor or mortar and pestle… Your choice.
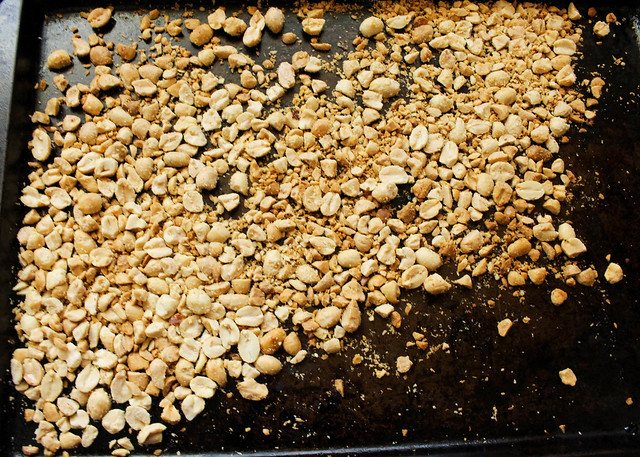
Put them in a 325F oven for 10 minutes until they turn golden brown. Perfect! Set aside and let cool.
Tamarind Paste
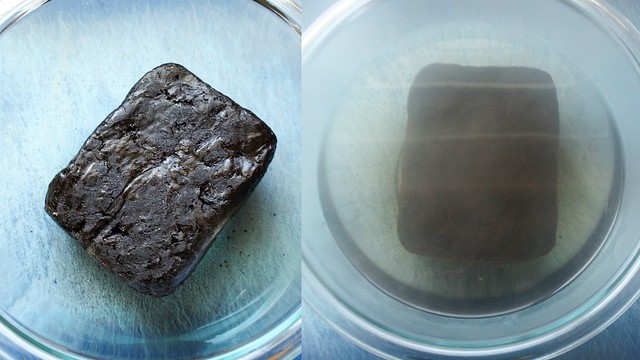
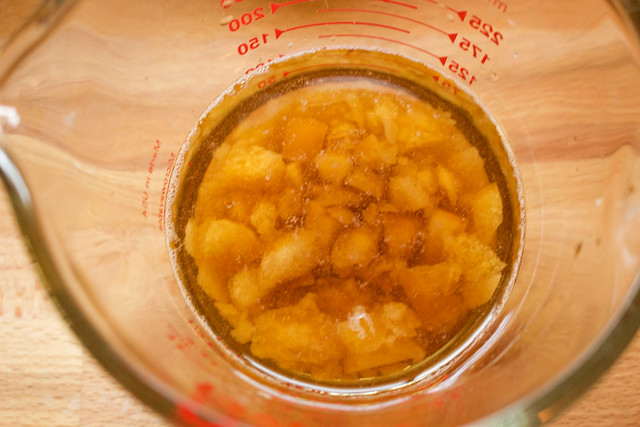
If you can not find tamarind concentrate in your store you can make your own with a brick of tamarind. Put in a bowl and just cover with boiling water.
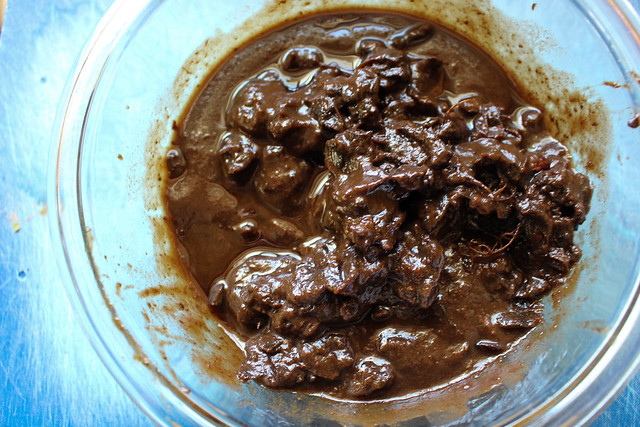
Let sit, get mushy and then use your hands to break everything up.
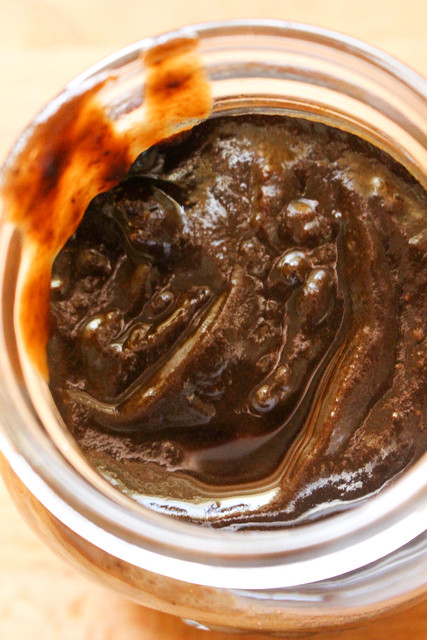
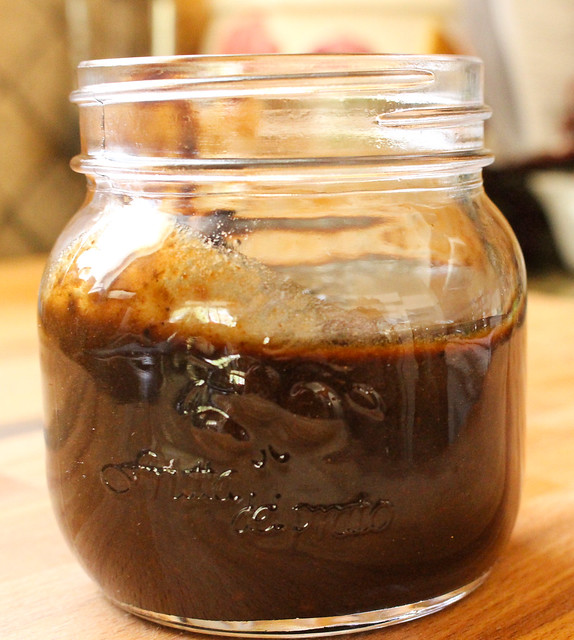
Use a fine mesh strainer to end up with your own tamarind paste.
You will need 2 tbsp for this recipe.
The Noodles
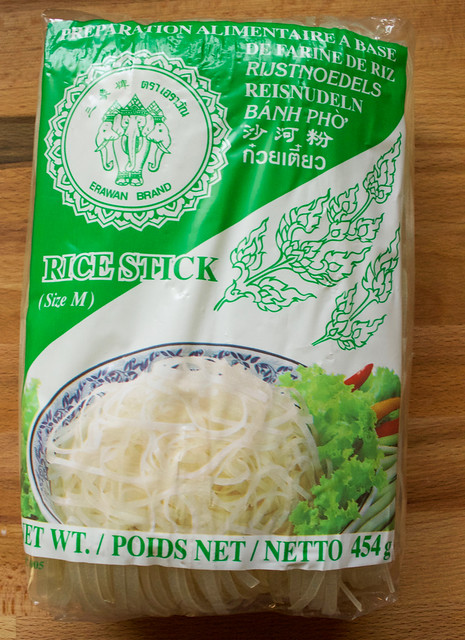
Finding the right size of noodles for Pad Thai proved to be more than a little challenging. I finally found the right ones just as I was about to give up. They are Size M. Do not use fresh for this recipe!
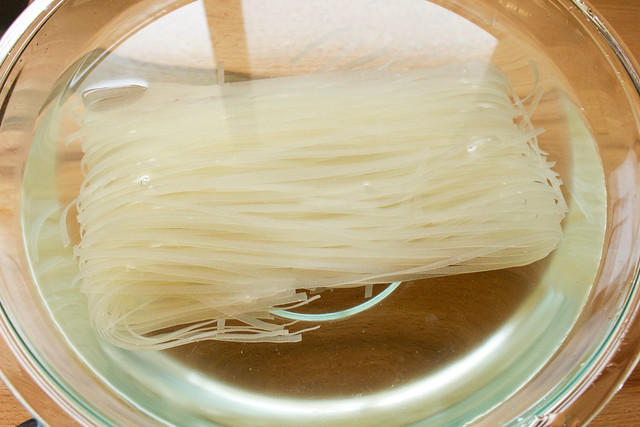
Cover with room temperature water for 30 minutes. Drain well.
The Tofu
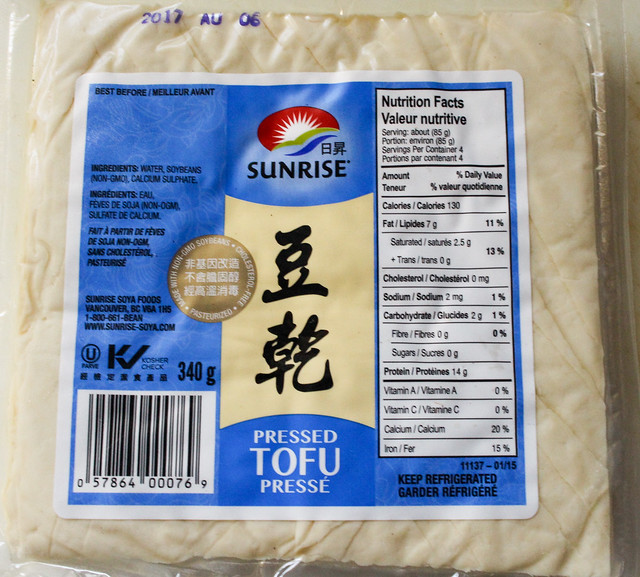
It is best to use pressed tofu. If you can not find it, you can substitute with firm.
Palm Sugar
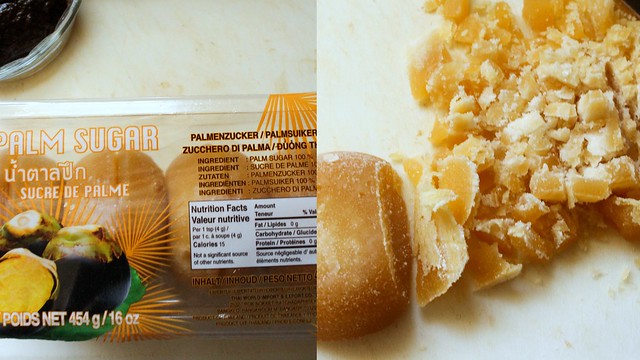
I actually found palm sugar at my Superstore. You will need 1/4 cup chopped fine. Finer than I did, my hands just are not very strong.
The Rest of the Ingredients
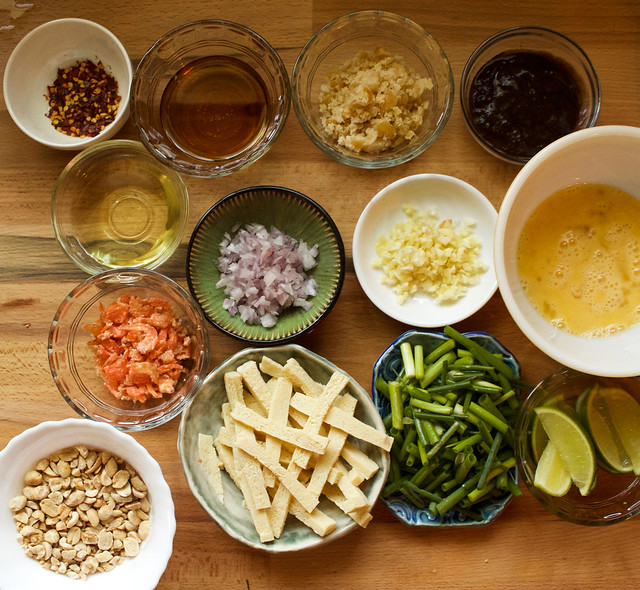
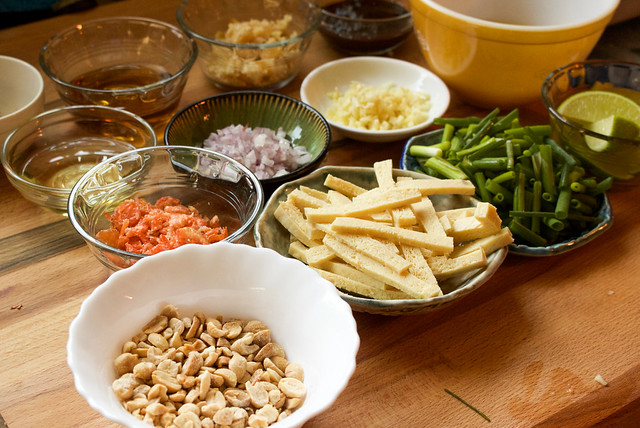
I thought I had all the ingredients when I took this photograph. Doh!
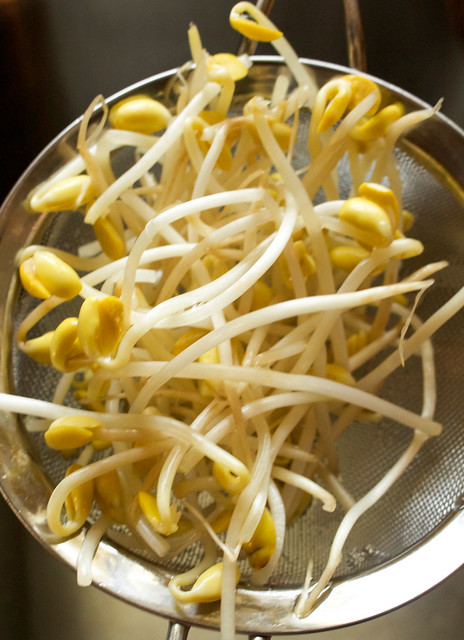
Do not forget the nicely washed fresh bean sprouts!
Altogether you need: 1 package medium-sized rice noodles, 1/4 cup fish sauce, 2 tbsp water, 2 tbsp tamarind paste, 1/2 cup finely chopped palm sugar, 1 tsp red pepper flakes, 2 tbsp vegetable oil, 1 tbsp minced shallots, 1 tbsp chopped garlic, 2 large lightly beaten eggs, 2 tbsp chopped dried shrimp, 2/3 cup pressed tofu cut into small 2″ x 1/4″ x 1/4″ inch strips, 1 cup 1″ chopped green onions, 2 cups bean sprouts, 1/2 cup roasted peanuts, 1/2 lb raw shrimp, 1 tbsp water and 2 medium limes.
The Sauce
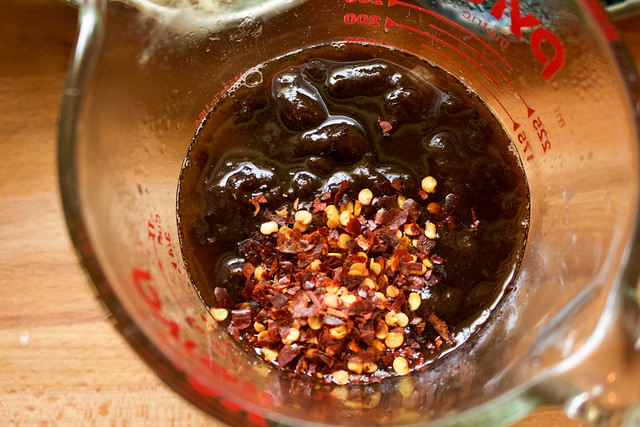
To make the sauce put palm sugar into a glass measuring cup with water and fish sauce. I used a microwave to warm and dissolve palm sugar, about a minute.
Then add the tamarind paste and red chili pepper flakes to complete the sauce.
Cooking The Pad Thai
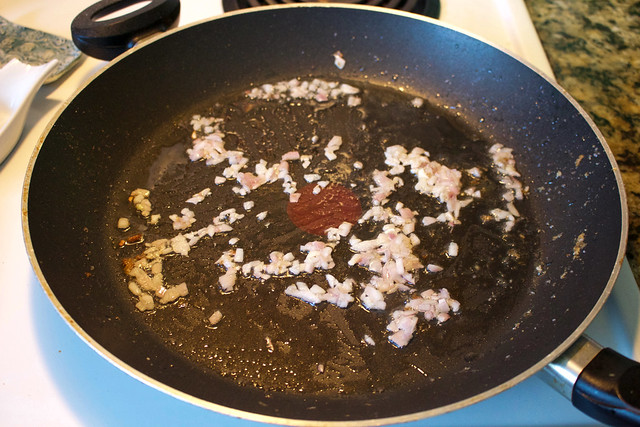
In a wok or a large frying pan heat up oil and then sauté shallots for a few minutes. Then add the garlic for 30 seconds.
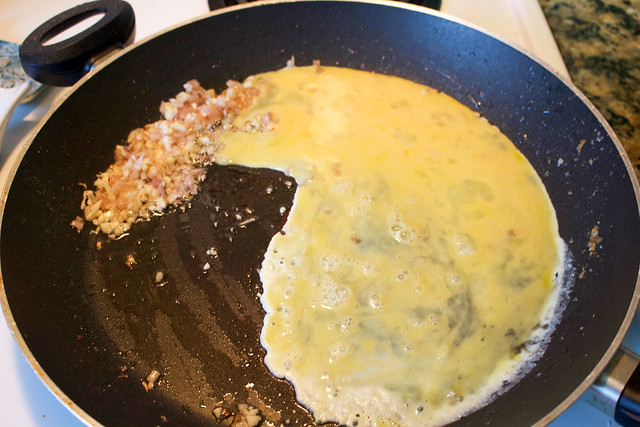
Move to the side and add eggs and cook for a few minutes.
Break into bite-sized pieces and then add dried shrimp, tofu and raw shrimp.
Add the noodles and 1 tbsp of water.
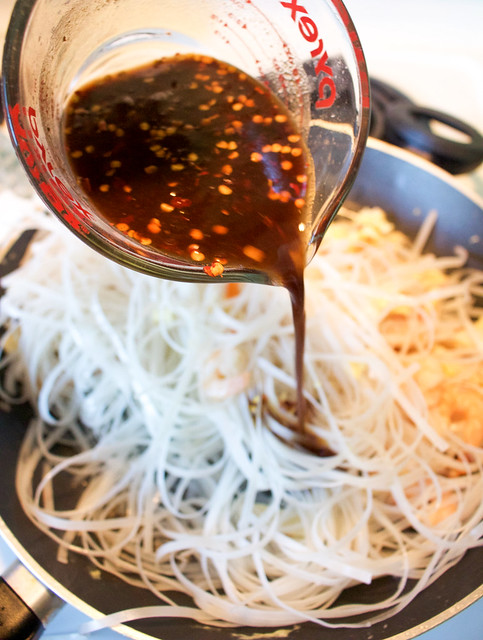
Add sauce and stir carefully to mix everything together for just 30 seconds.
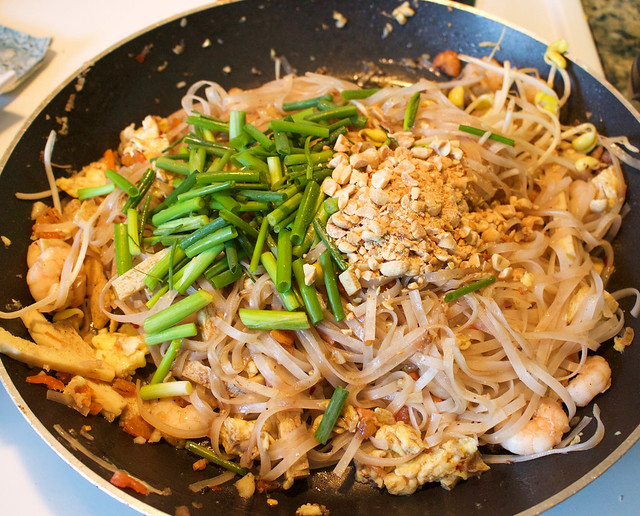
Stir until noodles are tender then fold in green onions and the peanuts.
Once the noodles are cooked (will not take long, check to see if you can pull them apart) add bean sprouts.
Foodie Results
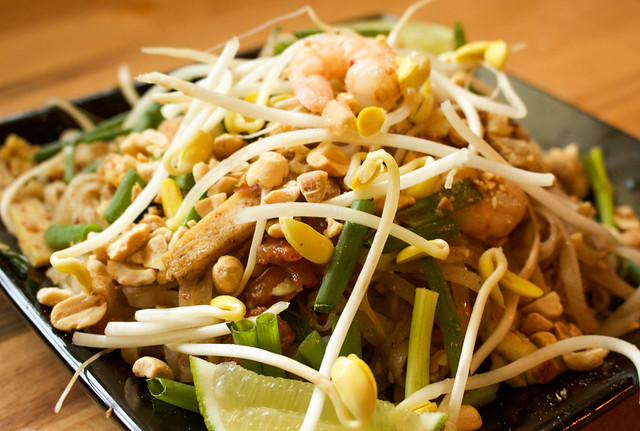
Make sure to leave some bean sprouts, peanuts and green onion for garnish and use that lime wedge on your plate to give a generous squeeze over the Pad Thai. I find it is absolutely essential to have that sour with the sweet and spicy to get that authentic Pad Thai flavour we love so much.
I did it! Wow, that took a lot of research and practice but I finally feel like I accomplished Pad Thai and can make it at home now. Another Foodie Bucket List item completed and I learned a ton. As much as I enjoyed eating Pad Thai for a couple of days (Reg is not a fan of shrimp or Thai food) I also learned that this is a dish I prefer to have someone else make for me. It is something I want to go out and enjoy more than make at home which is a bit weird for me. Normally I always prefer homemade but it really is street food more than home cooking. That said, the fact I can make it myself whenever I want is incredibly empowering.
Woot! I did it!!! I feel like I should enjoy a hero cookie or something. That was a big foodie accomplishment for me. I hope this tutorial and recipe helps inspire you to try making it yourself.





Leave a Reply