
Until yesterday, I had never poached an egg. I had heard horror stories and will admit, they scared me. I found out that it was National Eggs Benedict Day yesterday from Alias Grace on Twitter. She also told me about the site The Perfect Poached Egg which gave me courage to try poaching my own. Hollandaise sauce on a Friday morning? No, I could not go that far in indulgence so hold the Hollandaise! Out of English muffins, this wheat toast did just fine as a replacement. I suppose that means in my little foodie world it was national poached egg day. Oh well! There is always next year. One step and a time.
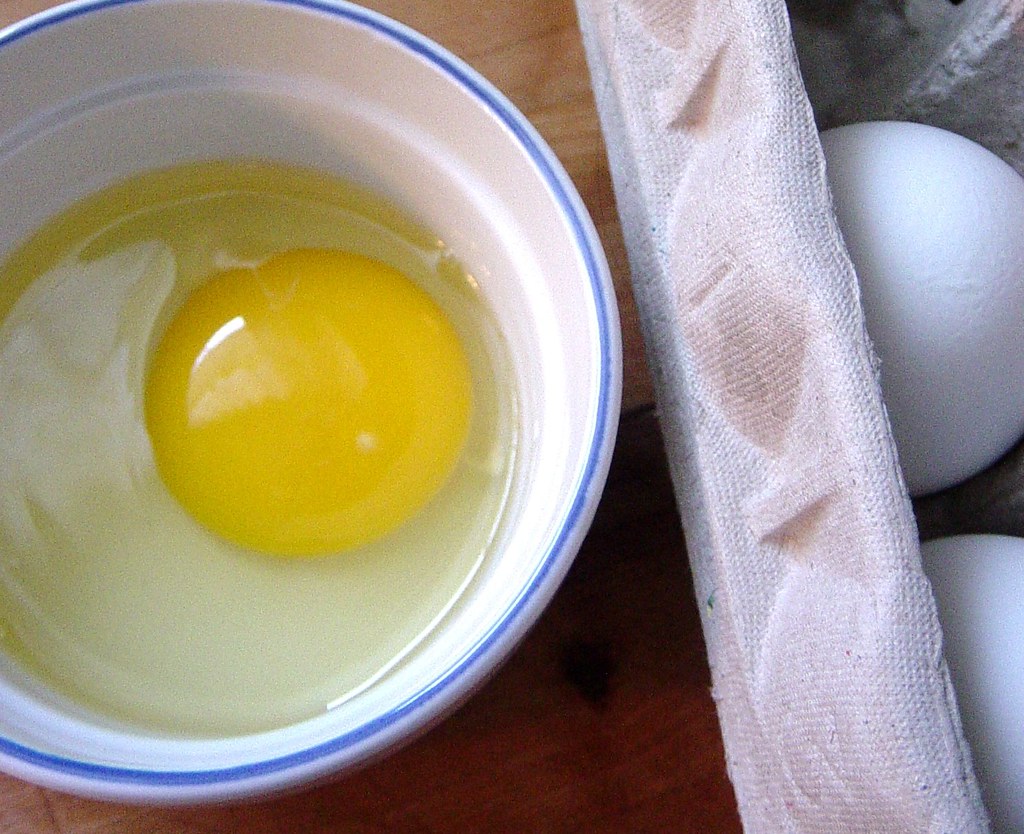
I went to the site and read the directions which were pretty good. I prepared for this task by getting everything ready in advance, even the eggs. I put each egg in a ramekin and got out my cookbooks and large braising pan. Reading the directions from the site, Joy of Cooking and La Varenne Pratique, everyone seems to poach differently. Great! Joy of Cooking says to use some vinegar and salt so I added both to the smoldering water. Then I read that La Varenne Pratique cautioned the use of salt, warned that it will toughen the eggs. So I dumped all the water and started again. Thankfully everyone seems to agree that you heat the water until it is boiling with vinegar and that the depth of the water should be at least twice that of the egg.
My favourite description of how to cook the eggs comes from Joy of Cooking:
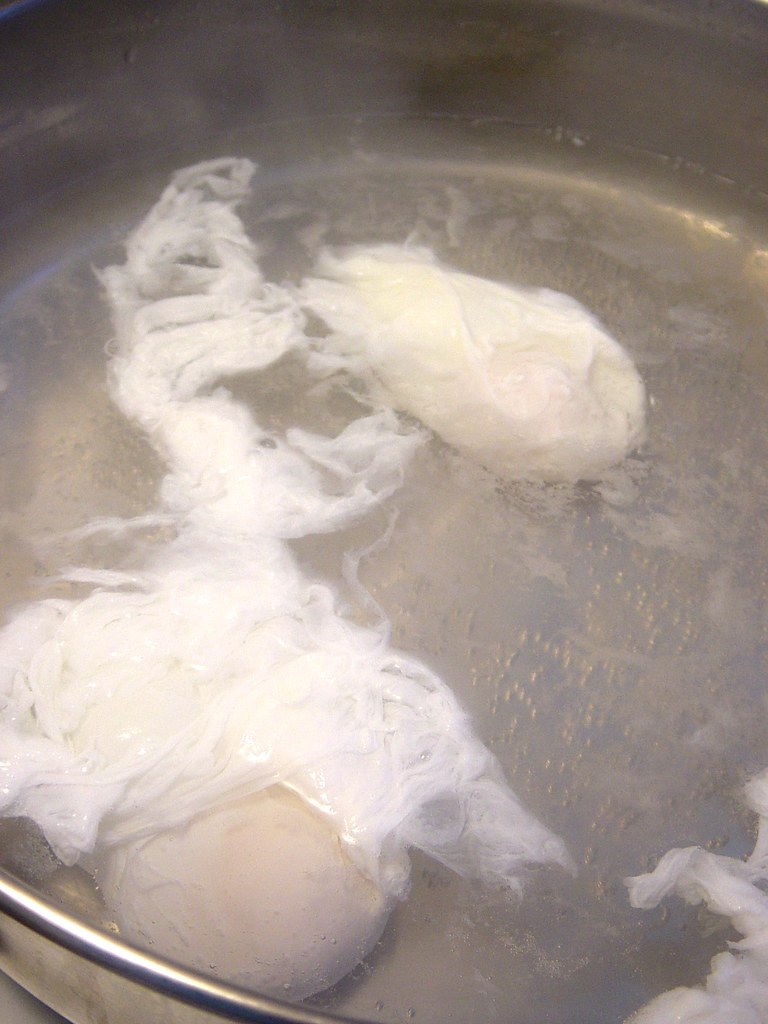
“Swirl the water into a mad vortex with a wooden spoon. Drop the egg into the well formed in the center of the pot. The swirling water should round the egg. Reduce the heat. Simmer for 4 to 5 minutes…”
Which is exactly what I did! How amazing to see these clear and golden entities turn into white little wispy ghosts! As I swirled the water with my wooden spoon and watched the transformation, I felt as though I was brewing up a magic stew more than making poached eggs.
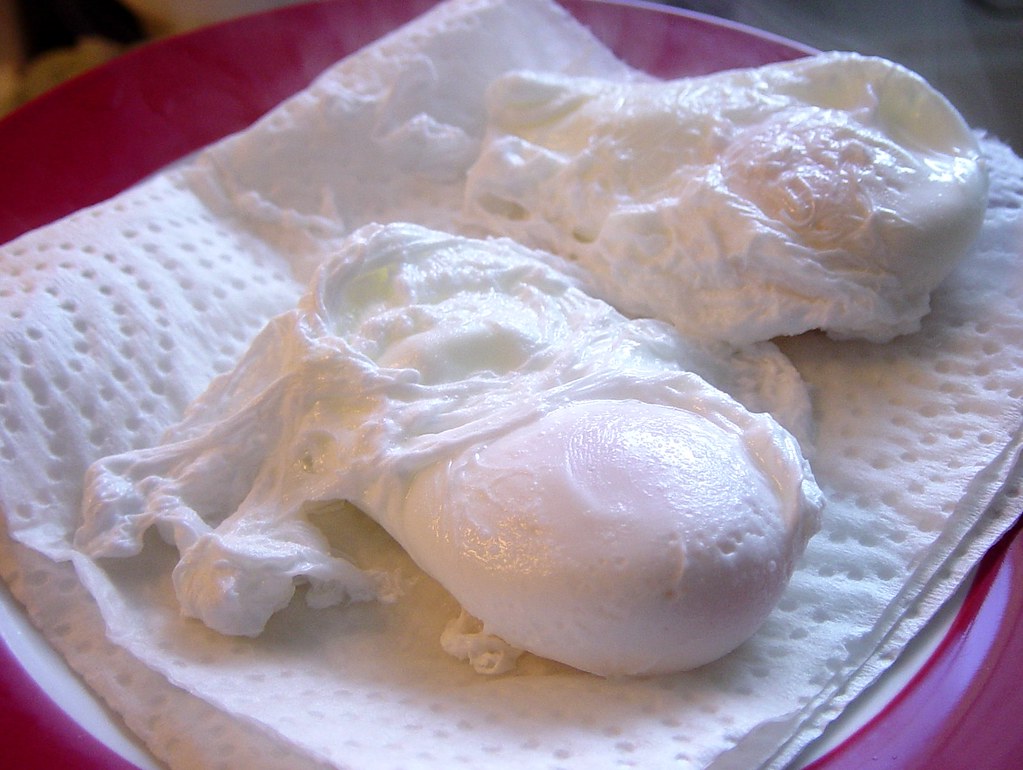
I learned this technique from Martha. After the eggs come out, rest them on some paper towel to help them dry off so they do not dampen your crisp toast.
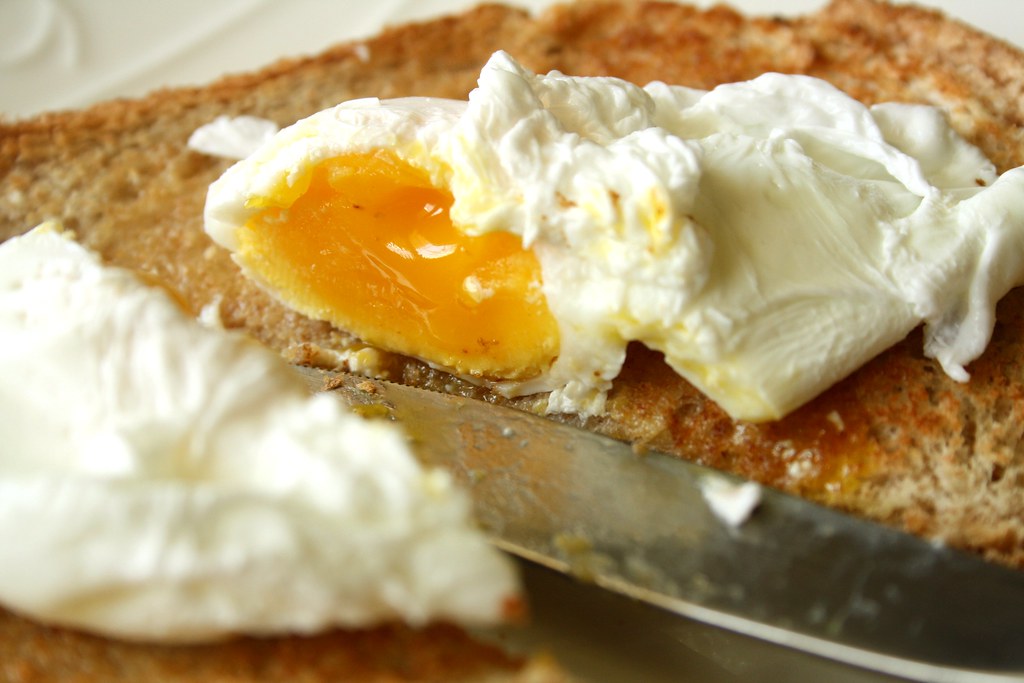
Mine were a little overcooked because of all the time I took taking photographs as I poached the eggs and afterwards but they were perfect for my first poached eggs. So delicate and creamy, I am thrilled that I now know how to poach eggs. The kitchen filling up with the scent of cooking vinegar is something my husband and I might just have to learn how to live with.
I think Eggs Benedict may be less than a year away.
[yumprint-recipe id=’165′]


I never use either vinegar or salt when poaching eggs — just plain water. They seem okay to me done that way.
You know what’s hilarious? I absolutely loved this tutorial. I loved reading it. Your photos are beautiful.
And I will never eat a poached egg. Blech.
LOL!
But if I would, it would be a beauty you made!
I love poached eggs, Suzie, and yours are beautiful. Now this is one tutorial even I can follow (and I will). As always, I enjoyed reading it! xo, O
I love poached eggs. My favorite is with tomato and avocado (California Benedict). Except I like mine on biscuits. Any excuse for a biscuit is okay by me. I do like using vinegar when I make these–it usually holds the whites together better.
OK I’ve got you coming & going. Remember when you add your butter do it vveerryy slowly.