First, I apologize for the length of this post but it was unavoidable. I tried to divide this into two posts but then the story would be broken up. I just could not do that. My health is really suffering right now and it may be a while before I have many stories to share. So please, enjoy silly tutorial of a foodie making real jarred jam for the first time in her life.
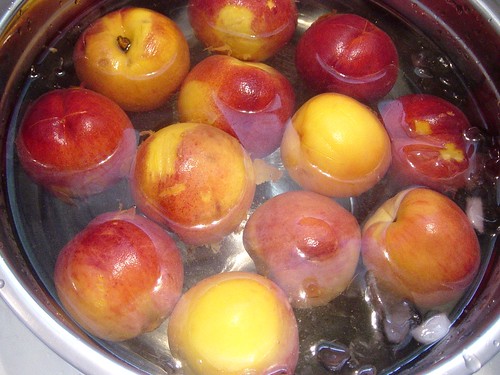
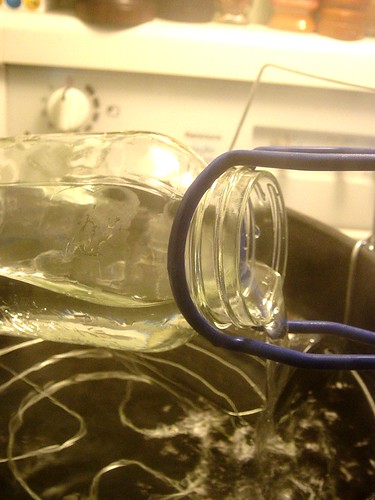
I had a lot of peaches that were not super ripe so I decided to make jam with them. You can find the Canadian Living’s recipe for Peach Jam I used here. You need to make little Xs on the bottom of the peaches with a knife, blanch them in boiling water for just 30 seconds and them put them in a ice bath (see above) to let them cool off. The skins should just slip off and it they do not, put them back in the hot water for a while and try again.
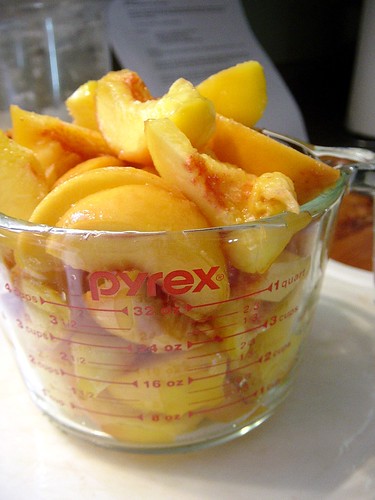
The recipe calls for six cups of sliced peaches, I think I had just enough.
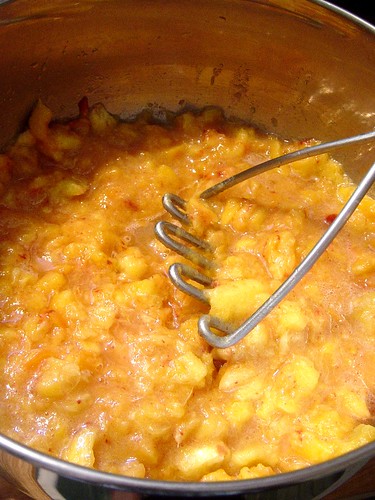
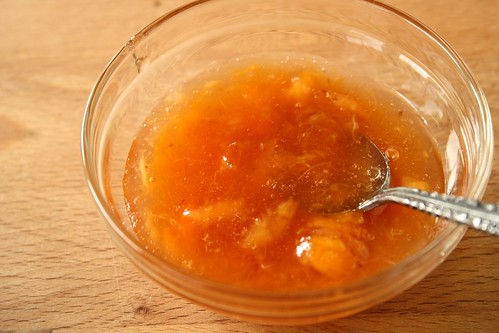
Mash the peaches and add lemon juice.
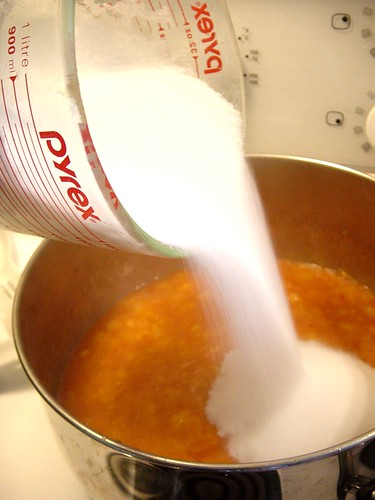
Add 1/4 cup of sugar and pectin to the peaches. Stir to combine and bring to a boil, stirring occasionally. Add remaining sugar (see above), return to a boil and boil hard for 1 minute, stirring the jam.
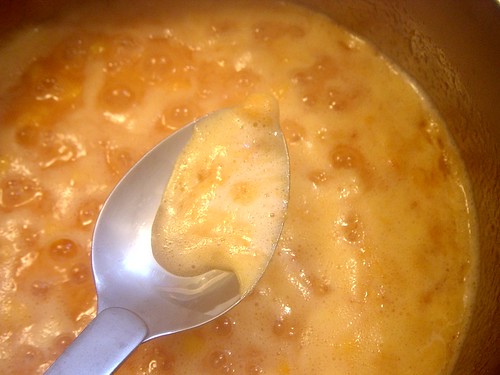
Remove from heat and skim off foam.
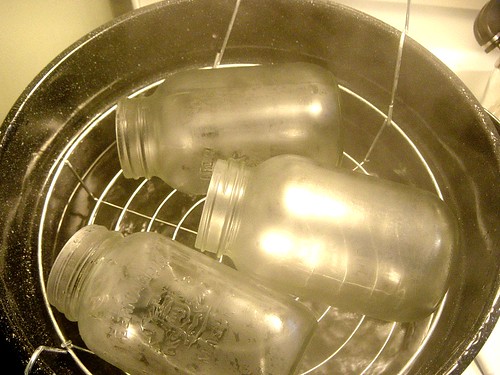
This is the hard part. At the same time I needed to prepare the jars for canning. I brought the water in a giant canning kettle to a boil and then added jars that had been cleaned and inspected for cracks and imperfections. I submerged the jars, covered and let boil for ten minutes.
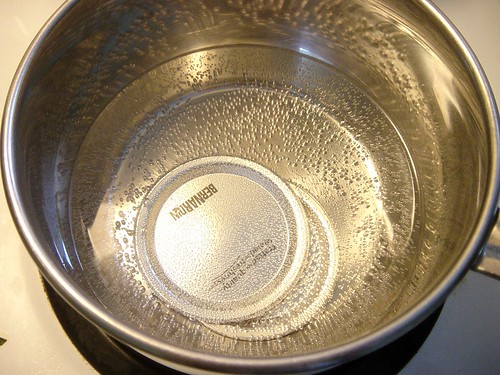
While the water boiled away I warmed up the lids in a separate pot. According to the experts, Bernardin says that people used to boil these lids but it is actually safer just to heat them up. You can watch the video with all the information about canning here.
With jar lifter, carefully remove the jars out of the water and tilt until jars are empty.

Ladle in jam and make sure to use a clean canning funnel to help get the jam into the jar with minimal mess.
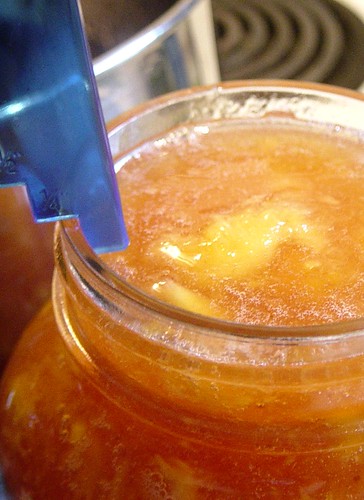
Using a measuring tool from the Bernardin Home Canning Starter Kit, make sure the jam comes up 1/4″ from the top. Apparently this tool is also a bubble remover but I do not remember that from the video!
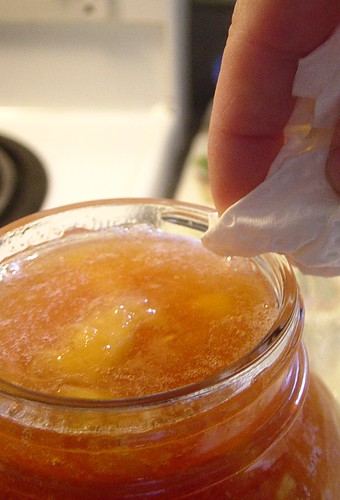
Carefully wipe off the top of the jar without touching it to make sure the lid properly adheres to the jar.

Using the magnetic wand, place one of the lids on top of the jar. Add the top ring and screw on securely but not super tight.
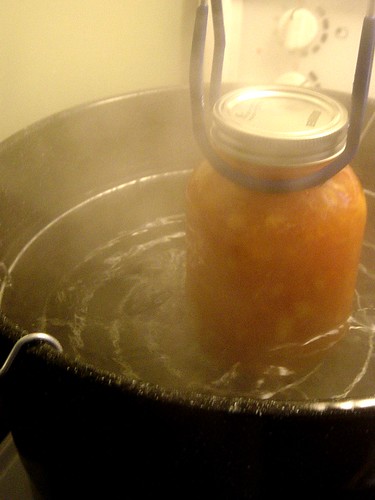
Submerge into the boiling water. This is where I ran into problems. I forgot that the water must be an inch above the top of the lid and this is a HUGE jar. I had to add more water to the canning kettle which would take forever to come up to a boil. At this point I was so exhausted, I thought I was going to cry. Then my lower back started to scream. Crap! I was so close!!!
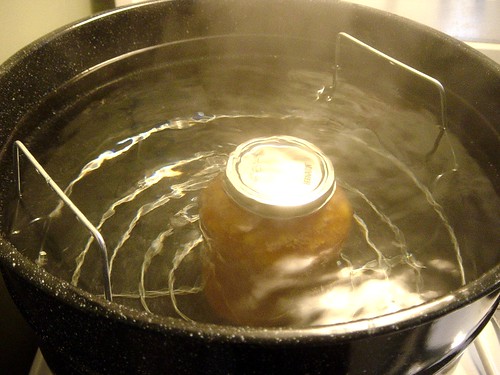
Finally the water came to a soft boil and I successfully submerged the jar of peach jam into the water, covered the pot and let boil for ten minutes. Then I removed the lid and let stand for five minutes. I removed from the water, placed on a towel in my counter and let sit for 24 hours. When I pressed down on the lid, it did not bounce back so I knew I had a good seal.
Thanks go out to Bernardin and Loblaw’s Grown Close to Home program for making this post possible with their generosity and sending me the Home Canning Starter Kit
Sadly by the time this process was done lower back pain was out of control. I went downstairs and watched hours and hours of Ghost Hunters in the fetal position. I realized too late that I should be using tiny decorative jam jars instead of big pickling jars. If I had done so, the process would have been a lot faster. Getting that much water to a boil took forever and my body could not handle it.
Spending time in the kitchen is how I cope with my life here. With back pain, a shoulder injury and the excruciating heat wave we have been experiencing, I have had to shut down my kitchen for a while. As a result, life is much harder for me to handle. Being still here, in pain, is beyond frustrating. Thankfully I still do have posts in my pocket to share for a while. I just hope that I start feeling better soon so the stories can continue.


Jam tips from moi.
– use small jars 🙂
– if you just now chugged your last years jars thru the dishwasher, don’t bother giving them a hot bath; they’ll be sterile already and it doesn’t matter if you start with hot or cold jars for the processing (per my mama)
– fill to 1/4 below the roundy bit of the jar not the thready bit, otherwise they boil over more easily if your processing water is too boily – leaving sticky jars not able to seal.
This is all sstuff I picked up on Friday when I did my first peaches …
Good luck w/ your back. My nerve root issues are totally jittery lately and I have to get my lumbar to bend the wrong way in order to feel my leg most of the time.
Hi Susie,
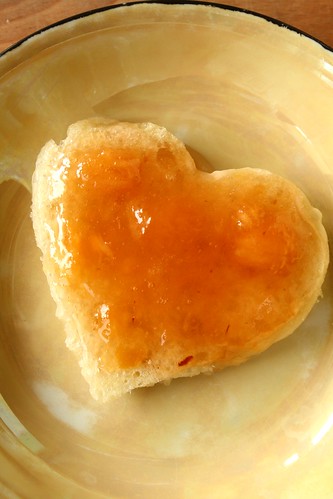
What a wonderful job on the pictorial tutorial! Great step by step instructions for those who have never canned before. The finished product looks so “sweet”, spread on the heart shaped bread.
Anna
I went nuts on making jam. I can not make more. Great post and I am sorry about back. -Tien
Great tutorial! How lovely to have fresh peaches preserved for those cold winter months. Peach jam is delicious! Take care of yourself.
This post brought back a lot of memories for me, Suzie! I used to watch my Mom do canning every fall when I was a kid. It sure was (and is) a lot of work! I hope your back and shoulder settle down soon.
Suzie, I am sending good healing vibes and waves of light your way. I hope you feel better soon.
Thanks so much for this tutorial. I have wanted to try this for years and years but it always seems like such a big scary deal. Maybe you’ve inspired me to give it a try?
I love the step by step instructions! I’ve never made jam so this is really helpful. Sorry about your back and shoulder!! Hopefully it heals up quick! 🙂
This is a really great tutorial. Thanks! I’ve been meaning to make jam for awhile too (and I find peaches never last that long by themselves either)
I love the heart-shaped scone too. Very cute 🙂
Suzie, I totally admire how you’ve taken on such a daunting task and had such delicious success with it. Congratulations on all your yummy jams and pickled goodies, even with your physical challenges lately with the shoulder and all you totally kicked butt with this. You should be super proud of yourself. Beautiful results and beautiful photos too! I’m sure the hubby will be happy to indulge and taste test it all when he returns.
Nice canning kit! I wish we had something that comprehensive here in the states. I love that gadget for measuring head space!