This is the most delicious time of year! Still cool enough to bake a pie and the strawberries and rhubarb are just starting to show up at our local farmers markets.
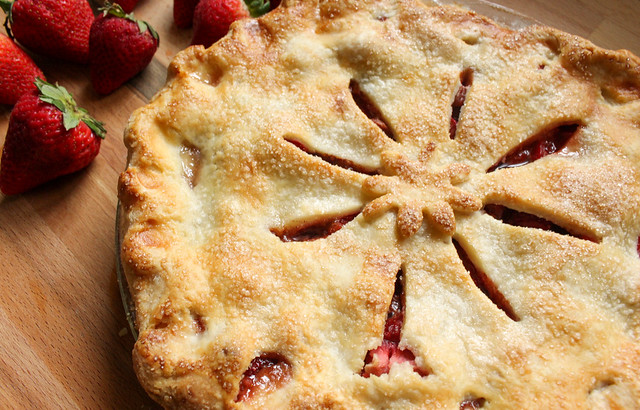
This is our favourite pie and I baked it to enjoy over the long weekend. Thought it was time to add it to my Foodie Bucket List and do a complete tutorial so you can make a strawberry rhubarb pie too!
Making The Dough
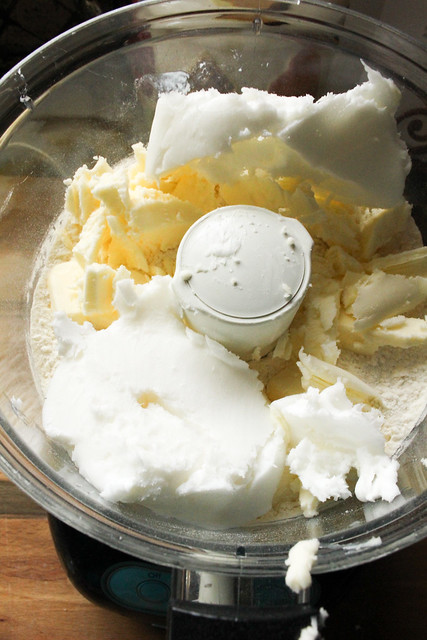
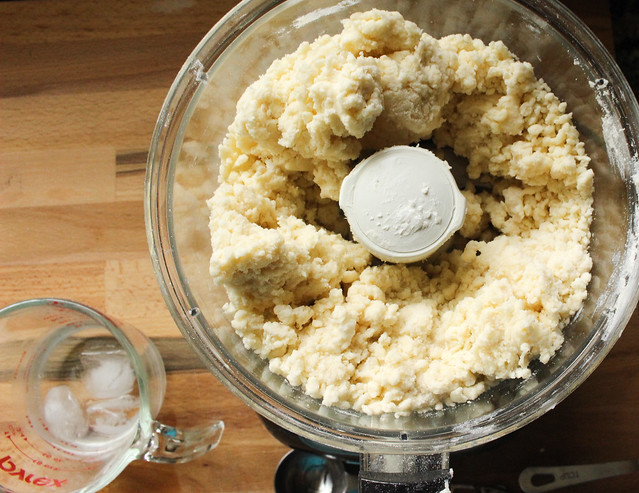
In a food processor (or big bowl, up to you) add 2 cups flour, 1 tbsp sugar and 3/4 tsp salt. Pulse. Add 1/2 cup cold cubed unsalted butter and 1/2 cup shortening. Pulse until just broken down into small pieces.
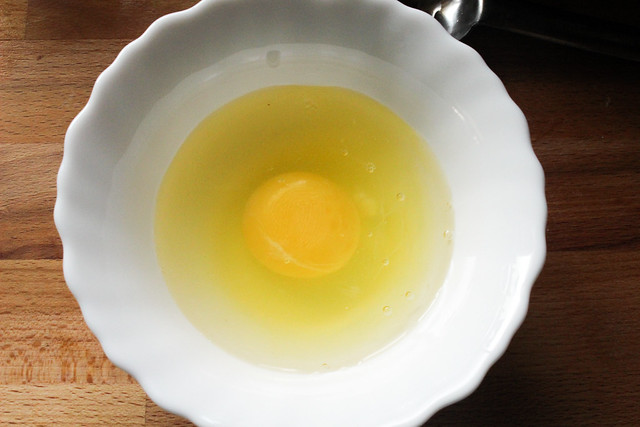
Combine 1 egg, 2 tbsp cold water and 1 tbsp fresh lemon juice. Whisk together.
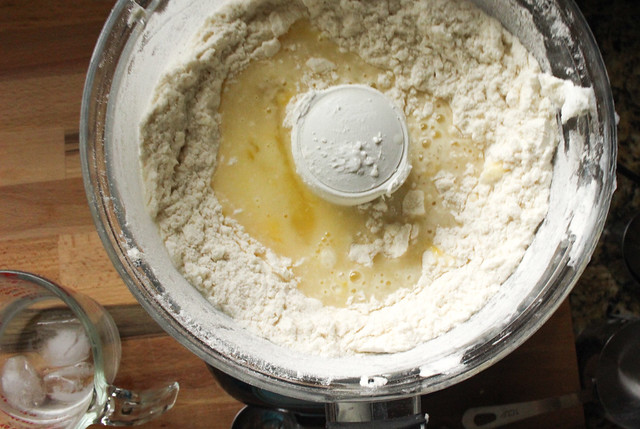
Add all of it to the flour mix but try to get a little bit everywhere.
Pulse until the dough just comes together. If it is too dry, add some water. The key is not to overwork the dough. It does not have to be a perfect ball. It just has to be moist enough to come together.
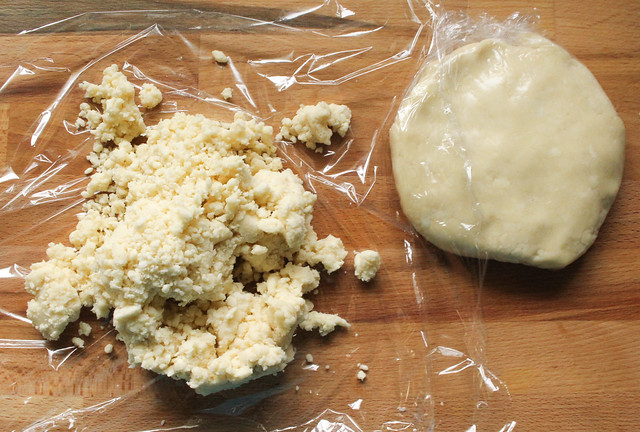
Divide dough in half and use plastic wrap to bring together. Let chill in the fridge for an hour.
The Filling
After an hour take the dough out of the fridge and give it time to warm up a little.
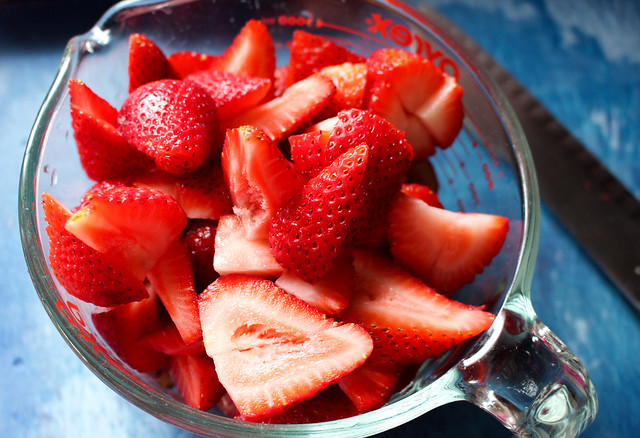
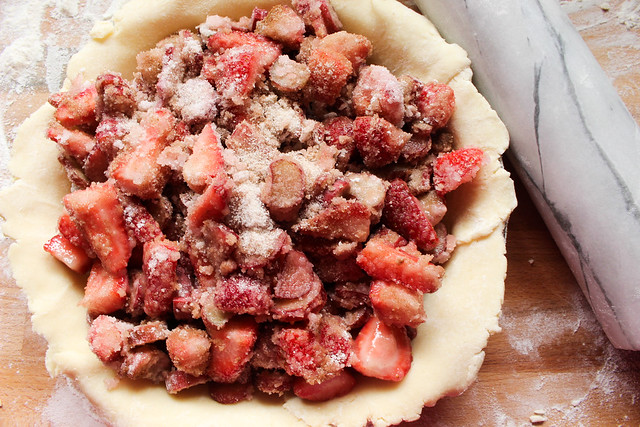
In a large bowl combine 2 1/2 cups of rhubarb, 2 1/2 cups of strawberries that have been quartered…
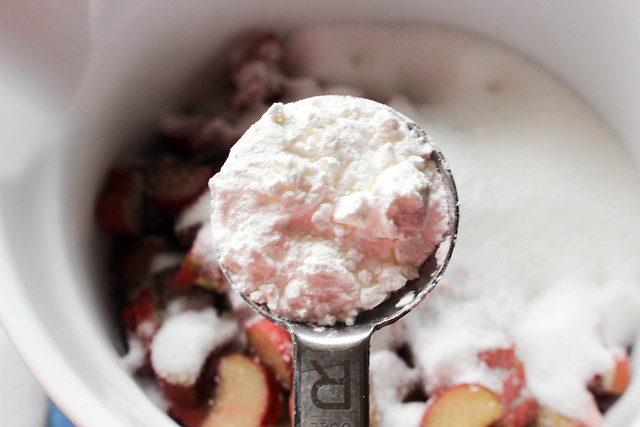
1 1/2 cups of sugar, 3 tbsp of cornstarch, 1/2 tsp cinnamon and a pinch of salt.
Bringing Everything Together
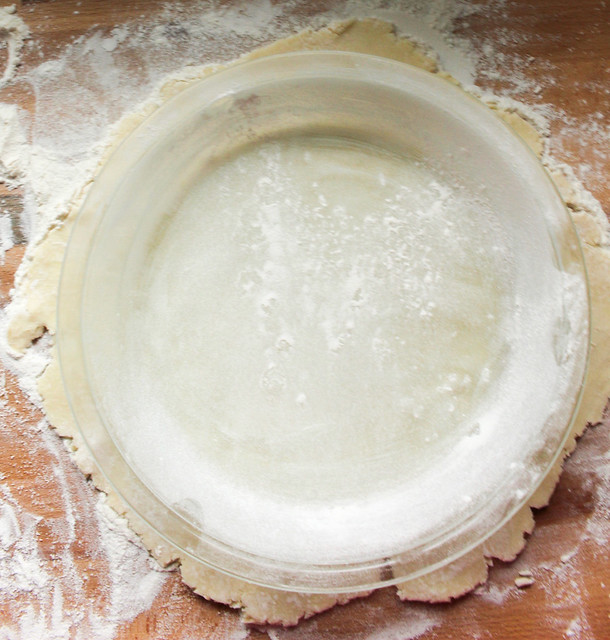
On a lightly floured surface, roll out the dough. I like to flip my dough over, turn little turns with it as I roll it out so it does not stick and there is minimal cracking. If the cracking is really bad right away, your dough is too cold. Let it sit at room temp for a while.
Add filling to pie crust.
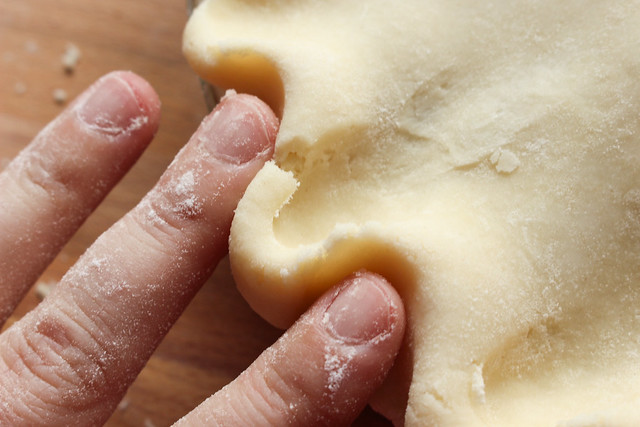
Roll out top crust, cover and fold over the bottom crust. Flute however you prefer. This is how my Auntie Laima taught me. Push with two fingers of your left hand and your right index finger (which you have to imagine in this photo).
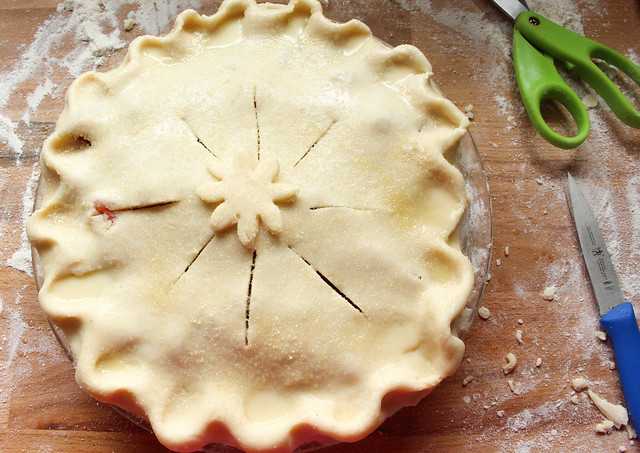
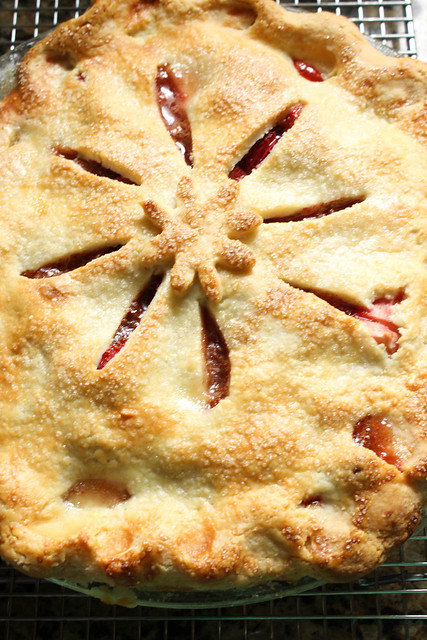
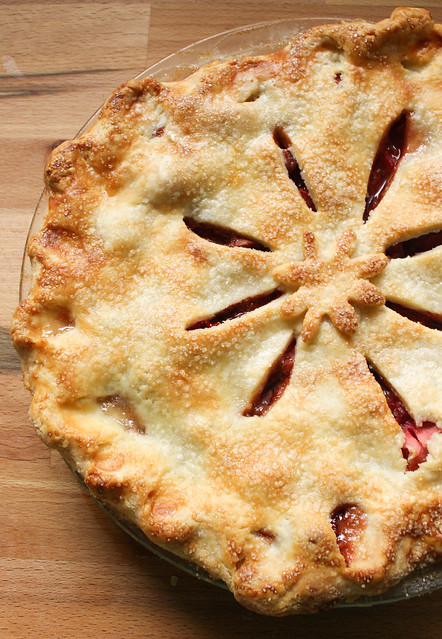
Cut some steam vents on the top, cover in an egg wash and add some decorative touches. Sprinkle with some sugar mixed with cinnamon.
Bake!
Cover a baking sheet with aluminum foil. Bake in a preheated 425F oven for 15 minutes and then reduce the heat to 375F. I only baked mine for 35 more minutes because I do not like a dark crust. Feel free to bake yours for up to 45 minutes but keep at eye on it!
Foodie Results
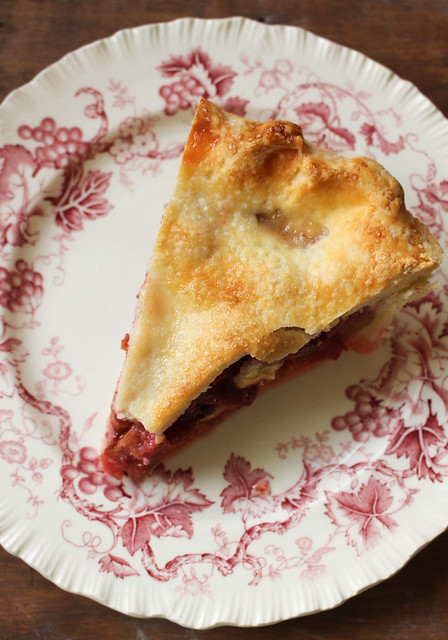
The 50/50 combo of shortening and butter ensures a super light and flaky crust that does not need protecting during baking time.
This is an unbelievably delicious pie. So good in fact Reg ate almost a third of it the first night we indulged!
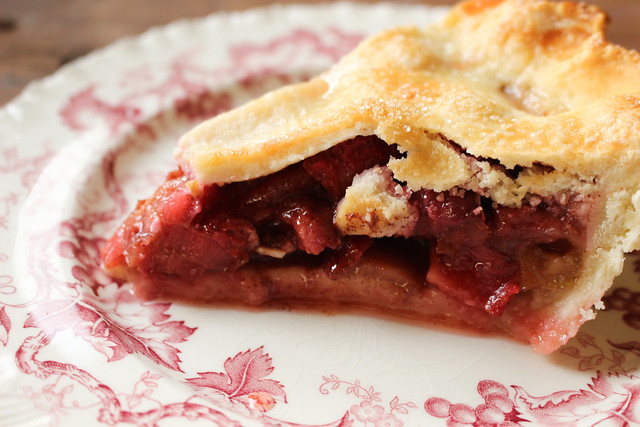
Yes, despite the cornstarch it will get quite soupy but that is one of the joys of strawberry rhubarb pie. No sauce necessary! It comes with its own delicious syrup that just screams summer is here!!!
Making your own pie from scratch is not at all hard once you get the hang of it at all. It is just a little time consuming but absolutely worth it! I hope this tutorial helped.


My favourite type of pie! I made your rhubarb-strawberry compote last year and it was delish! My Rare One’s rhubarb is almost ready for a first harvest so soon I’ll be making it again. Plus I found a great recipe for a strawberry-rhubarb-apple crumble which I want to try too.
Mine too Debra, so delicious! Oh wonderful, so glad the rhubarb-strawberry compote was a hit and how fabulous to use home-grown rhubarb. I dream of doing that one day! I have yet to make a crumble with strawberry rhubarb but maybe that is next??? Hope it is fantastic!
Been waiting for this post ever since you put up the pics. last week . Have about enough Rhubarb in the Garden for this and am really needing this for desserts.
Great tutorial and overall post as usual. Will message you pics. of my efforts.
That’s great you can use your own rhubarb to make this pie Wayne, I can not imagine how delicious that is going to be. Thank you! Glad the post was helpful and can’t wait to see your results Wayne. 🙂
Looks AMAZING!!!!!!!!
Thanks Ivy!!! I love making pies, glad it shows. 🙂