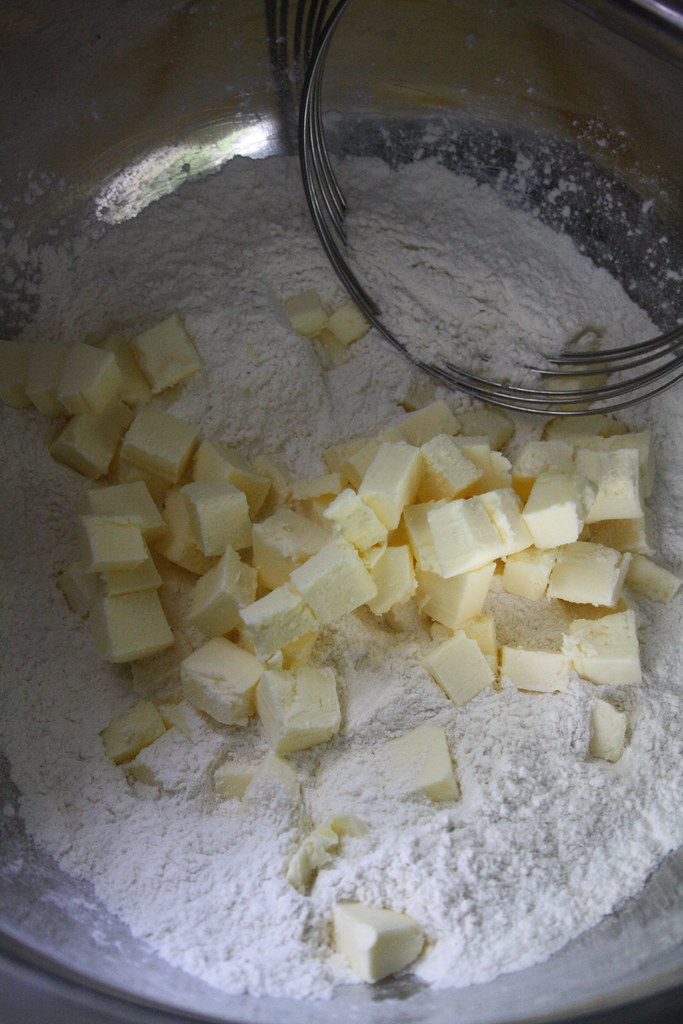
Above you can see some cold butter that I have cut into piece and put into some flour in a very deep stainless steel bowl. One of my pet peeves in the kitchen is mess. I like the deep bowl because I can be aggressive when mixing the flour and butter together with my pastry cutter and not have the dough go everywhere.
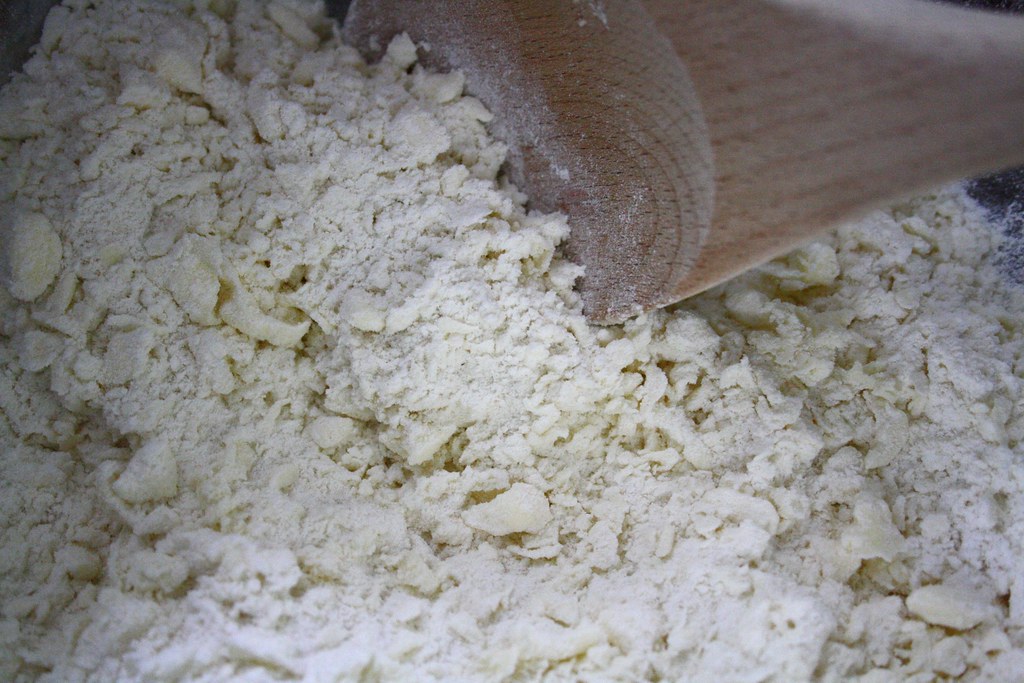
You know how in the directions for pie recipes they say break it up until it looks like coarse meal? Well this is what that looks like. Little pieces of butter broken up into the flour and you start to see a golden colour when you look at the dough. From here some people just add very cold water, others add egg…it depends on the recipe and how you like it. All I know is that most pie crusts require way more moisture than they say they do so do not be afraid to slowly add more and more until the dough comes together:
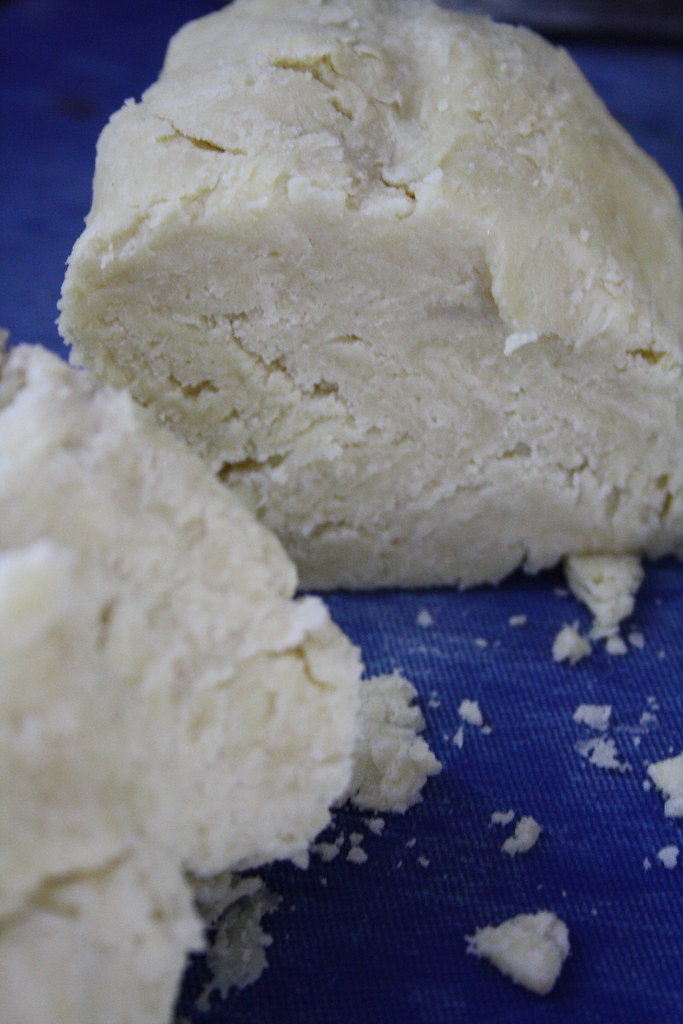
It has to stick together and stay together even after you divide the dough in half. If it crumbles apart, add more water! The key to a flakey pie crust is keeping the butter cold so from here you wrap each piece in plastic wrap, flatten into a disc for easy rolling and put them in the fridge for at least 30 minutes. While they are chilling in the fridge you can make the filling.
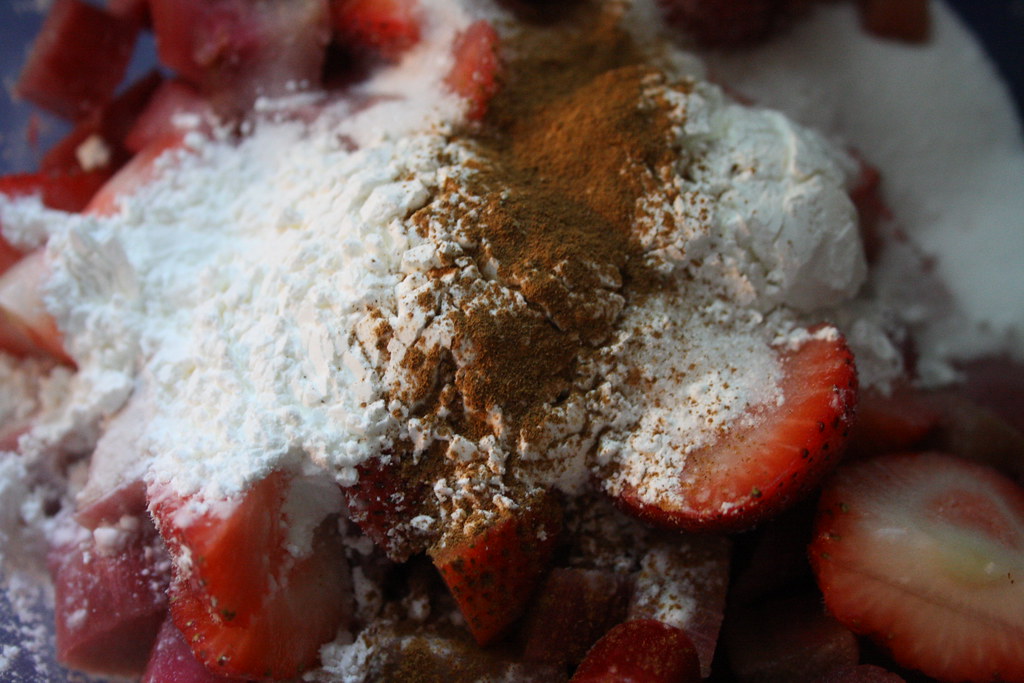
Here is my rhubarb and strawberry filling! I put together 3 cups of rhubarb with 3 cups of strawberries and topped them with 1 cup of sugar, 3 tbsp of cornstarch and 1/2 tsp of cinnamon. I used frozen rhubarb (anyone seen fresh rhubarb this year? not me!) and unfortunately it all defrosted and turned liquidy before I could put the pie in the oven. Oh well, it was still delicious! You can make any kind of filling you want here according to the seasons. Working with what is in season means baking with what is on sale = save some money!
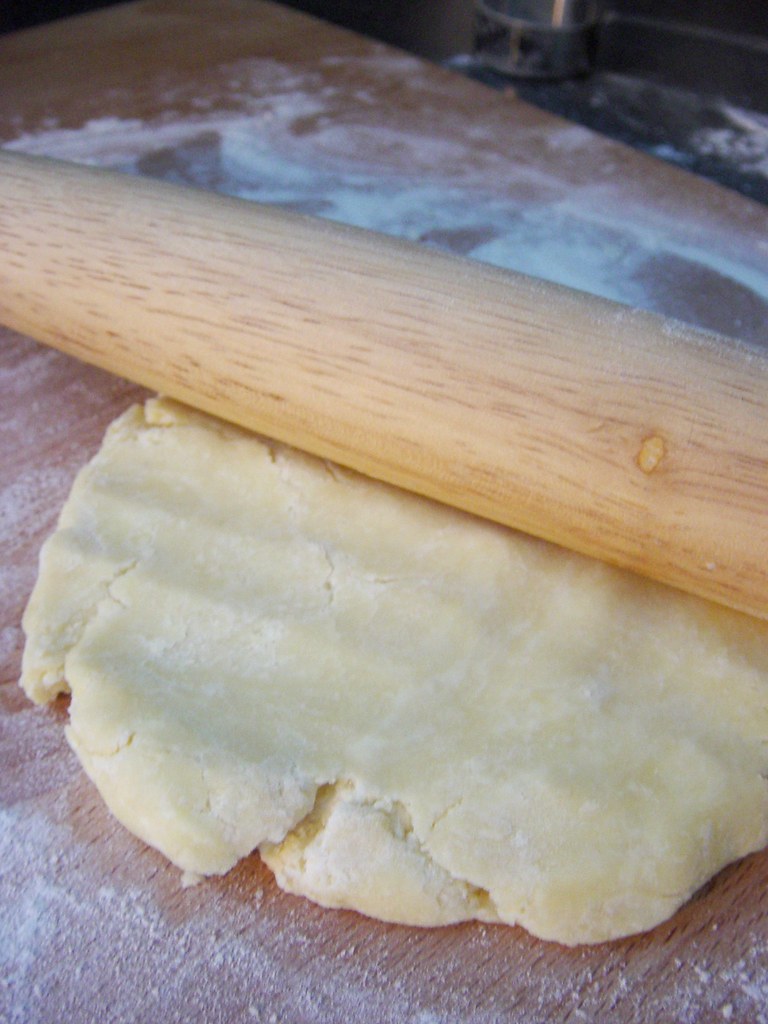
For those who dread rolling out the now super-hard dough I have a great trick I learned from Christine Cushing. Bang the hell out of it when you take it out of the fridge with your rolling pin! Seriously. I take my rolling pin and smack it a few times and then do a quarter turn. Once it is ready to roll, I roll from the center outwards (but not all the way) and then do a quarter turn and add more flour to the board or pin when it starts sticking.
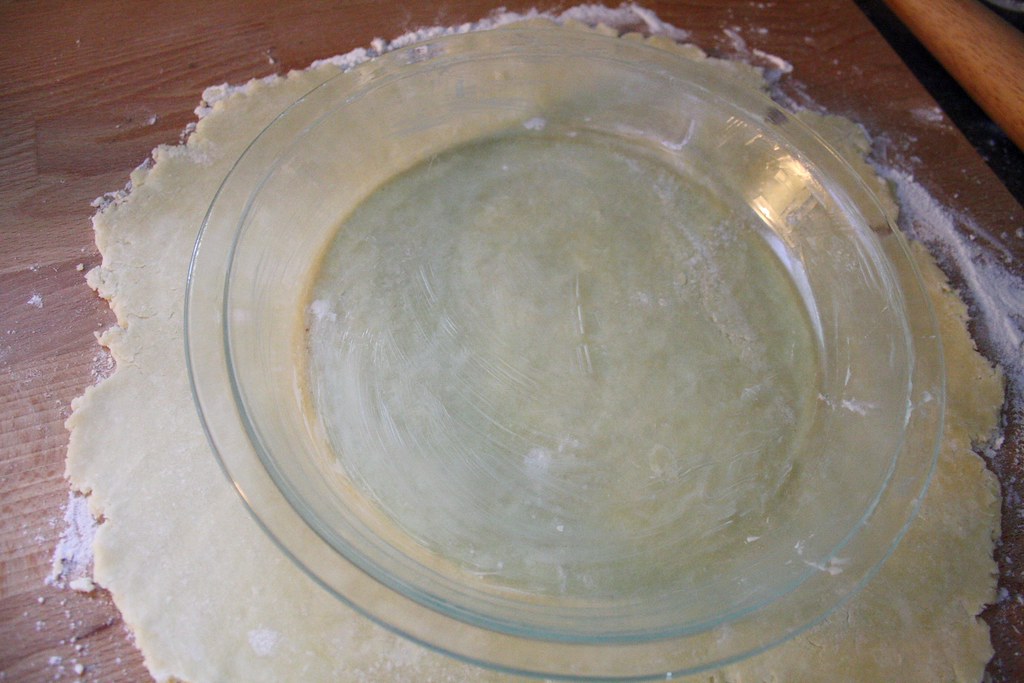
I am a visual person so in order for me to figure out if the dough is rolled out enough I put the buttered pie plate on top and make sure that it is going to fit.
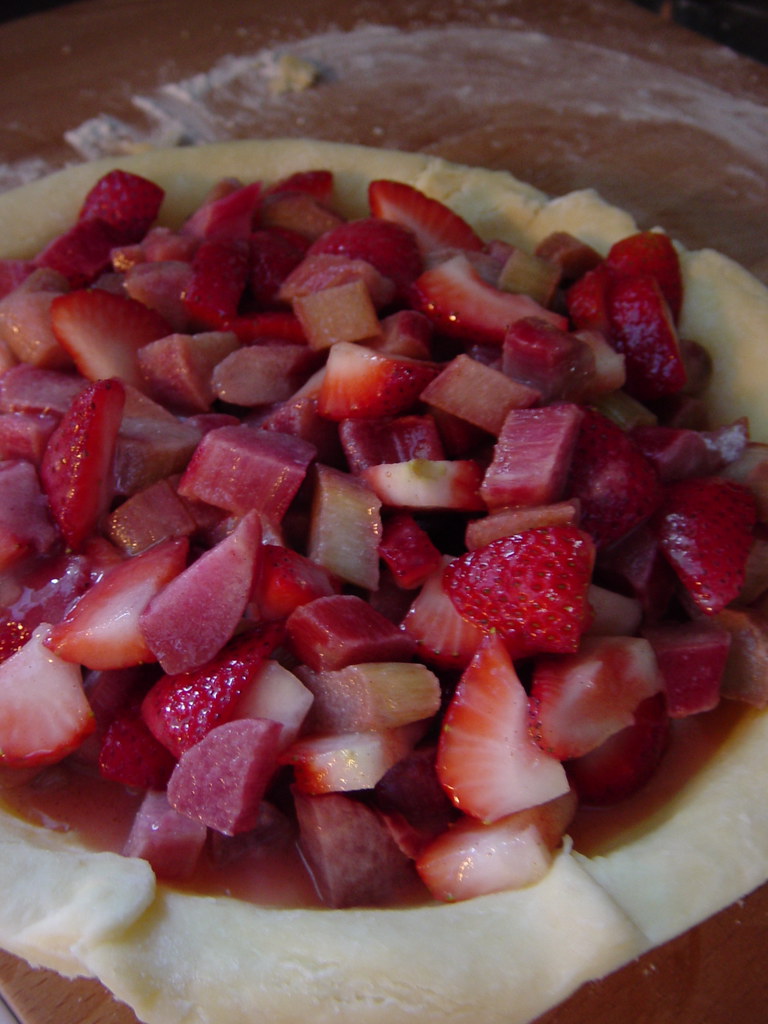
After moving the pastry to the pie plate by draping it over my rolling pin and using that as a means of getting it from the board into the pie plate in one piece, I add the filling. See all the juices? The sugar macerated all the liquid out of the fruit as well as all the frozen rhubarb liquid thawing out, LOL. Oh well, soupy but so good! I also used my kitchen scissors to trim the bottom crust using the pie plate as a guide.
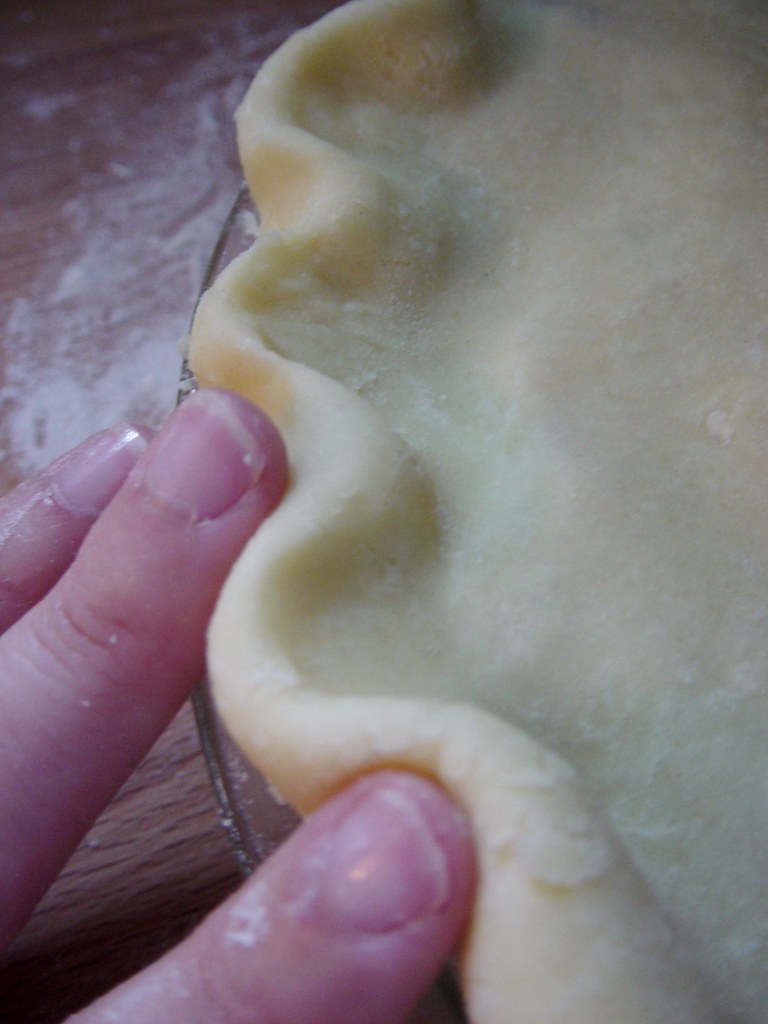
Then I rolled out the other half of the dough and draped it on top. I trimmed it with the scissors so that it was long enough to tuck over the bottom crust and then I did this cinching method that my Auntie Laima taught me! I use my right finger to make that little divot between my two left fingers. Taking that picture was absolutely impossible though so you get the idea here!
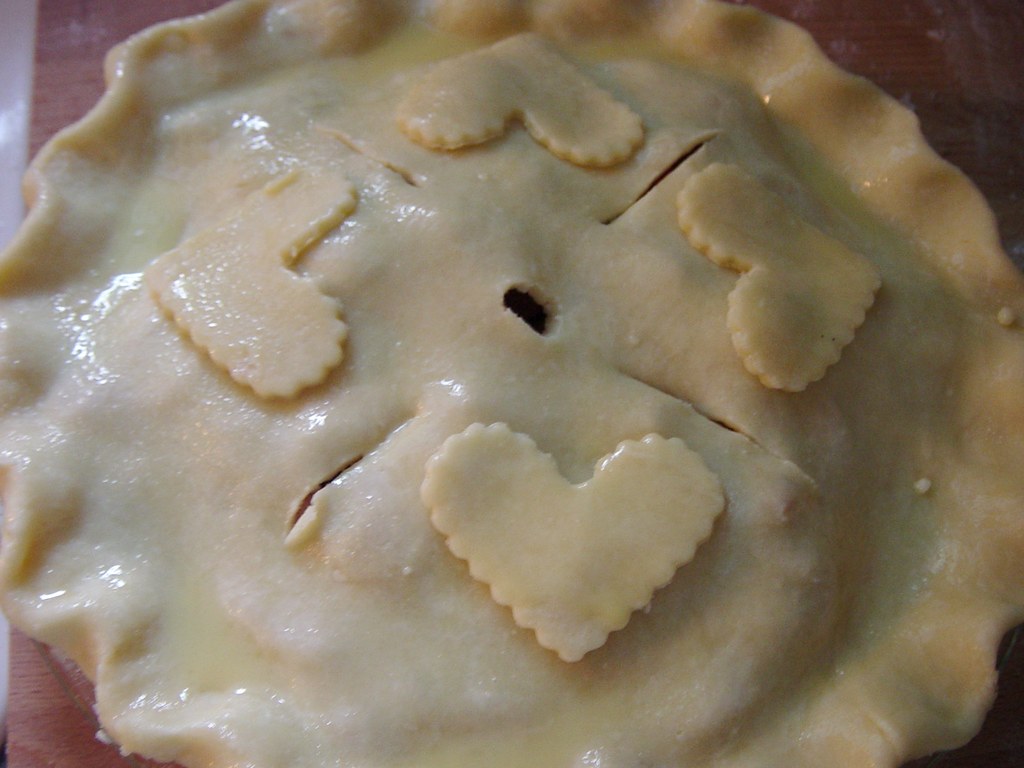
I used the extra dough to make cutout hearts for decoration. I also cut a hole and some slits for the air to escape. I mixed a little water into a beaten egg and used a pastry brush to add the egg wash which gives the crust nice colour. I put some underneath the little hearts too to help them bind. Then I sprinkled the pie with granulated sugar and baked at 400F for 20 minutes and then down to 350F for around 30 minutes, watching like a hawk to make sure it comes out just as it is turning golden:
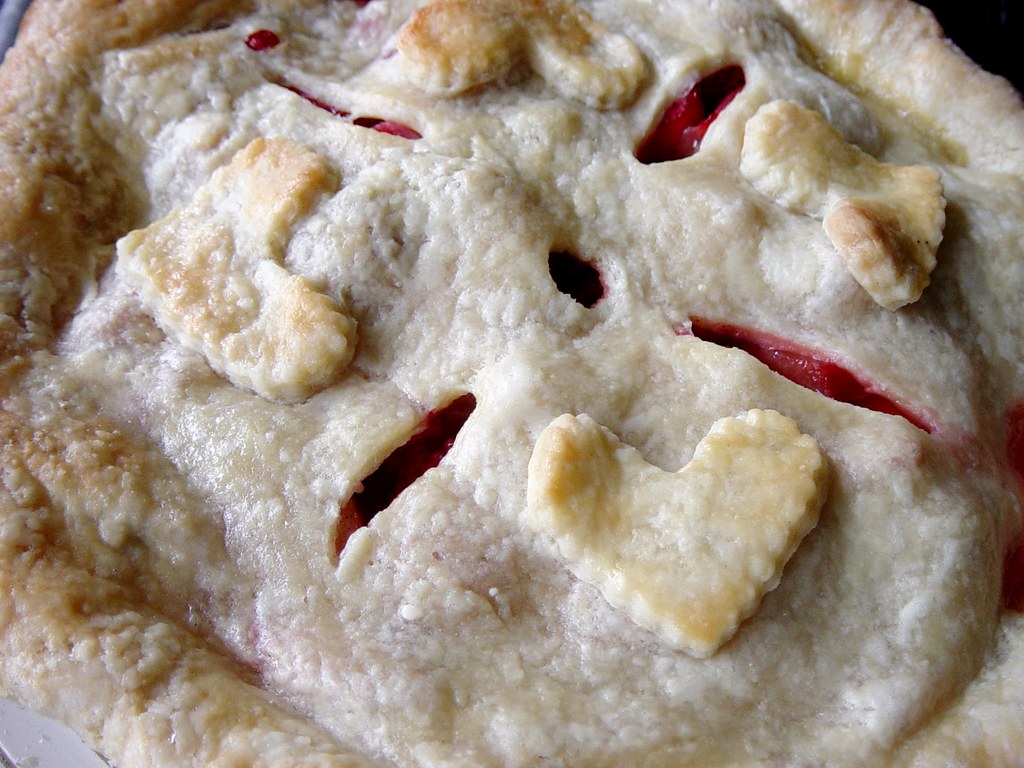
Perfect! Mostly golden, completely cooked but not over baked. We have had a very difficult week here and this is our ultimate comfort food. I do not make pies all the time because there is a lot involved but wow, the payoff is astounding and totally worth it. And even though it does not feel like summer here, nothing tastes more like summer than strawberry rhubarb pie.


Beautiful! Love the step by steps. Very helpful! & how cute are the hearts on top! I could eat the whole thing!
My mouth is watering!
Oooooo thank you!! I used to make the most wonderful crusts – not much any more they keep turning out lead..I will try again!! Hugs, Sarah
Fabulous!
You know, every time I see your tutorials I think the same thing – I want to come over!
🙂
I have pie love. The way you show it seems simple. I always say I want to do an apple pie. I should try it before summmer’s end. I like how you did the hearts on top.
THanks for doing this tutorial! I’ll have to take another look at this the next time I made pie crust.. that is.. if I make pie crust..haha
oh this is great! I want to make a strawberry pie!
xo
My pie crusts always turned out dry, hard and tasteless and I’d pretty much given up on making another one, until I tried adding more water, like you said, and my crust was perfect! In fact, it was so great, after we ate the strawberry rhubarb I made a banoffee pie and then mini bacon onion quiches. Thank you!
Samitestar, thank you so much for your comment! It’s people like you who inspire me to keep posting. It’s so simple, adding more water, but until someone mentions it we are left with crappy crusts, LOL. Wow, Banoffee pie! That is one I have to try. So happy it’s working for you now.
Suzie, I can’t believe how many times I found recipes that had the same amounts of dry to wet ingredients and never mentioned adding extra water, in fact, some recipe books cautioned against it! It’s almost like a pie conspiracy.
You should try banoffee, I don’t think I’ve ever had such a yummy combination.
Such a simple thing Samitestar that has made all the difference in the world to my baking and yet no one talks about it! Caution against it? It is much easier to deal with a wet dough than a too-dry dough. Banoffee, man, I just love the sound of that pie.