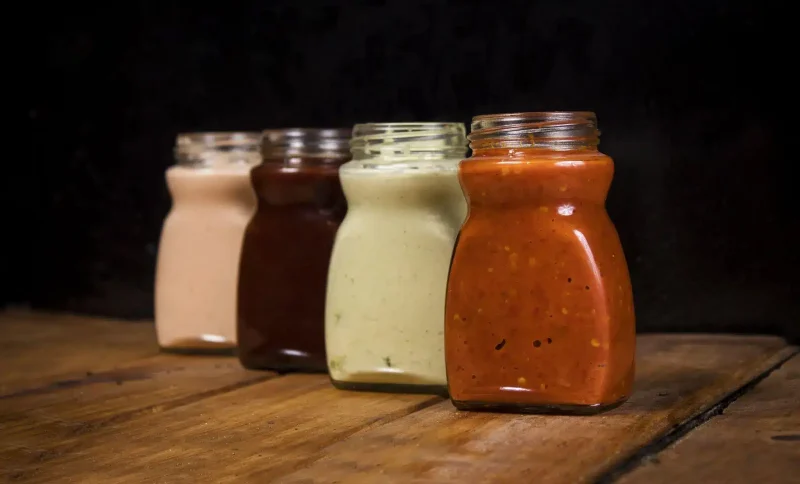
If you make salad dressing, chili sauce or flavored syrup in batches, you probably know the masking tape and marker routine. It works for about a week. Then the tape curls, the marker smudges, and somebody has to sniff the bottle to figure out what’s inside.
Custom roll labels for bottles fix that, and they’re not just for people selling at a farmers market. Plenty of home cooks use them for gifts, pantry refills and the sauce everyone keeps asking for. A little planning goes a long way, though, because a label that looks great on screen can wrinkle or peel once it’s wrapped around a bottle.
When Rolls Make More Sense Than Sheets
Sheet labels are fine for a few jars. Once you’re labeling bottles in bigger batches, rolls start to make more sense.
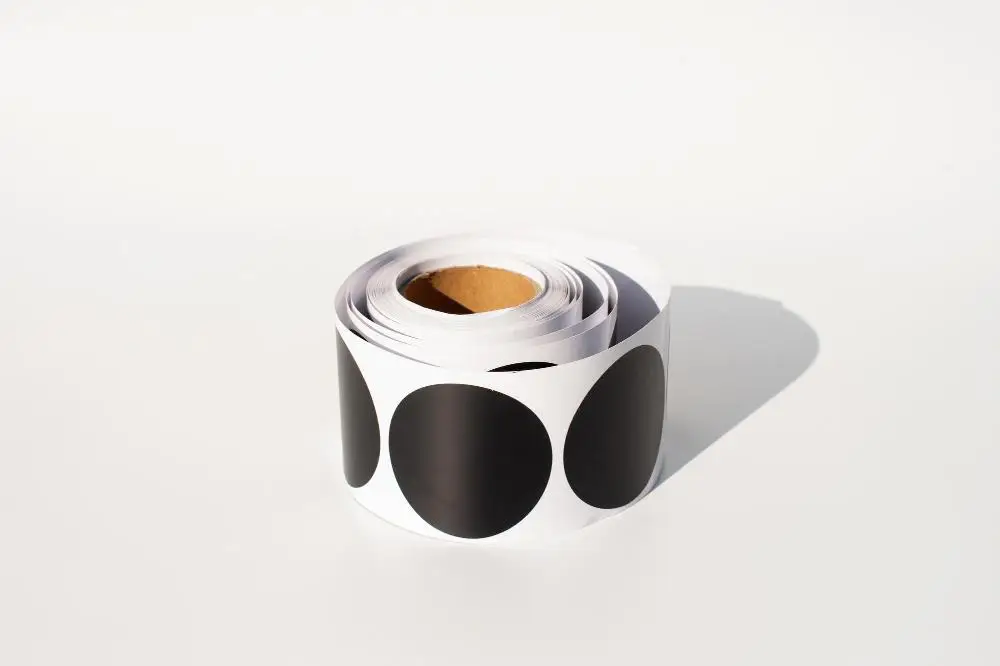
The labels sit in a single line on a backing strip, so you can peel and apply them one after another without lining up a sheet each time. That can make labeling a larger batch quicker and more consistent. Stickerbeat’s custom roll labels, for example, start at a 200-label minimum, which suits anyone making the same sauce over and over but is more than a one-off batch of twelve bottles needs.
Rolls make consistency easier, too. Using the same design across a batch gives homemade bottles a more consistent, finished appearance.
Pick a Material That Can Handle the Kitchen
Bottles get handled with wet hands, oily fingers and the occasional spill. Plain paper labels can soak through and tear, especially on oil or dressing bottles.
Film labels, like BOPP (a type of polypropylene), are widely used in food and beverage packaging because they hold up better to water and oil. If your bottles get wiped down or rinsed on the outside, film is usually the safer pick.
Then there’s the finish:
- Gloss makes colors look brighter and suits bold, colorful designs.
- Matte cuts glare and can give the label a softer look. If you want to write a batch date by hand, test the specific label material with your chosen pen first.
What to Put on the Label
For gifts and your own pantry, there are no hard rules. A name, a date and the main ingredients cover most needs. Still, a few details make the label more useful for whoever ends up with the bottle.
|
Label detail |
Why it helps |
|
Product name |
Tells people what’s in the bottle at a glance |
|
Date made |
Helps you use older batches before newer ones |
|
Ingredient list |
Useful for guests with dietary preferences |
|
Allergens |
Flags anything someone may need to avoid |
|
Your name or kitchen name |
Makes gifts feel personal and traceable |
Allergens deserve extra care, even on gifts. The FDA’s overview of major food allergens lists nine of them: milk, eggs, fish, crustacean shellfish, tree nuts, peanuts, wheat, soybeans and sesame. For most packaged foods regulated by the FDA, major allergens must be identified by their food source, either in the ingredient list or in a separate “Contains” statement.
Selling is a different story. Rules for homemade food sales vary by state, and labels are usually part of them. Minnesota’s cottage food labeling requirements, for example, call for your name or business name, your registration number or address, the date the food was made, a required advisory statement, ingredients listed by weight and any major allergens. That’s one state, so check your own state’s rules before you print a big run.
Size the Label to the Bottle
This is the part people skip, and it’s where most label problems start.
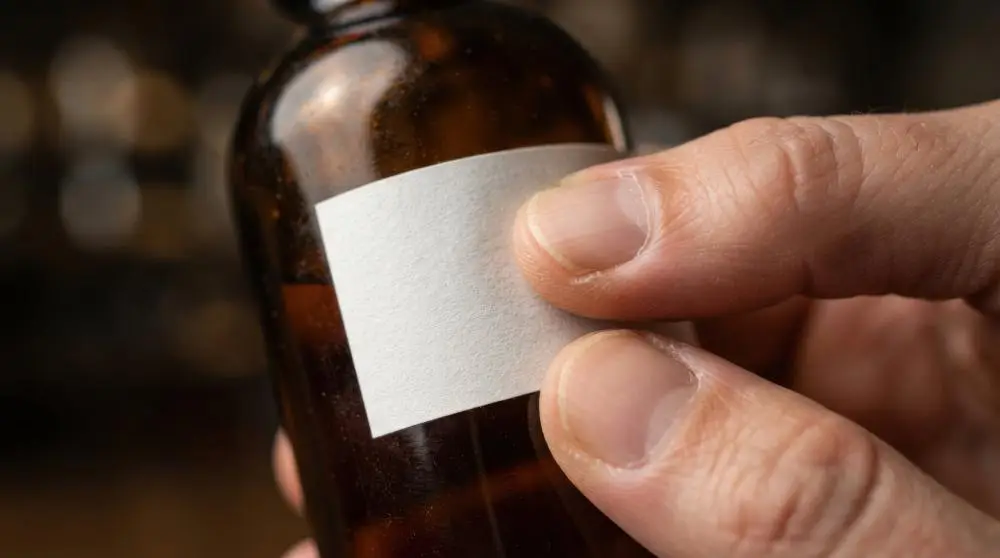
Measure the flat or gently curved area of the bottle, not the whole bottle. Shoulders, necks and tapered bases make labels wrinkle or lift at the edges. A round woozy bottle, a square dressing bottle and a tall swing-top bottle all need different shapes and sizes.
A quick trick: cut a paper rectangle to your planned size and tape it on. If it puckers or hangs over a curve, go smaller or switch to a custom shape that follows the bottle’s lines.
For a practical example, Stickerbeat’s listing for custom roll labels for bottles spells out the film material, finish choices and file requirements in one place. It’s worth checking those details before you finalize a design, since every printer sets its own size range and minimum order.
Design Details That Read Well on a Curved Surface
A design that looks balanced on a flat screen can feel cramped once it bends around a bottle. A few habits help:
- Keep text away from the edges. Words near the edge are the ones that curve out of view.
- Use high contrast. Dark text on a light background is easier to read on a shelf or a market table.
- Pick a readable font size for the ingredient and allergen lines, even if the product name gets the spotlight.
- Set up the file for print. Check your printer’s file requirements before uploading the design. Some printers ask for CMYK color mode and 300 dpi.
So keep the front simple. The product name and one visual element are often enough, and the details can go on a smaller back label if the bottle has room.
A Few Ways Home Cooks Use Them
Once the labels exist, they tend to get used for more than one thing:
- Holiday gift sets of dressings, syrups or infused oils
- Pantry refills, so the bulk vinegar or homemade stock never gets mixed up
- Potluck and party bottles, with the allergen line visible for guests
- Small farmers market or bake sale runs, where they’re allowed under local rules
A Finishing Touch for Homemade Favorites
Not every bottle needs a printed label. But for the sauce you make every month, the one people request by name, a proper label makes the whole thing feel finished. And nobody has to sniff it anymore.