


Once you make gravy from scratch, those store packets won’t stand a chance.
There’s something special about the moment you pour that silky, golden sauce; it’s rich, cozy, and full of real flavor.
With just a few simple ingredients and a whisk, you can turn an ordinary meal into pure comfort. Each spoonful brings warmth and depth that packaged versions can’t touch.
The beauty of homemade gravy is in the control; you decide the seasoning, texture, and richness.
No additives, no shortcuts, just honest flavor made from your kitchen. After one taste, you’ll never look back. Homemade gravy simply feels right.
The Role of Gravy in Comfort Cooking
Few sauces can tie a meal together like well-made gravy. This finishing touch adds moisture and richness while creating restaurant-level polish for everyday dinners and holiday feasts alike.
From weeknight rotisserie chicken to Thanksgiving turkey, gravy transforms good food into memorable meals.
Mastering this skill builds confidence for other mother sauces and techniques.
Think of gravy as the bridge between components on your plate: mashed potatoes meet roasted proteins, stuffing gains depth, and vegetables become more appealing when draped in this silky sauce.
Ingredients You’ll Need
|
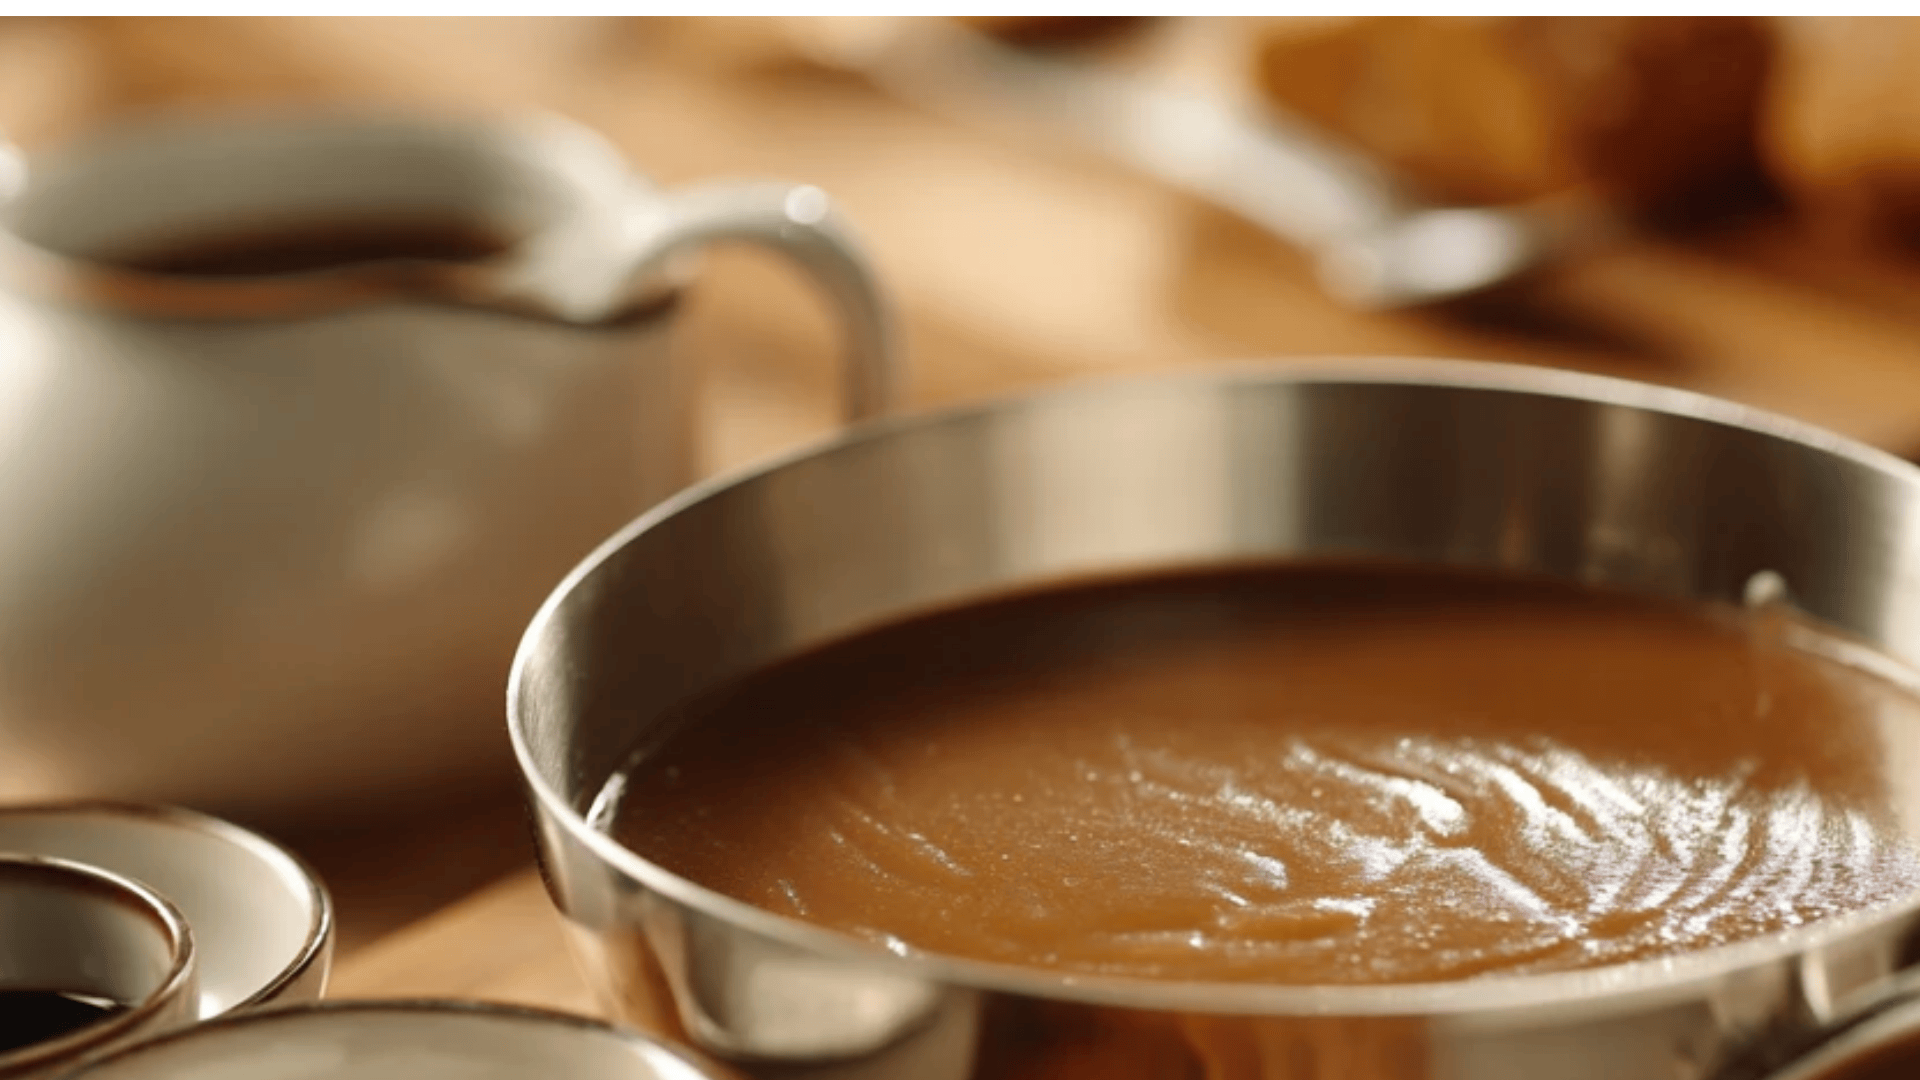
Making Gravy from Scratch
With simple ingredients, a whisk, and a few minutes of patience, you can create a rich, smooth, and flavorful sauce that transforms any meal into something warm, comforting, and homemade.
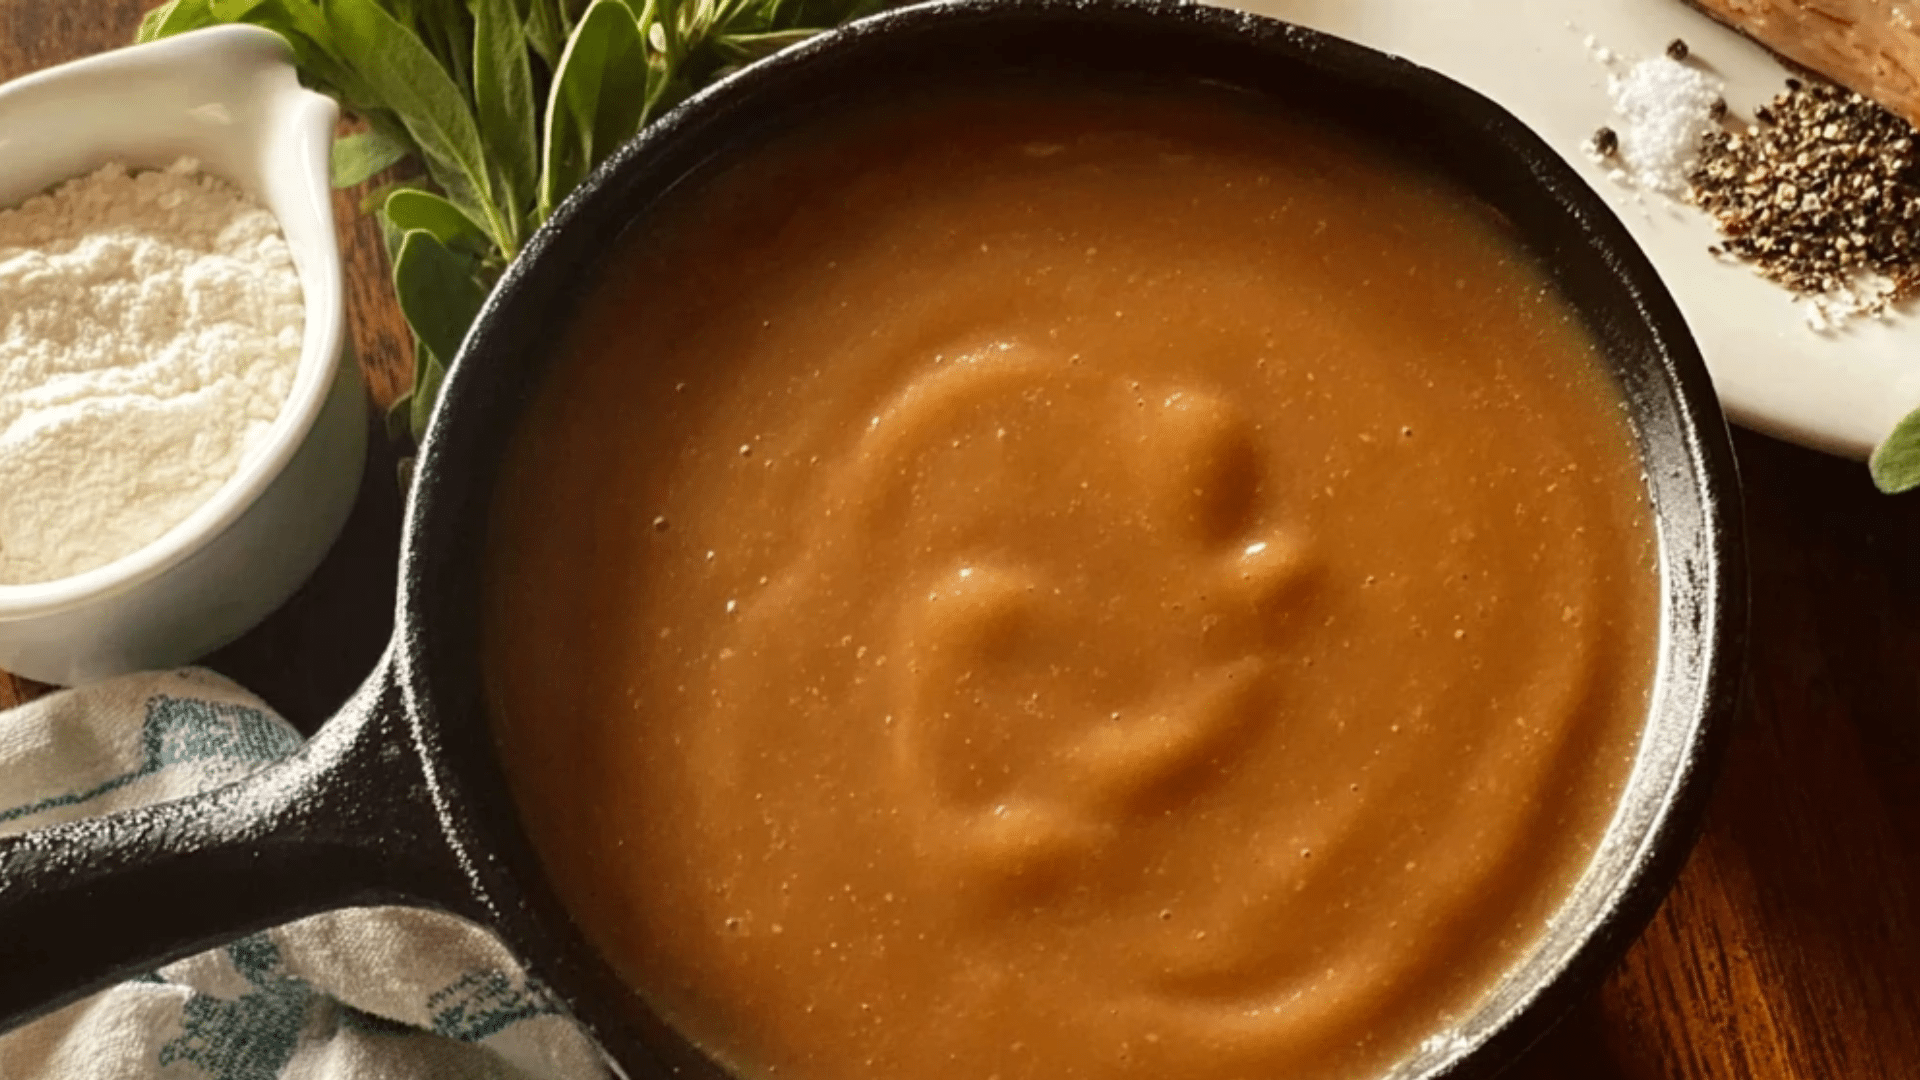
Step 1: Melt the Fat
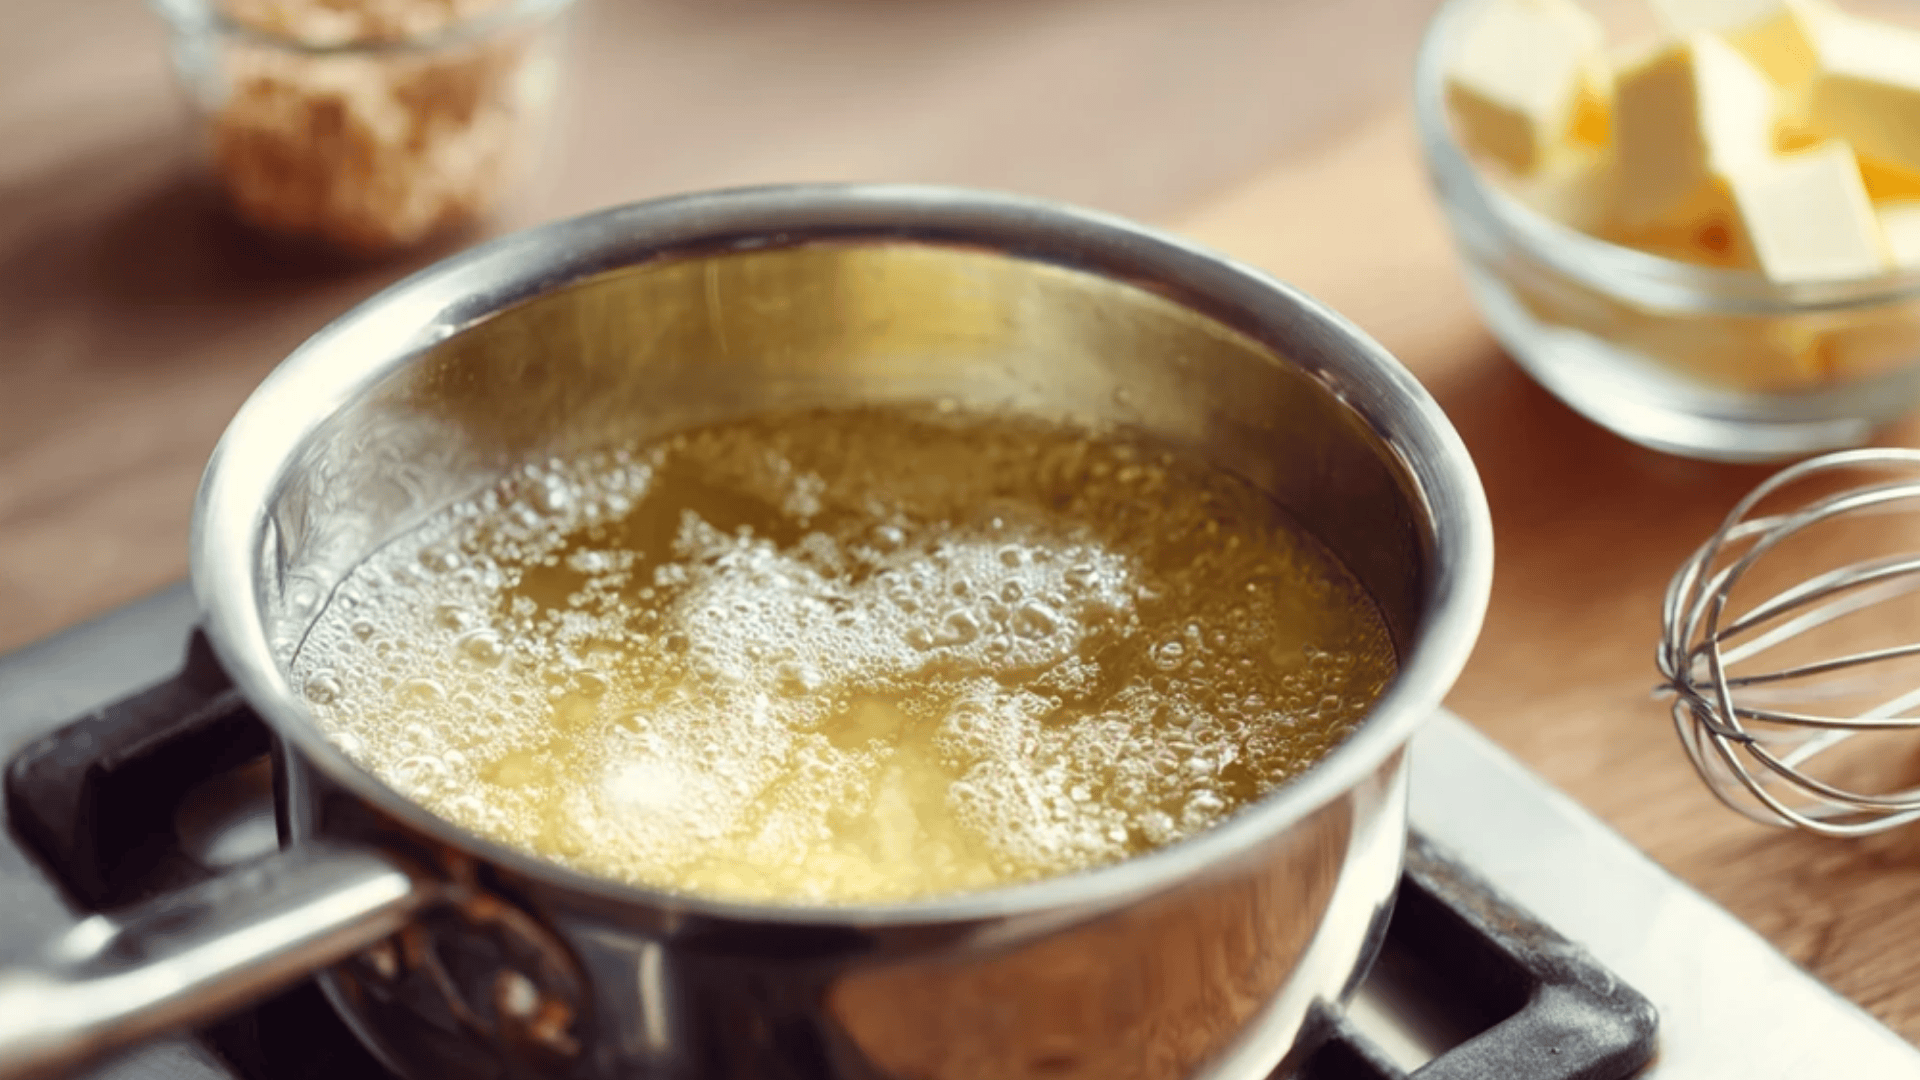
Start by placing a saucepan over medium heat and adding butter. Let it melt completely, swirling the pan to ensure even coating. Avoid browning; you want a light golden base.
This step builds the foundation for rich, balanced flavor and silky texture when making gravy from scratch.
Step 2: Create the Roux
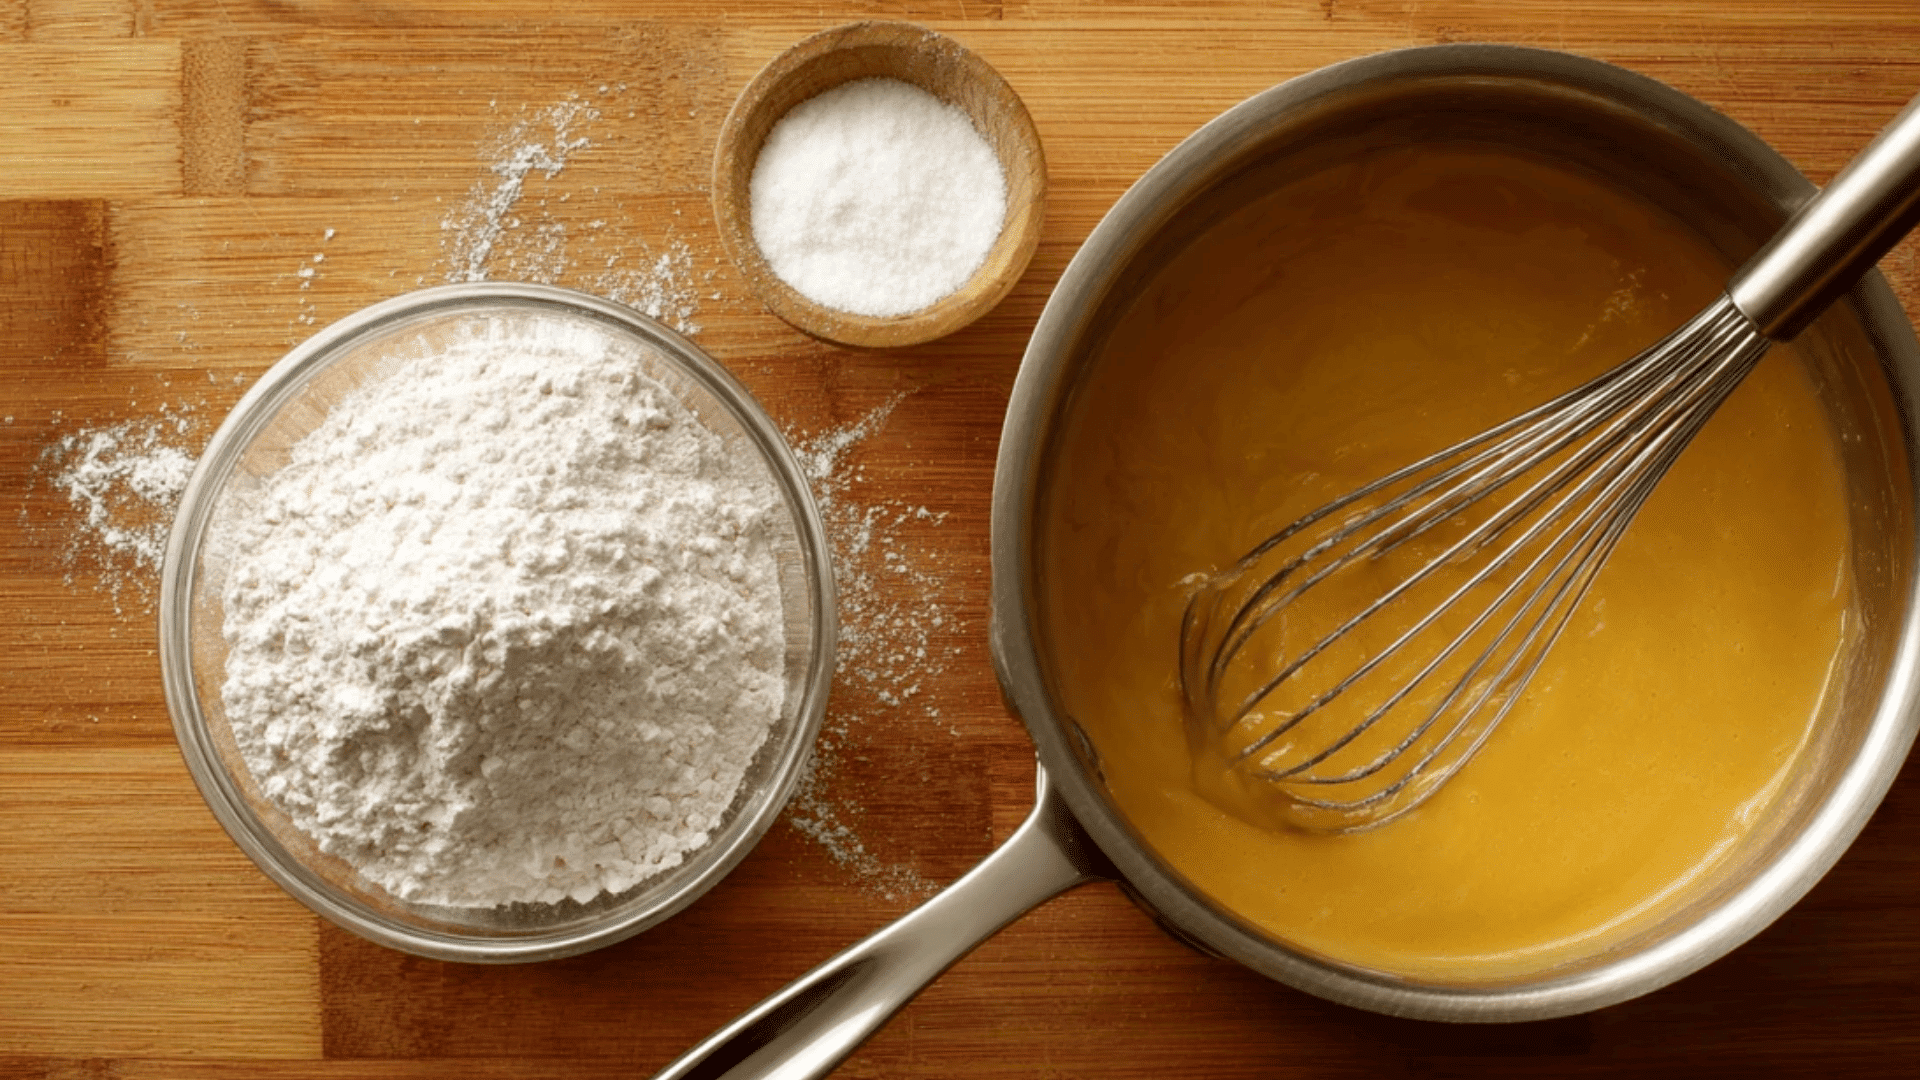
First, remove the pan from the flame and sprinkle flour evenly over the melted butter. Then, return the pan to the heat and whisk constantly for 3–5 minutes, until the mixture is golden and aromatic.
This process removes the raw flour taste, giving your gravy body and depth. A good roux is the secret to making gravy from scratch that’s smooth, thick, and flavorful.
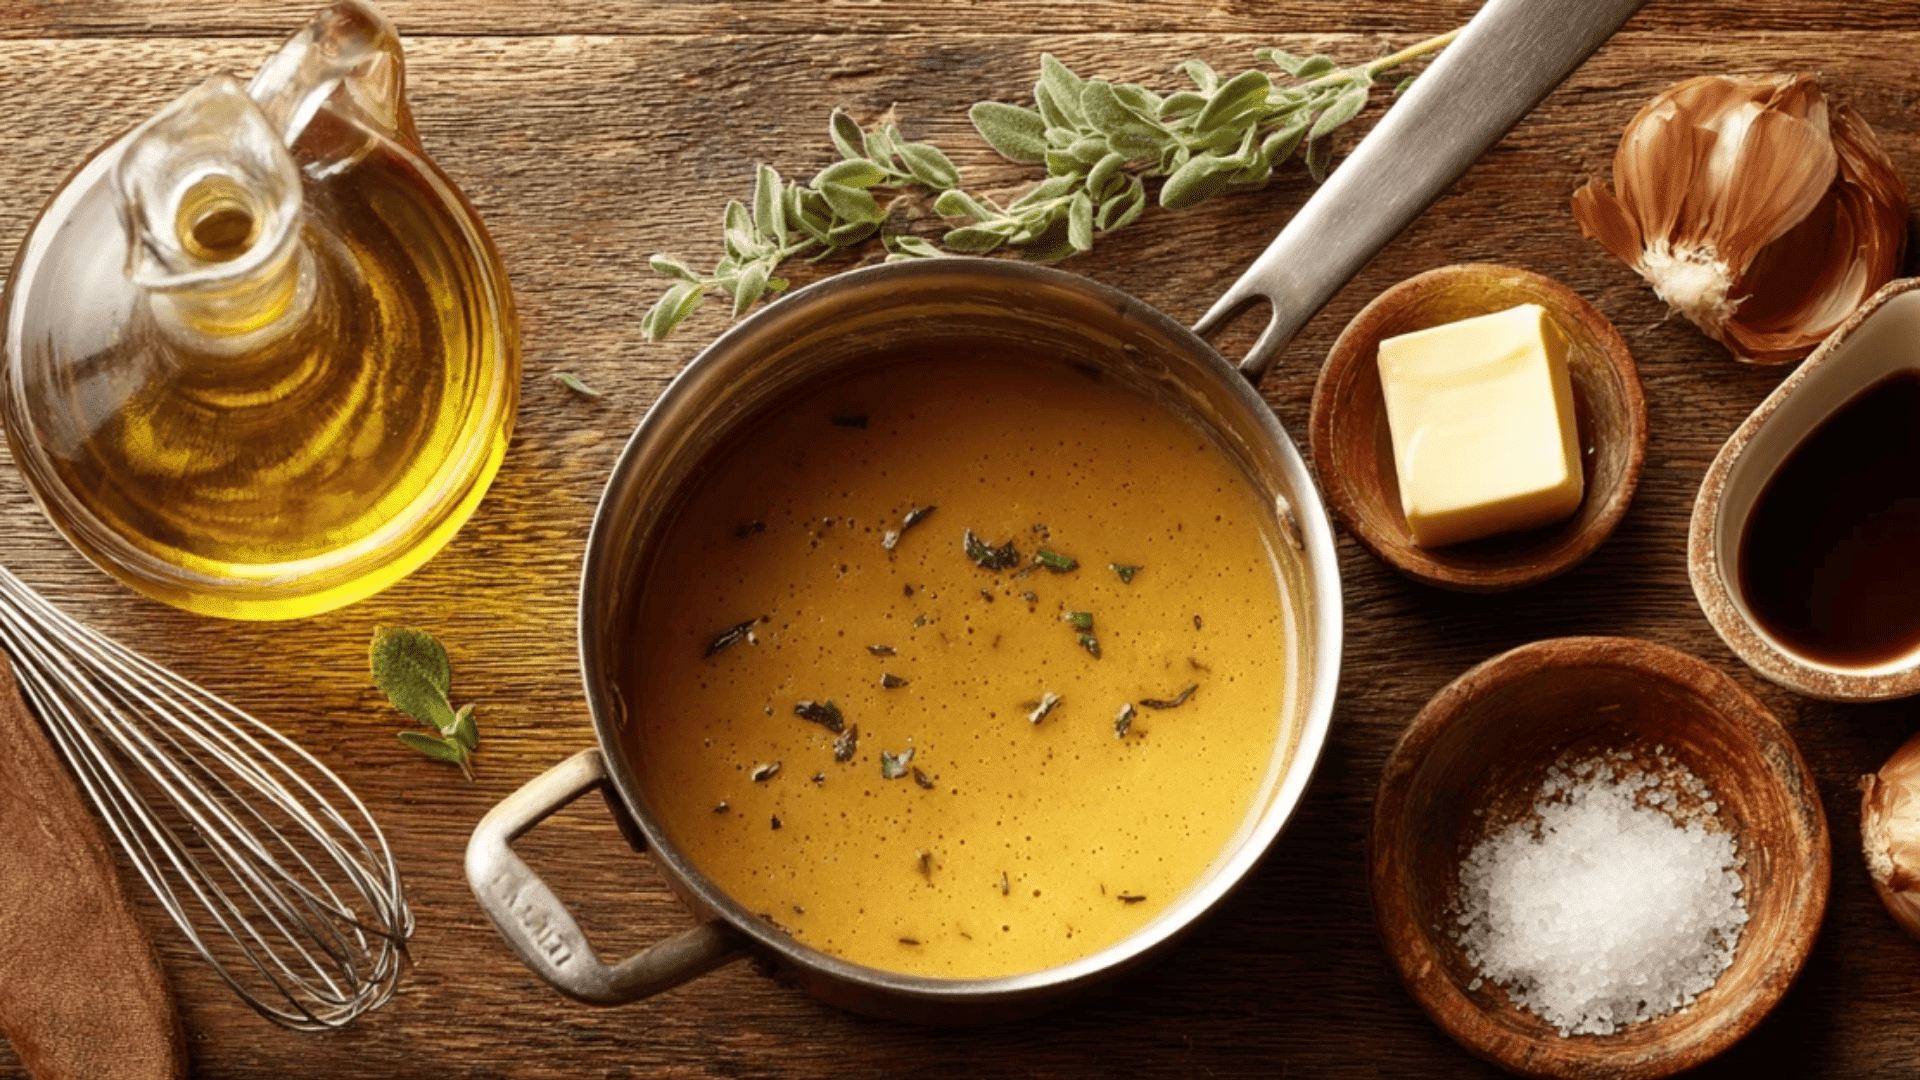
Step 3: Add the Liquid
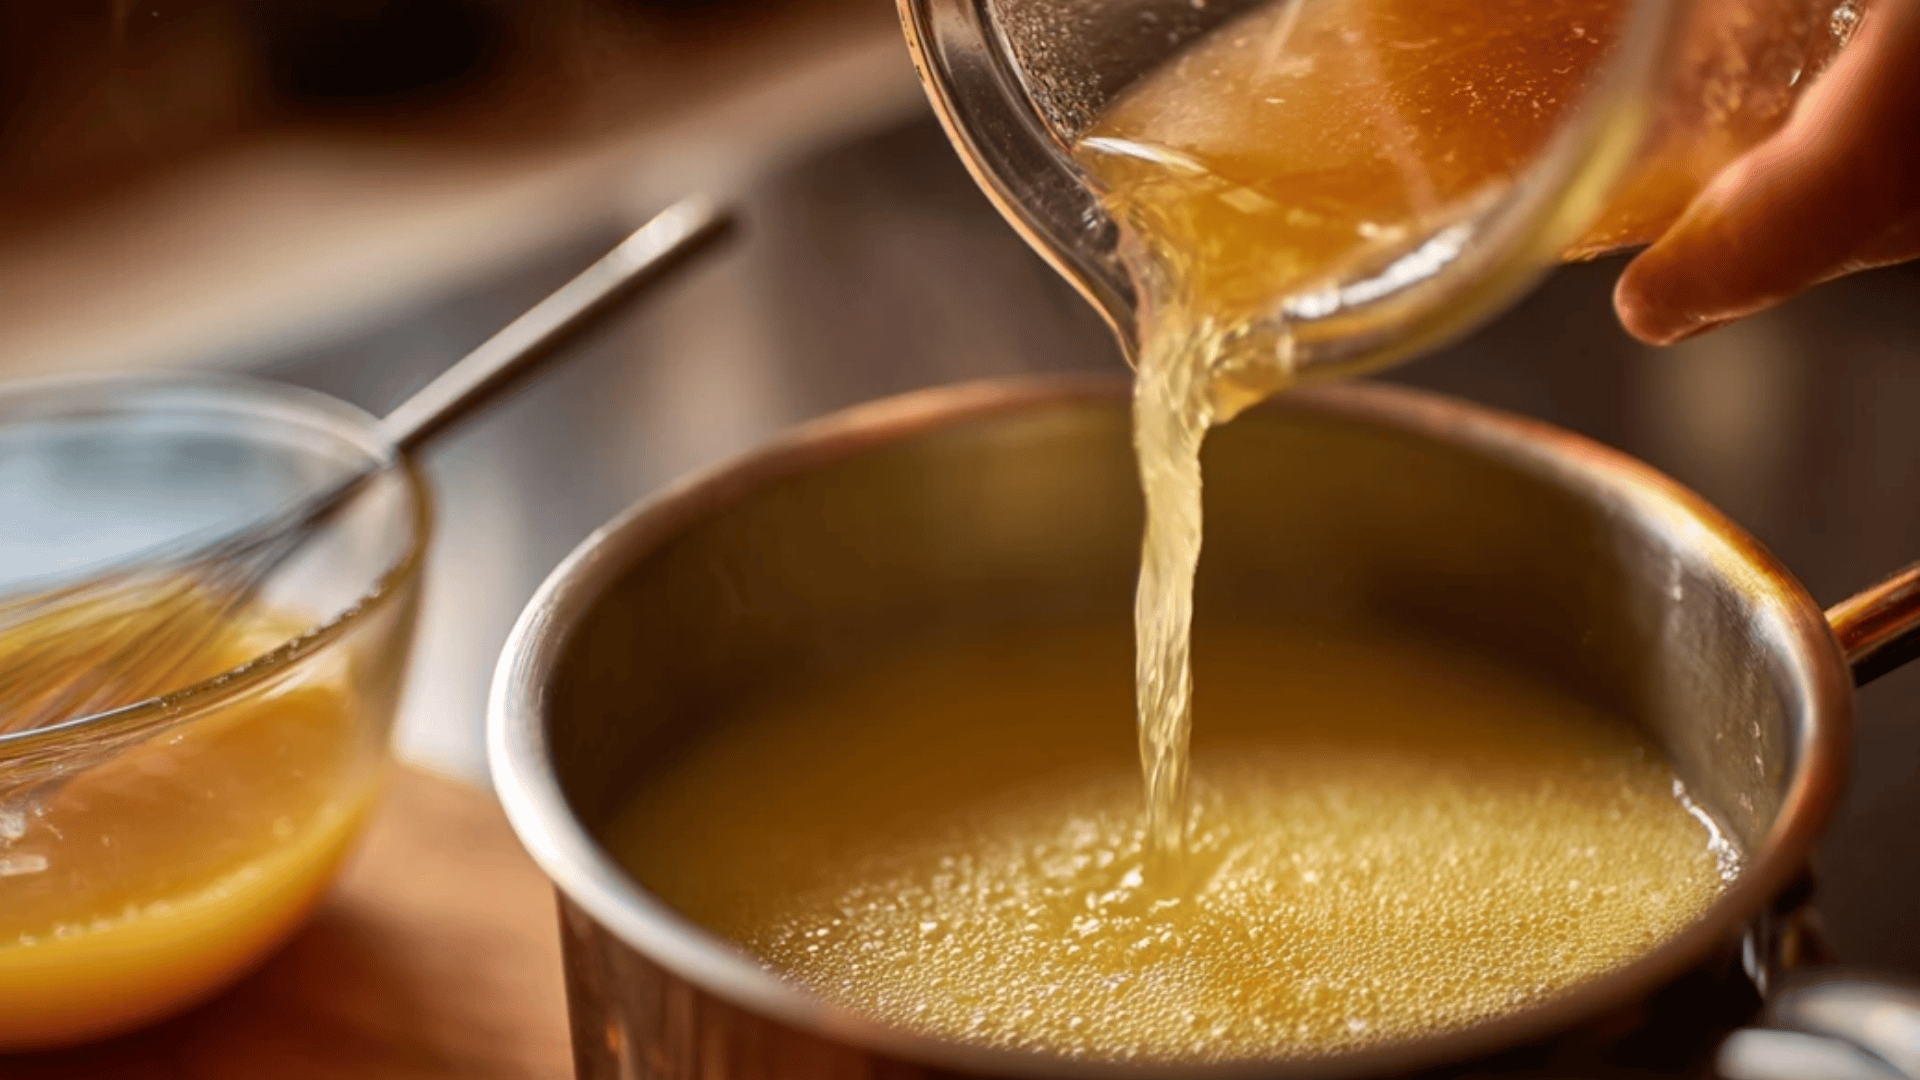
Slowly pour in warm stock while whisking nonstop to prevent lumps. Gradual mixing helps the roux blend perfectly, creating a creamy consistency.
Keep whisking as the sauce thickens and turns glossy. This is where making gravy from scratch starts to feel effortless and rewarding.
Step 4: Simmer to Thicken
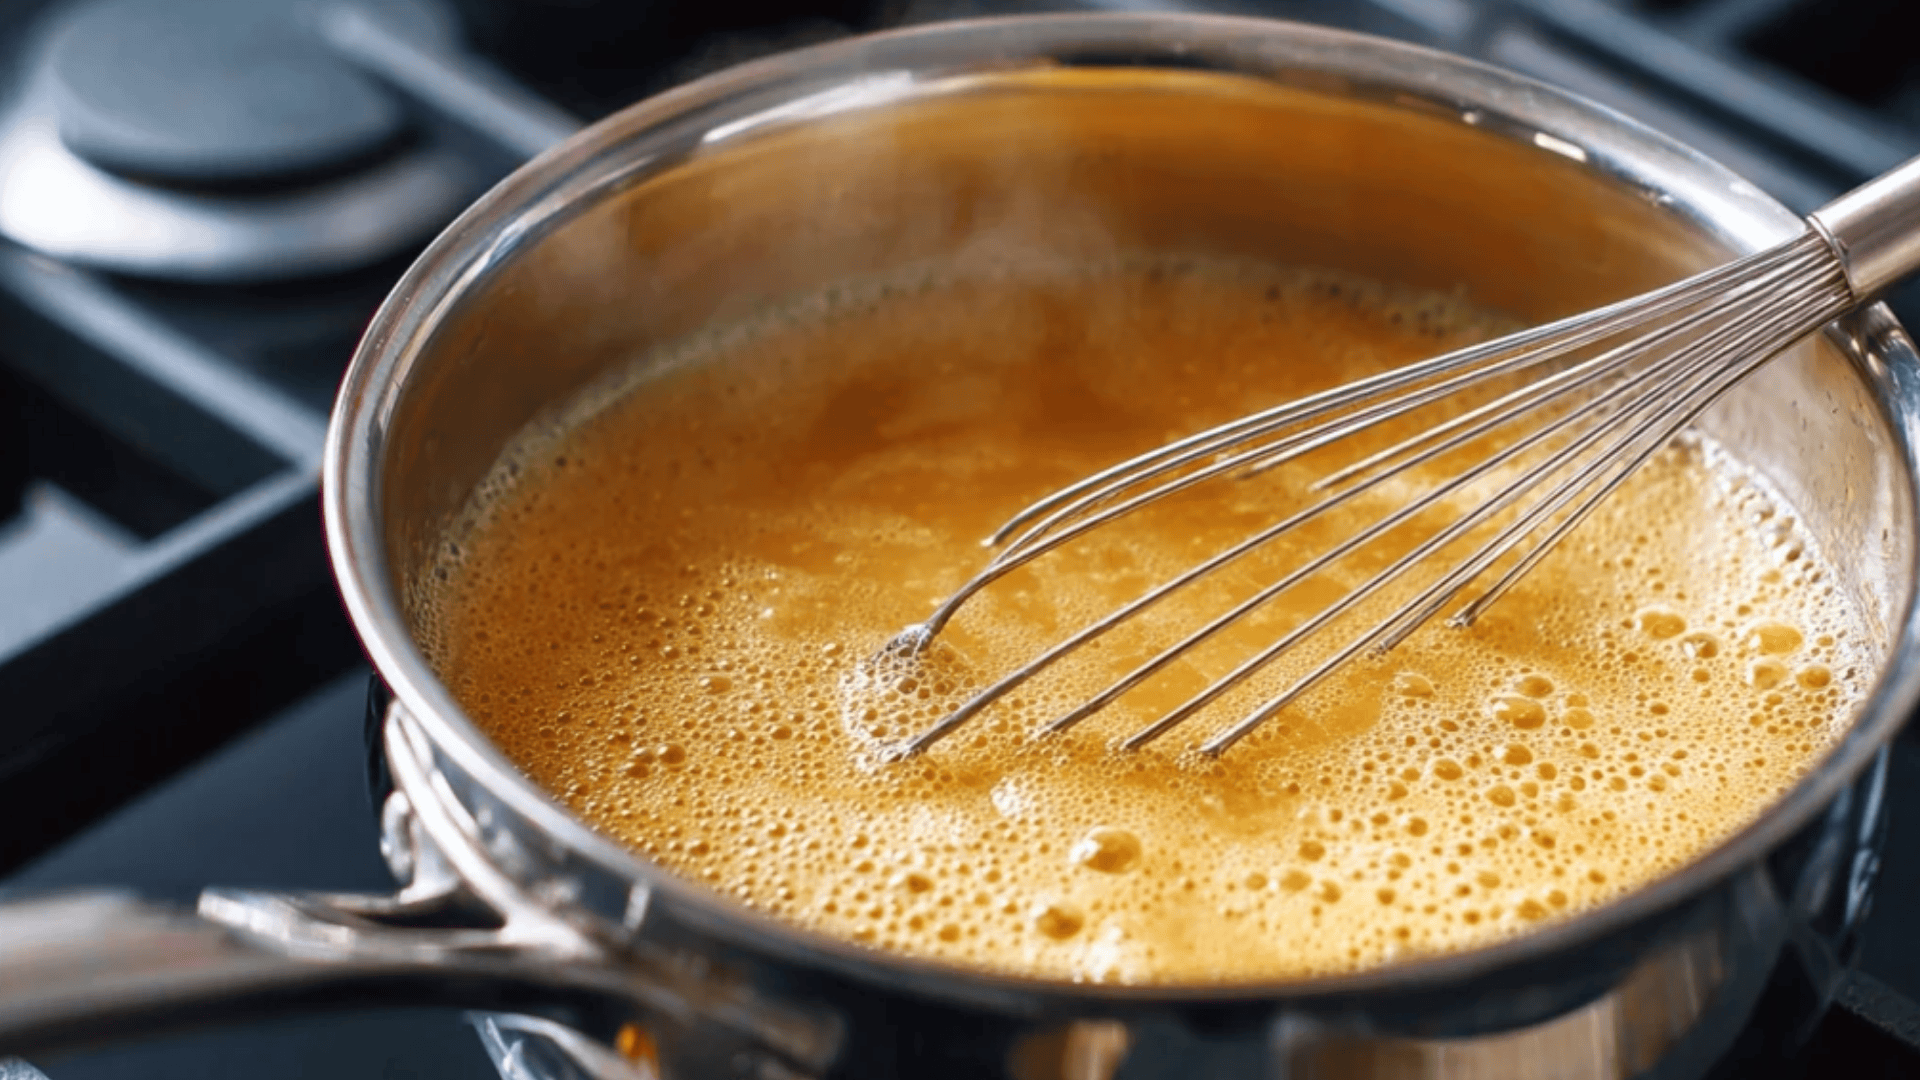
Once it begins to bubble, reduce the heat and let the gravy simmer for 3–5 minutes, stirring often. The sauce will thicken and coat the back of a spoon.
This gentle simmer deepens flavor, ensuring your homemade gravy feels rich and smooth from scratch.
Step 5: Season to Taste
Add salt, pepper, and optional flavor boosters like Worcestershire or soy sauce. Start lightly and adjust as you go; flavors intensify as the gravy simmers.
Tasting while cooking is key to making gravy from scratch that’s balanced, savory, and perfectly suited to your meal.
Alternative Methods to Try
Gravy can be made in several delicious ways. If you prefer a meat-free version, a creamy white sauce, or rich pan drippings.
1. Vegetarian Version (No Meat Juices)
A simple, plant-based gravy with rich flavor and smooth texture, perfect when you don’t have meat drippings or want a lighter option.
Ingredients You’ll Need
|
Instructions:
- Make a roux by whisking together butter (or oil) and flour.
- Gradually pour in warm vegetable stock while whisking.
- Stir in soy sauce or nutritional yeast for savory flavor.
- Simmer for 5–7 minutes, until the mixture has thickened and become smooth.
- Season with pepper and herbs.
- Adjust consistency with a splash of stock if needed.
Tip: Add a few drops of balsamic vinegar for a subtle, meaty depth without using any animal products.
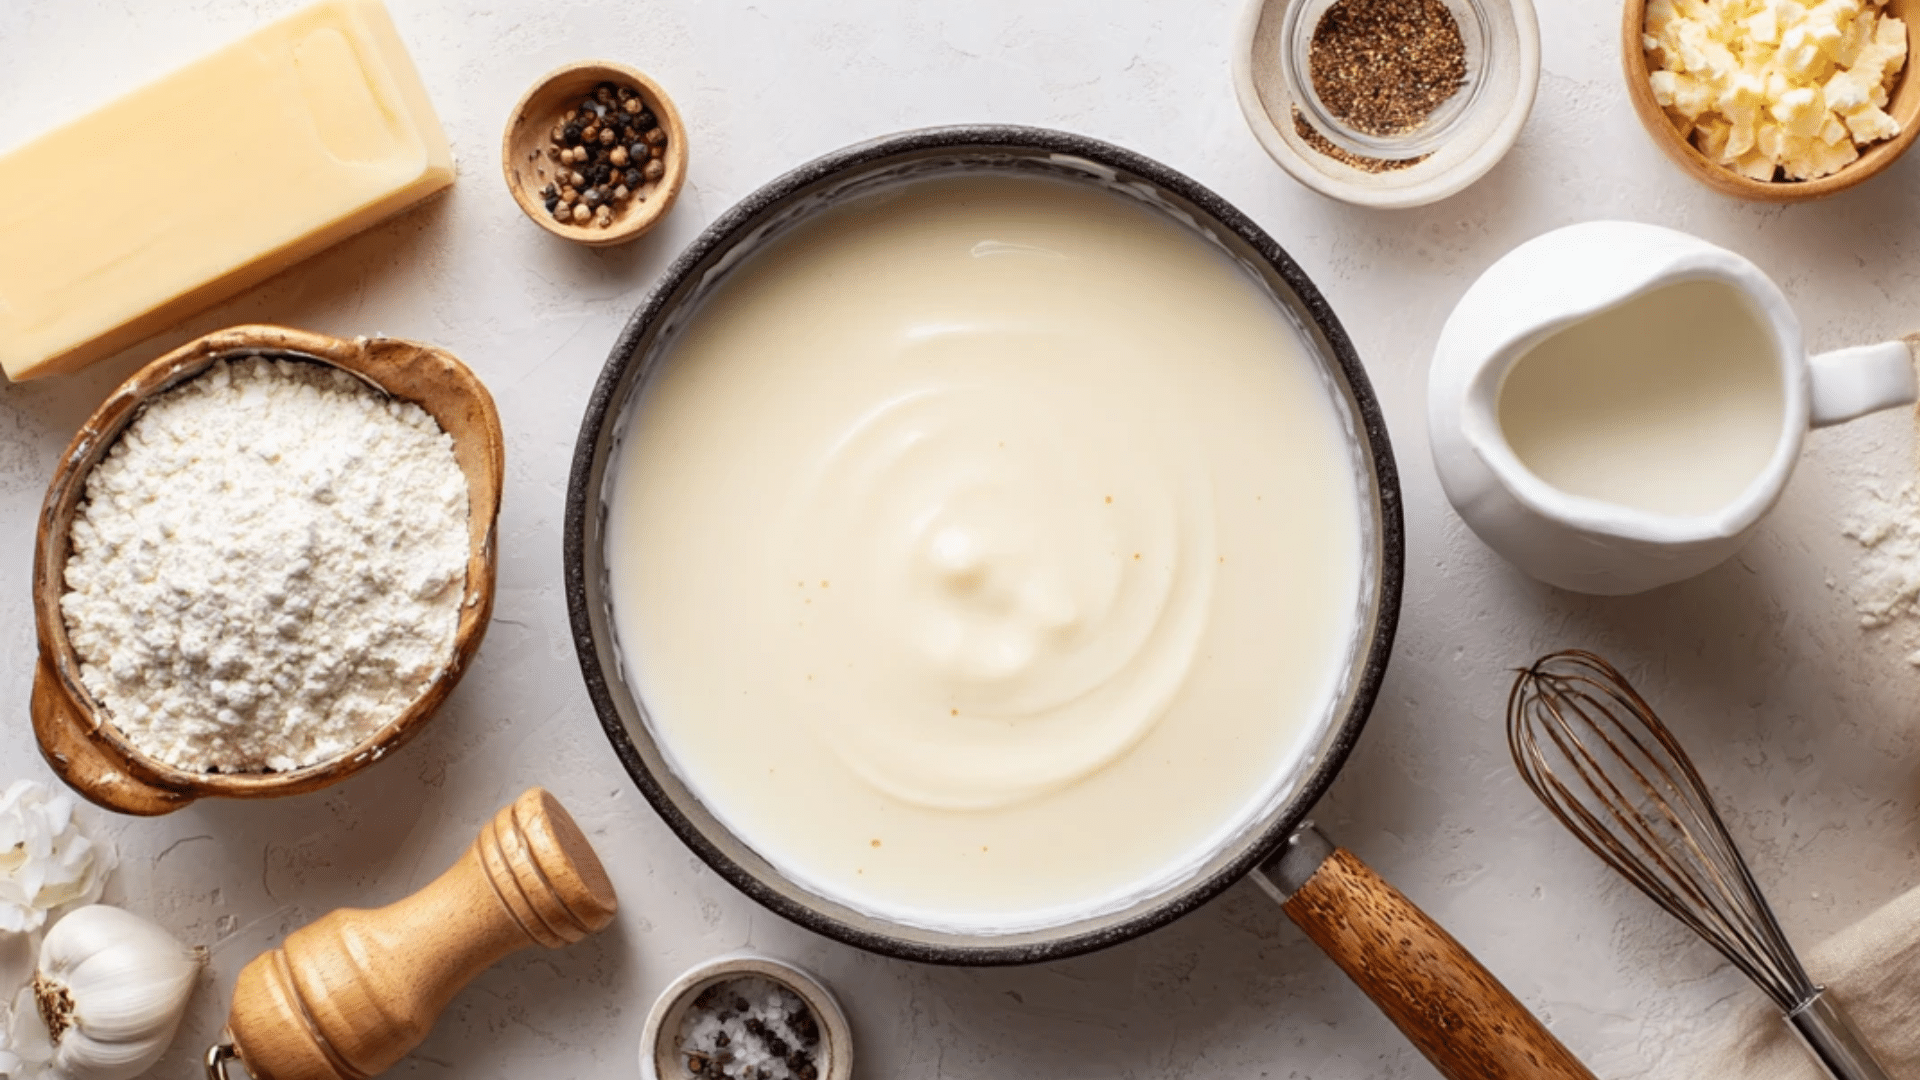
2. Creamy White Sauce (Milk-Based)
A smooth, southern-style white gravy that’s rich, comforting, and perfect for breakfast dishes, biscuits, or fried favorites.
Ingredients You’ll Need
|
Instructions:
- Melt butter over medium-low heat.
- Whisk in flour and cook 2–3 minutes (do not brown).
- Slowly add warm milk, whisking constantly.
- Continue stirring until thick and creamy.
- Add salt, pepper, and nutmeg if desired.
- Simmer 6–8 minutes until silky and smooth.
Tip: For a country-style twist, replace 1 tbsp of butter with bacon grease for a classic sawmill gravy flavor.
3. Pan Drippings Method
This rich, flavorful gravy captures the essence of your roast using the browned bits and fat left behind in the pan.
Ingredients You’ll Need
|
Instructions:
- Pour the drippings into a cup and skim off the excess fat, keeping about ¼ cup.
- Return fat to the roasting pan over medium heat.
- Whisk in flour, scraping up browned bits.
- Cook the roux for 2 to 3 minutes.
- Deglaze with stock or wine, scraping continuously.
- Simmer 5–7 minutes, then strain for a smooth finish.
Tip: Use a mix of pan drippings and wine to intensify flavor and add a glossy, restaurant-quality shine.
Base Formula Snapshot
Here’s a quick look at the key details for each gravy method, easy to reference before you start cooking.
| Category | From Scratch | Vegetarian | Creamy White | Pan Drippings |
|---|---|---|---|---|
| Prep Time | 5 mins | 5 mins | 5 mins | 5 mins |
| Cook Time | 10 mins | 10 mins | 8 mins | 12 mins |
| Total Time | 15 mins | 15 mins | 13 mins | 17 mins |
| Yield | 2 cups | 2 cups | 2 cups | 2 cups |
| Course | Sauce | Sauce | Sauce | Sauce |
| Cuisine | American | Vegetarian | Southern-Style | Traditional |
Each version follows the same simple foundation but offers a distinct twist, creamy, savory, meat-free, or rich from pan drippings, all ready in minutes.
Testing Consistency and Adjusting Flavor
Perfect gravy isn’t just about cooking; it’s about fine-tuning texture and taste.
Here’s how to check consistency, balance flavors, and fix common issues so your gravy turns out silky, smooth, and delicious every time.
Consistency Tests:
- Spoon Test: Dip a metal spoon into the gravy. It should coat evenly and cling without dripping right away.
- Drip Test: Lift your whisk above the pan. Properly thickened gravy should fall in a slow, steady ribbon rather than splash down.
- Trail Test: Draw a line through gravy on a plate with a spoon. The line should hold for about 3–5 seconds before slowly filling in.
Flavor Adjustments:
- Too bland? Add a pinch of salt, then enhance with Worcestershire sauce, soy sauce, or a small amount of beef bouillon for added depth.
- Too Salty: Dilute gradually with unsalted stock or water, about two tablespoons at a time, until the flavor is balanced.
- Too Thin: Simmer for a longer time to reduce, or whisk in a slurry made from one tablespoon of cornstarch and two tablespoons of cold water.
- Too Thick: Thin with warm stock or water, adding small amounts and whisking between each addition.
- Needs Brightness: A squeeze of lemon juice or a splash of wine adds gentle acidity that lifts and balances rich flavors.
Note: Gravy thickens as it cools. Always check the texture again after resting for 2–3 minutes off the heat before serving.
Creative Flavor Variations
Flavoring is endlessly adaptable; small tweaks can completely change its flavor and mood. Try these creative variations to make your homemade gravy stand out beautifully.
1. Mushroom
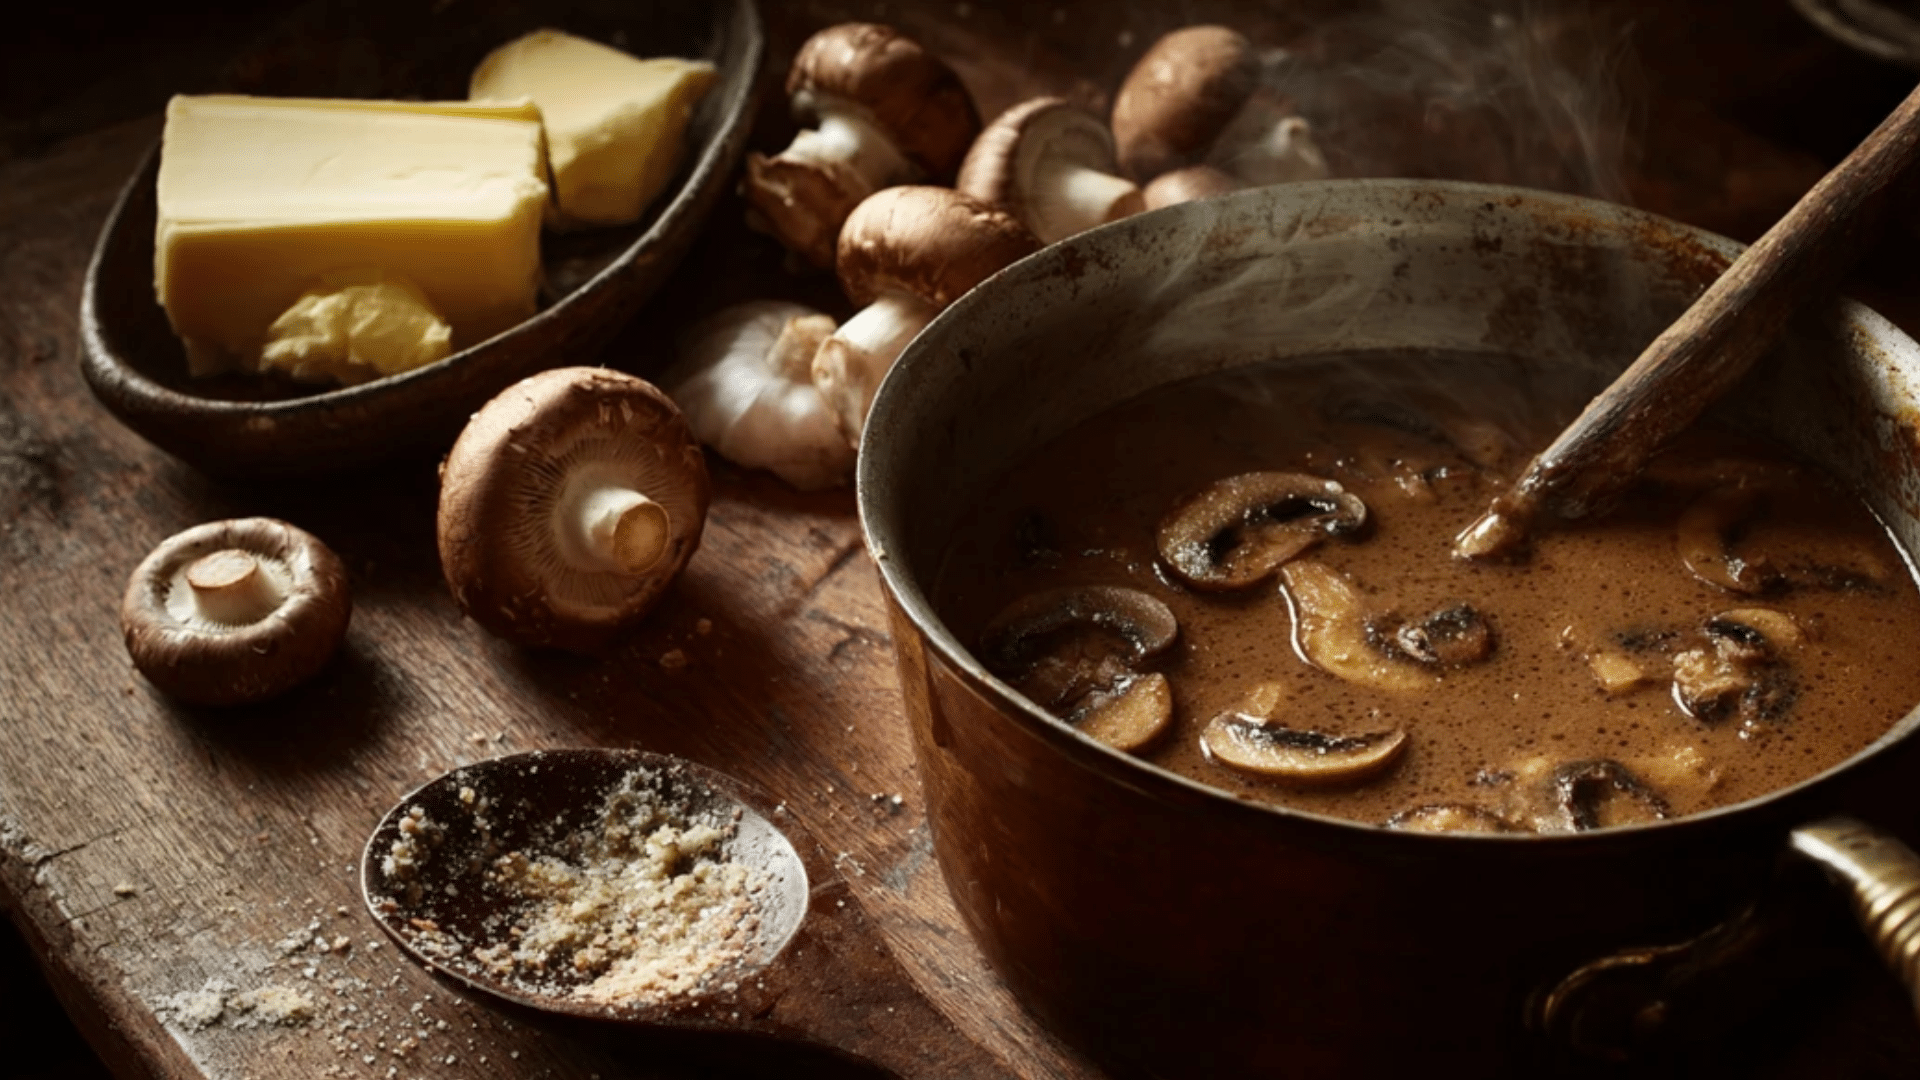
Sauté sliced mushrooms in butter until golden, then stir them into the finished gravy.
This adds rich, earthy depth and umami flavor, changing your sauce into a hearty, restaurant-style complement that pairs perfectly with beef, chicken, or roasted vegetables.
2. Herb Garden

Incorporate fresh herbs like thyme, rosemary, or sage to build aromatic complexity.
Add woody herbs early for a stronger infusion, and sprinkle delicate ones, such as parsley or chives, just before serving for a bright, garden-fresh finish.
3. Wine Enrichment

Replace ½ cup of stock with wine to deepen flavor. Use red wine for beef gravies or white wine for poultry versions.
The acidity balances richness, while subtle fruity undertones bring elegance and warmth to every spoonful.
4. Spicy Kick
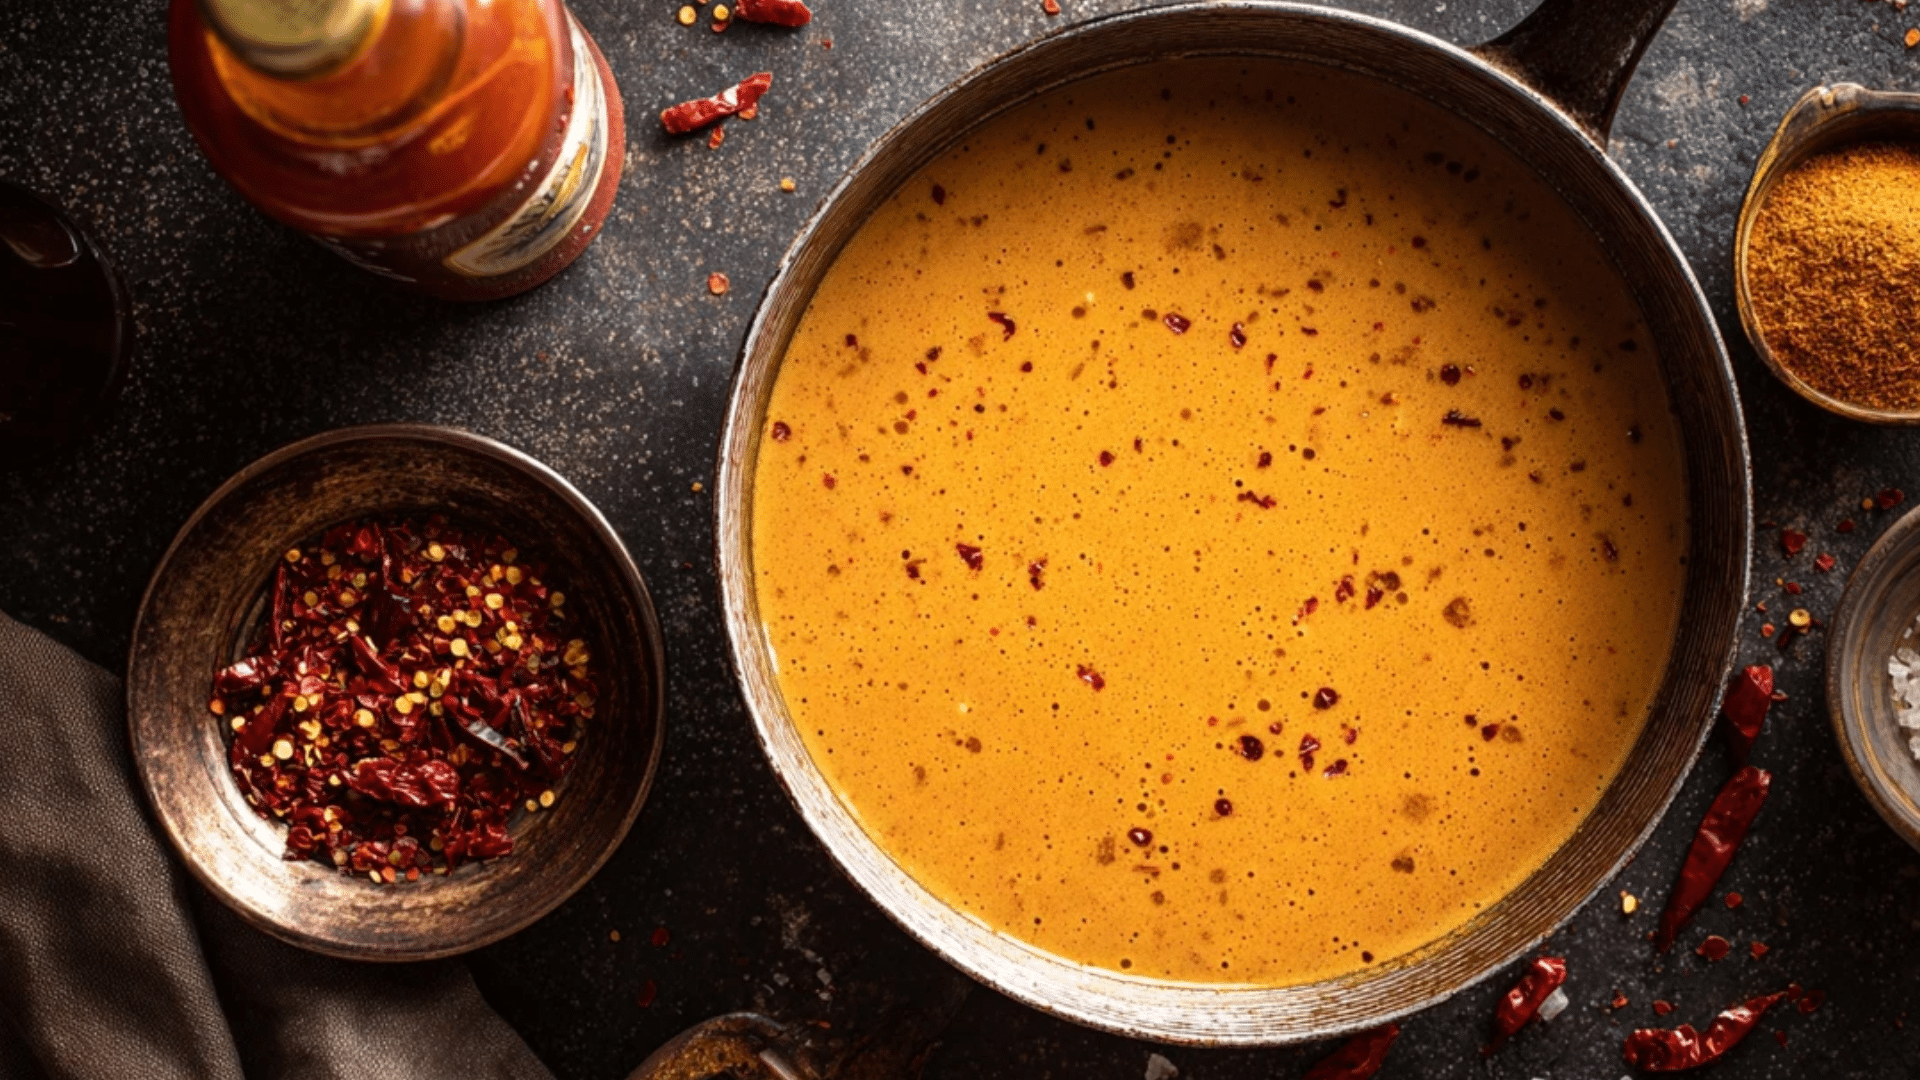
Add gentle heat by including cayenne pepper, a splash of hot sauce, or a few crushed red pepper flakes.
Each option brings warmth and personality, creating a bold, flavorful gravy that pairs perfectly with meats or hearty vegetables.
Expert Tips for Success
Small details make a big difference when making gravy from scratch. These expert tips ensure a silky, flavorful, and foolproof result every time.
- Mind the Temperature: Always add warm liquid to the roux. Cold liquid creates lumps and slows the thickening process.
- Keep Whisking: Constant whisking while adding liquid prevents clumps and ensures your gravy stays smooth and lump-free.
- Watch the Roux Color: Stop at light golden for mild flavor or deeper brown for a richer, more traditional gravy.
- Finish with Butter: Swirl in a tablespoon of cold butter at the end for a glossy finish and rich, velvety mouthfeel.
- Make and Store Smart: Gravy keeps up to four days in the fridge or can be frozen in portions for quick, easy reheating later.
A few mindful tweaks turn ordinary gravy into something exceptional, smooth, shiny, and bursting with flavor every single time.
Serving Suggestions

Gravy brings warmth and comfort to any meal. Here are a few simple, crowd-pleasing ways to enjoy it at its best.
- Mashed Potatoes & Roasts: A classic pairing that never fails, spoon gravy over fluffy potatoes or juicy, roasted meats.
- Biscuits & Breakfasts: Perfect for buttermilk biscuits, breakfast hash, or eggs for a cozy southern touch.
- Hearty Dishes: Use as a base for shepherd’s pie, poutine, or savory meat pies.
- Vegetarian Favorites: Drizzle over steamed vegetables, quinoa, or stuffed mushrooms for a wholesome plant-based meal.
A little gravy goes a long way; plan about ¼ cup per person, or ½ cup for generous servings.
Storage and Make-Ahead Tips
Homemade gravy stores beautifully and keeps its flavor when handled right. Let it cool completely before transferring to an airtight container.
Refrigerate for up to four days, and simply whisk while reheating to restore its smooth texture.
For longer storage, freeze in small portions using ice cube trays or freezer-safe bags laid flat for quick thawing.
Always reheat gently over low heat to prevent separation or scorching. If the gravy thickens too much after chilling, add a splash of warm stock and whisk until silky again.
Conclusion
You now have multiple techniques for creating delicious homemade sauces. Each method offers flexibility for customization based on what you’re serving.
Start with the basic brown recipe to build confidence, then experiment with variations that match your meals. The beauty lies in adaptability, adjusting thickness, switching up seasonings, and making it your own.
Next time dinner needs that finishing touch, skip the packet and spend 10 minutes creating something genuinely special. Your family will taste the difference.
Ready to try your favorite version? Share your secret ingredient or variation in the comments below!
Frequently Asked Questions
Can I Make This Without Flour?
Yes, use cornstarch or arrowroot for smooth, glossy gravy with the same rich flavor.
What Distinguishes Brown From White Varieties?
Brown uses stock and a darker roux, while white uses milk and a lighter roux for a milder flavor.
Can I Prepare This Ahead And Reheat?
Yes, refrigerate up to 5 days or freeze for months; reheat gently while whisking.
How Do I Fix Lumpy Results?
Blend or strain immediately; constant whisking and warm liquid prevent lumps from forming.