


Remake your outdated bathroom cabinet into a fresh, modern centerpiece without breaking the bank.
A simple coat of paint can completely change the look and feel of your space, adding brightness, personality, and style.
Even if your cabinet is dull, scratched, or just needs a color refresh, this project can make it look brand new again.
With the right preparation and a few reliable materials, you can achieve a smooth, durable finish that withstands daily moisture and wear.
Perfect for weekend DIY lovers, this easy makeover delivers designer-level results to any bathroom, proving that small changes can yield a significant changeover.
Painting Bathroom Cabinets
Refreshing your space with a new coat of paint is one of the easiest ways to upgrade your entire space.
Whether you prefer a crisp white finish, a moody navy, or a trendy matte green, painted ones instantly add style and personality to your space.
Start by cleaning and sanding the surfaces to remove old gloss, then apply a bonding primer to ensure lasting adhesion.
Use thin, even coats of durable, moisture-resistant paint designed for high-humidity areas. The result is a smooth, professional finish that resists peeling and stains.
Painting bathroom cabinets not only improves appearance but also extends the life of your furniture while keeping your budget in check.
Tools and Materials UsedHere are the essentials you’ll need for a smooth, durable bathroom cabinet paint job: Tools:
Materials:
|
How to Paint a Bathroom Vanity
Give your bathroom a fresh, professional look on a budget! Follow these six easy steps to paint your bathroom vanity beautifully.
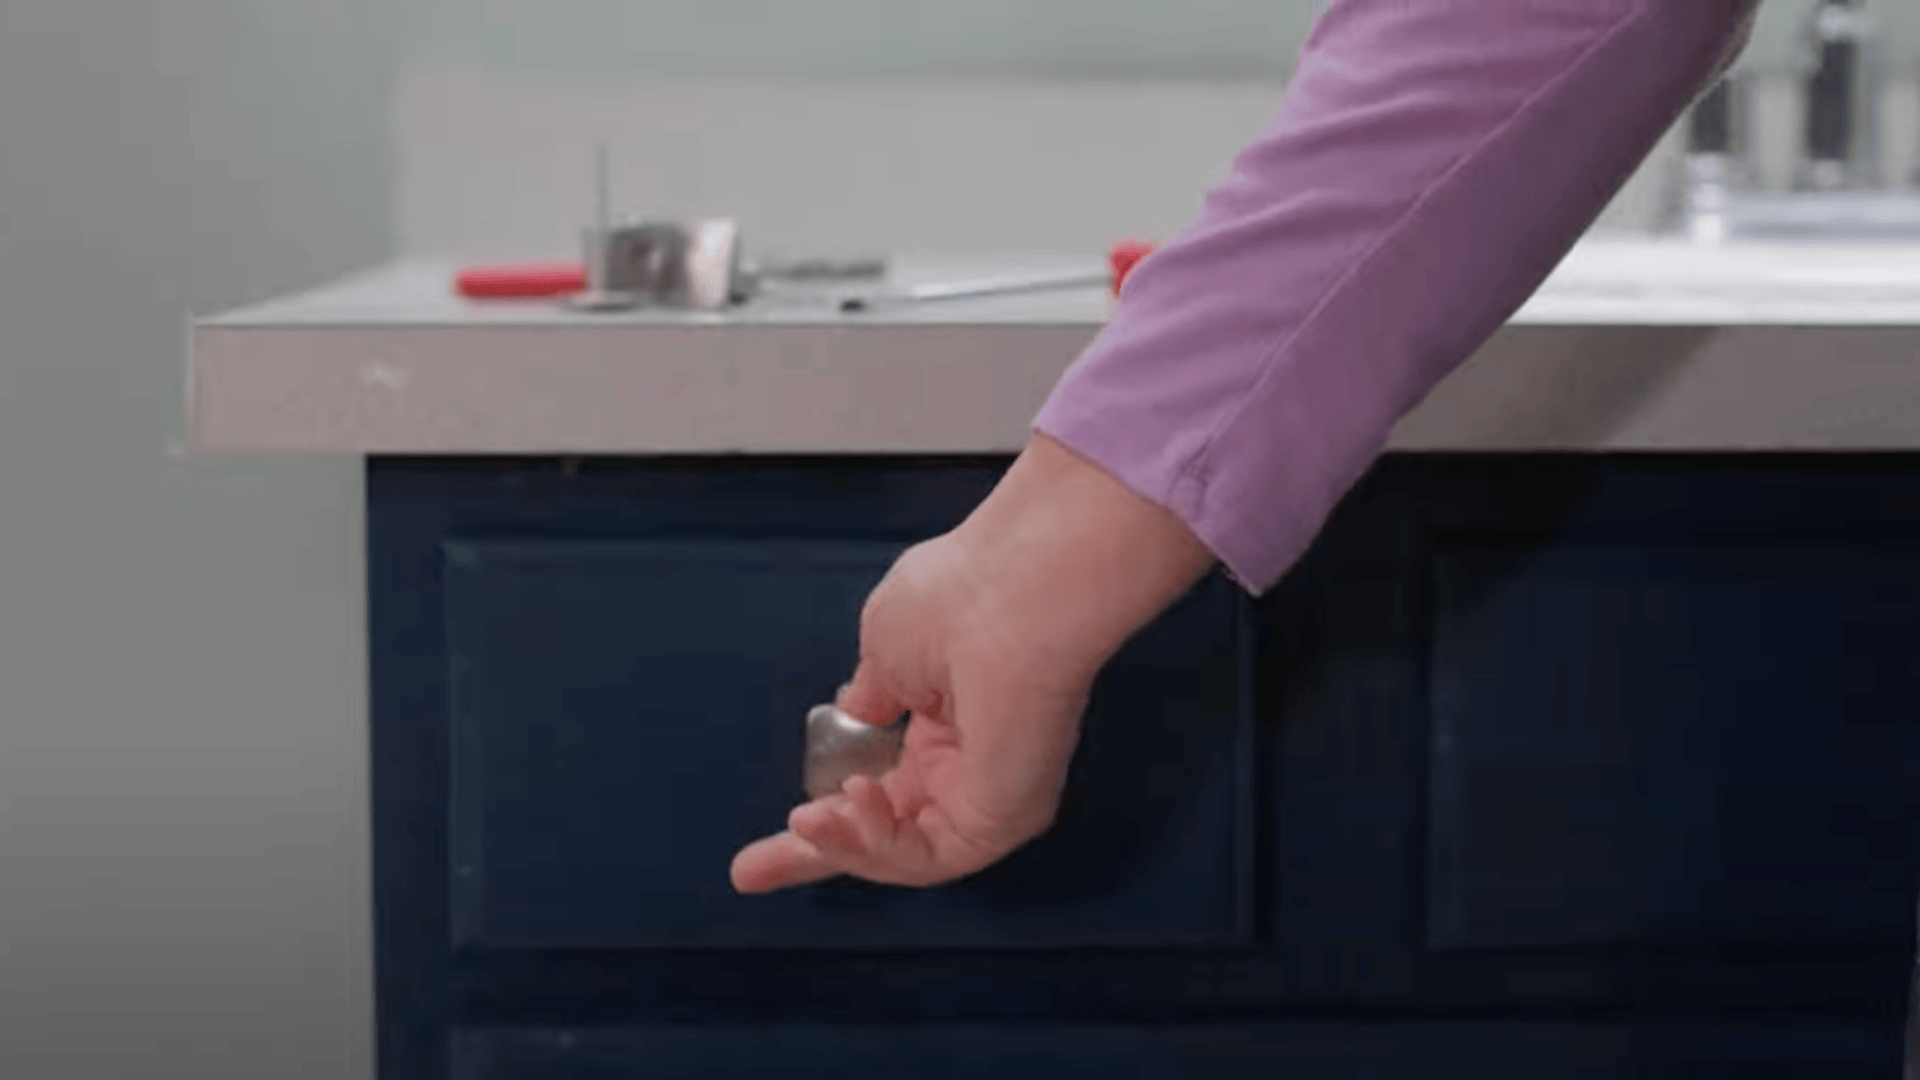
Step 1: Remove Hardware and Clean Thoroughly
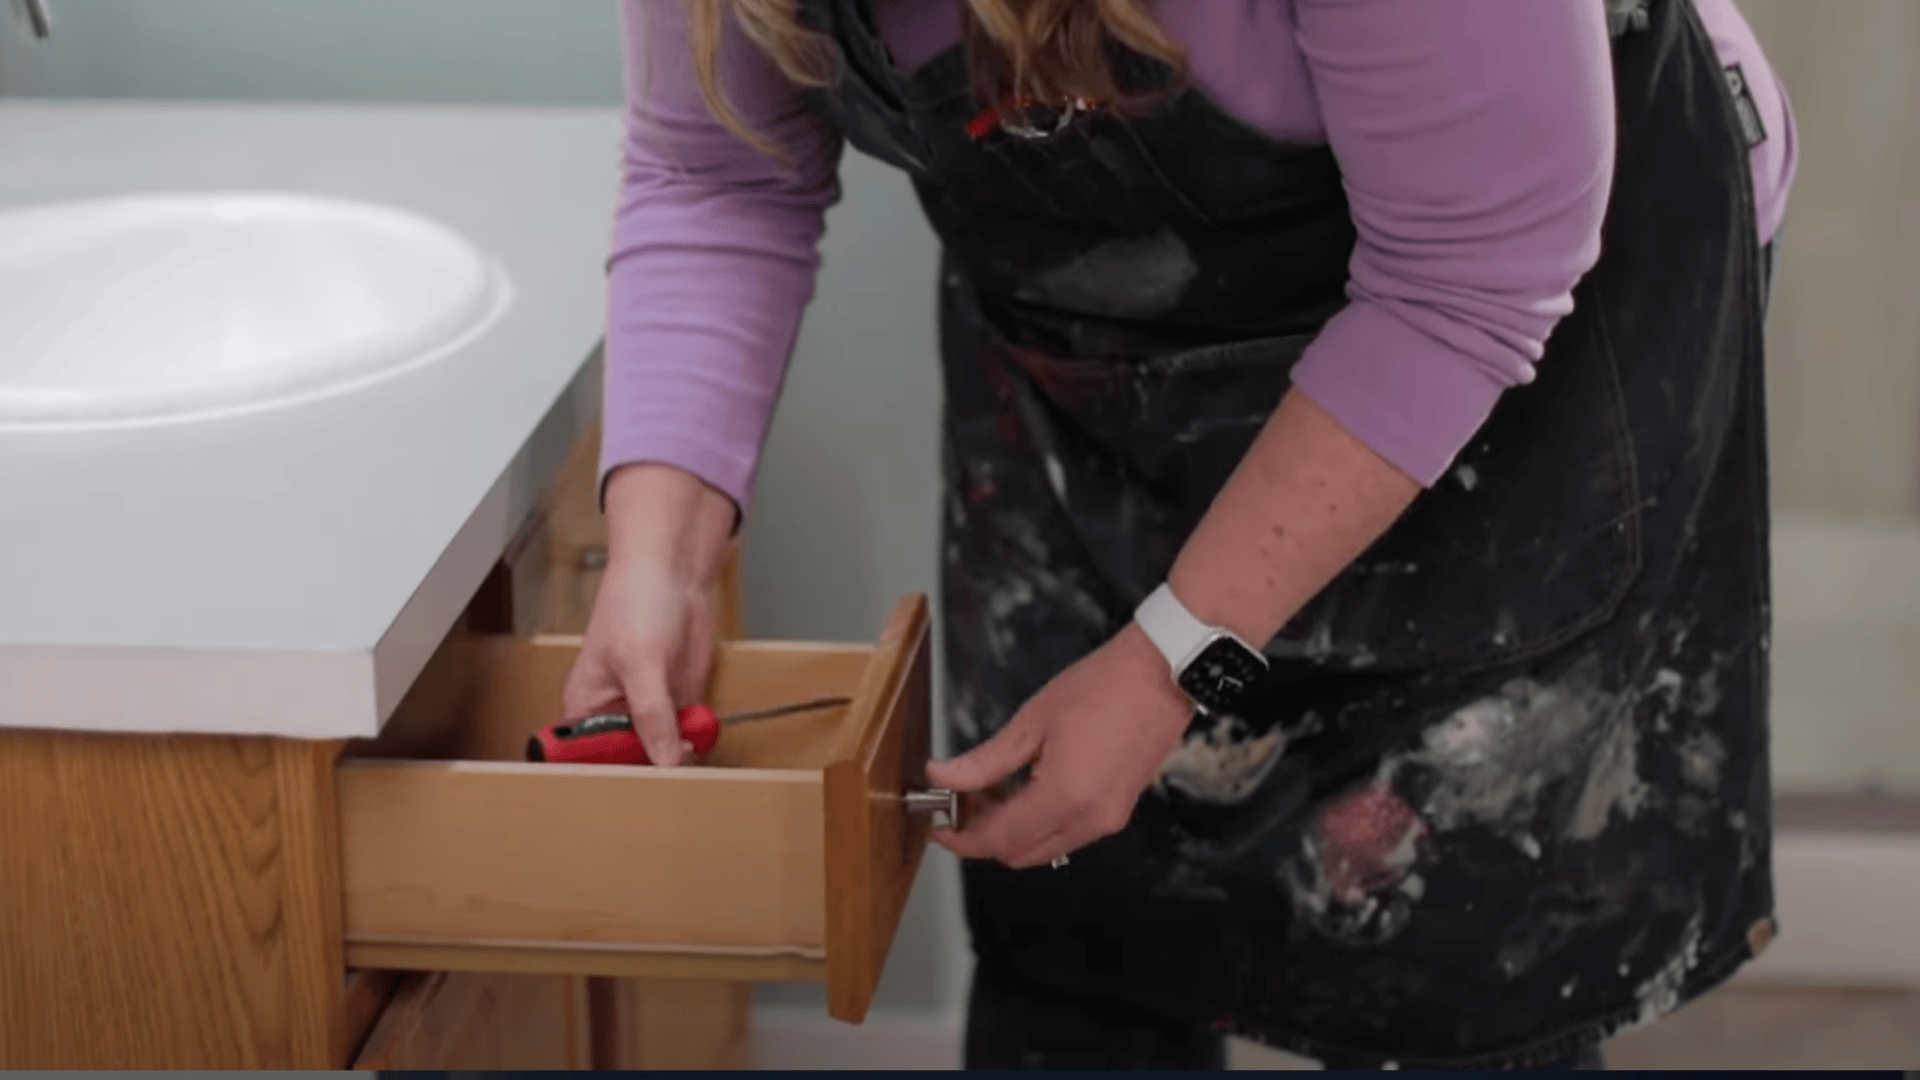
Remove doors, drawers, and all hardware using a screwdriver. Clean every surface with a degreaser to remove grime, soap, and oils.
Rinse with water, then dry completely before moving to the next step to ensure smooth paint adhesion and a durable, lasting finish on your bathroom vanity.
Step 2: Sand the Surface

Lightly sand the vanity using 220-grit sandpaper or a sanding block to remove the glossy finish. Focus on corners and details for even texture.
Wipe the surface with a tack cloth to remove dust. Proper sanding helps the primer and paint adhere evenly for a professional result.
Step 3: Tape and Protect Surroundings
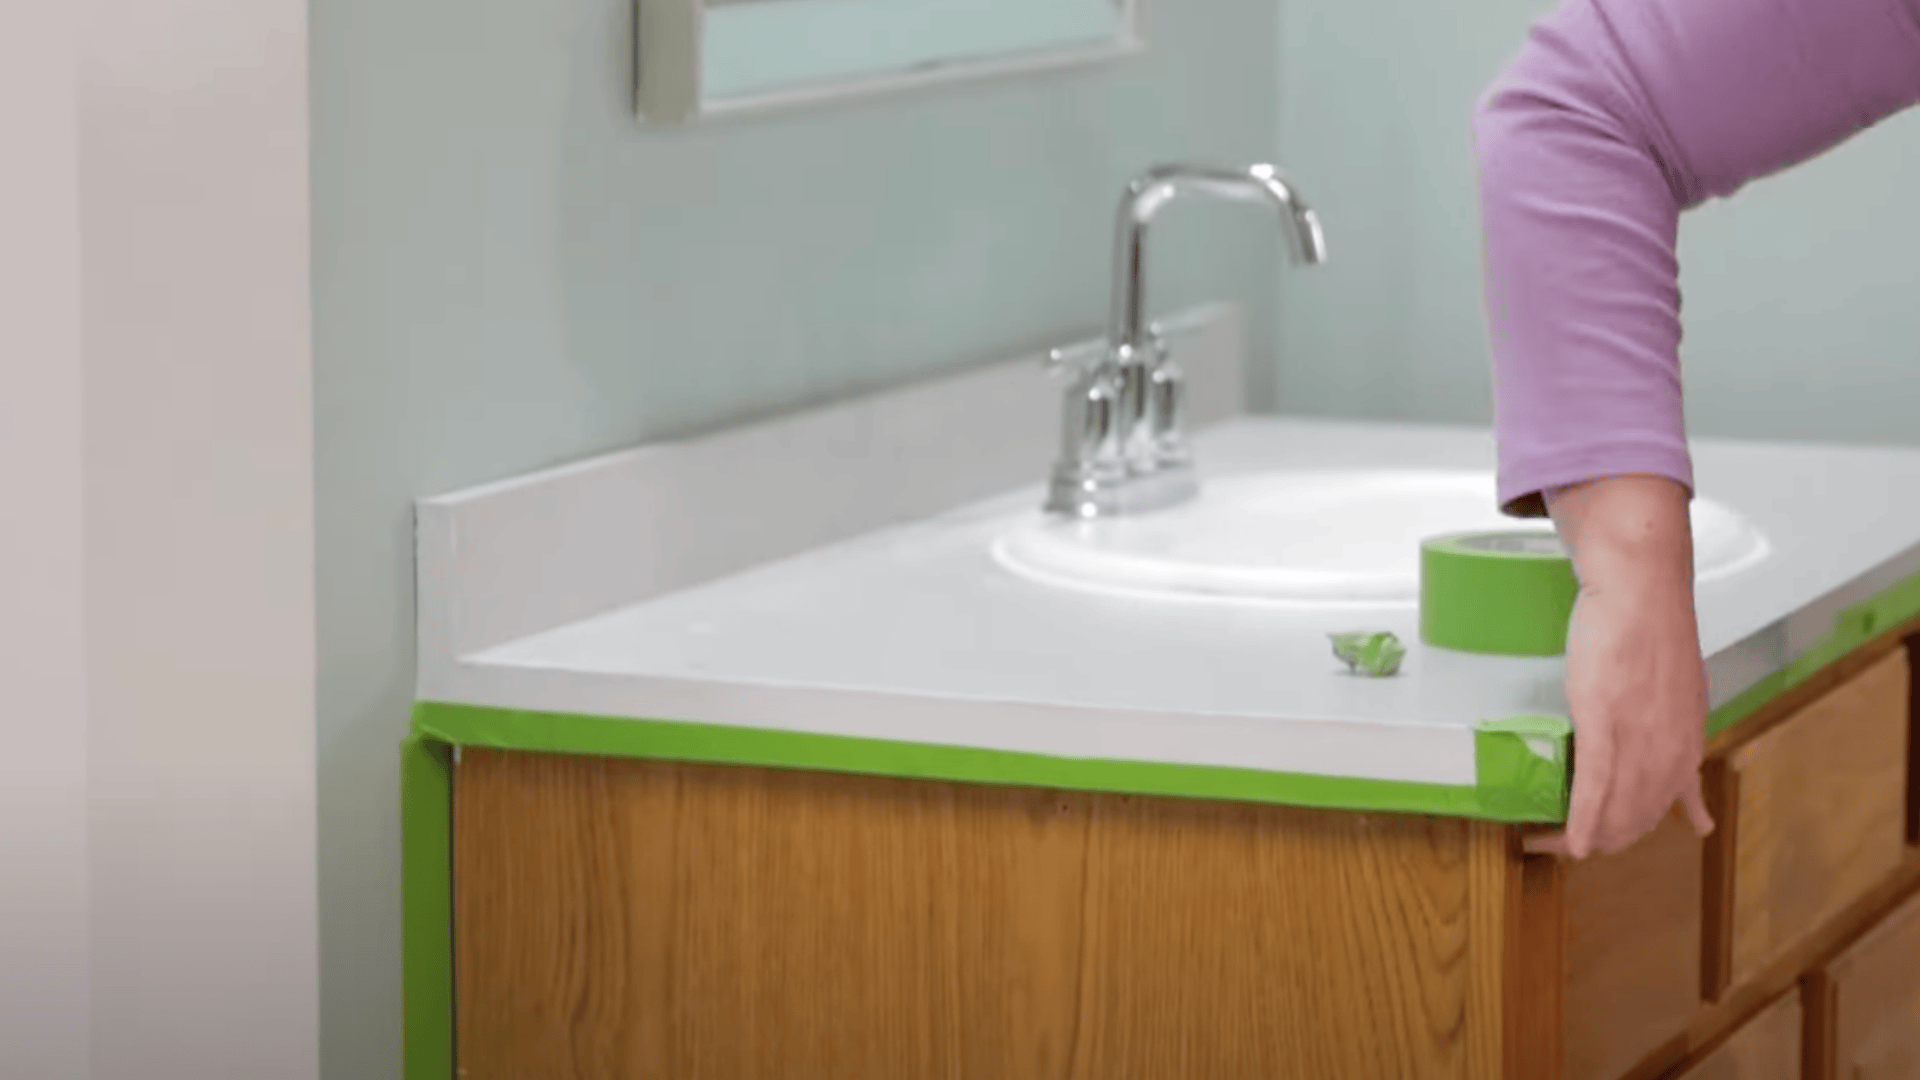
Use painter’s tape to cover walls, countertops, and floors near the vanity. Press tape edges firmly to prevent paint bleed.
Lay down drop cloths to protect your bathroom floor. Taking time to tape carefully ensures sharp paint lines and a mess-free workspace during painting.
Step 4: Prime the Vanity
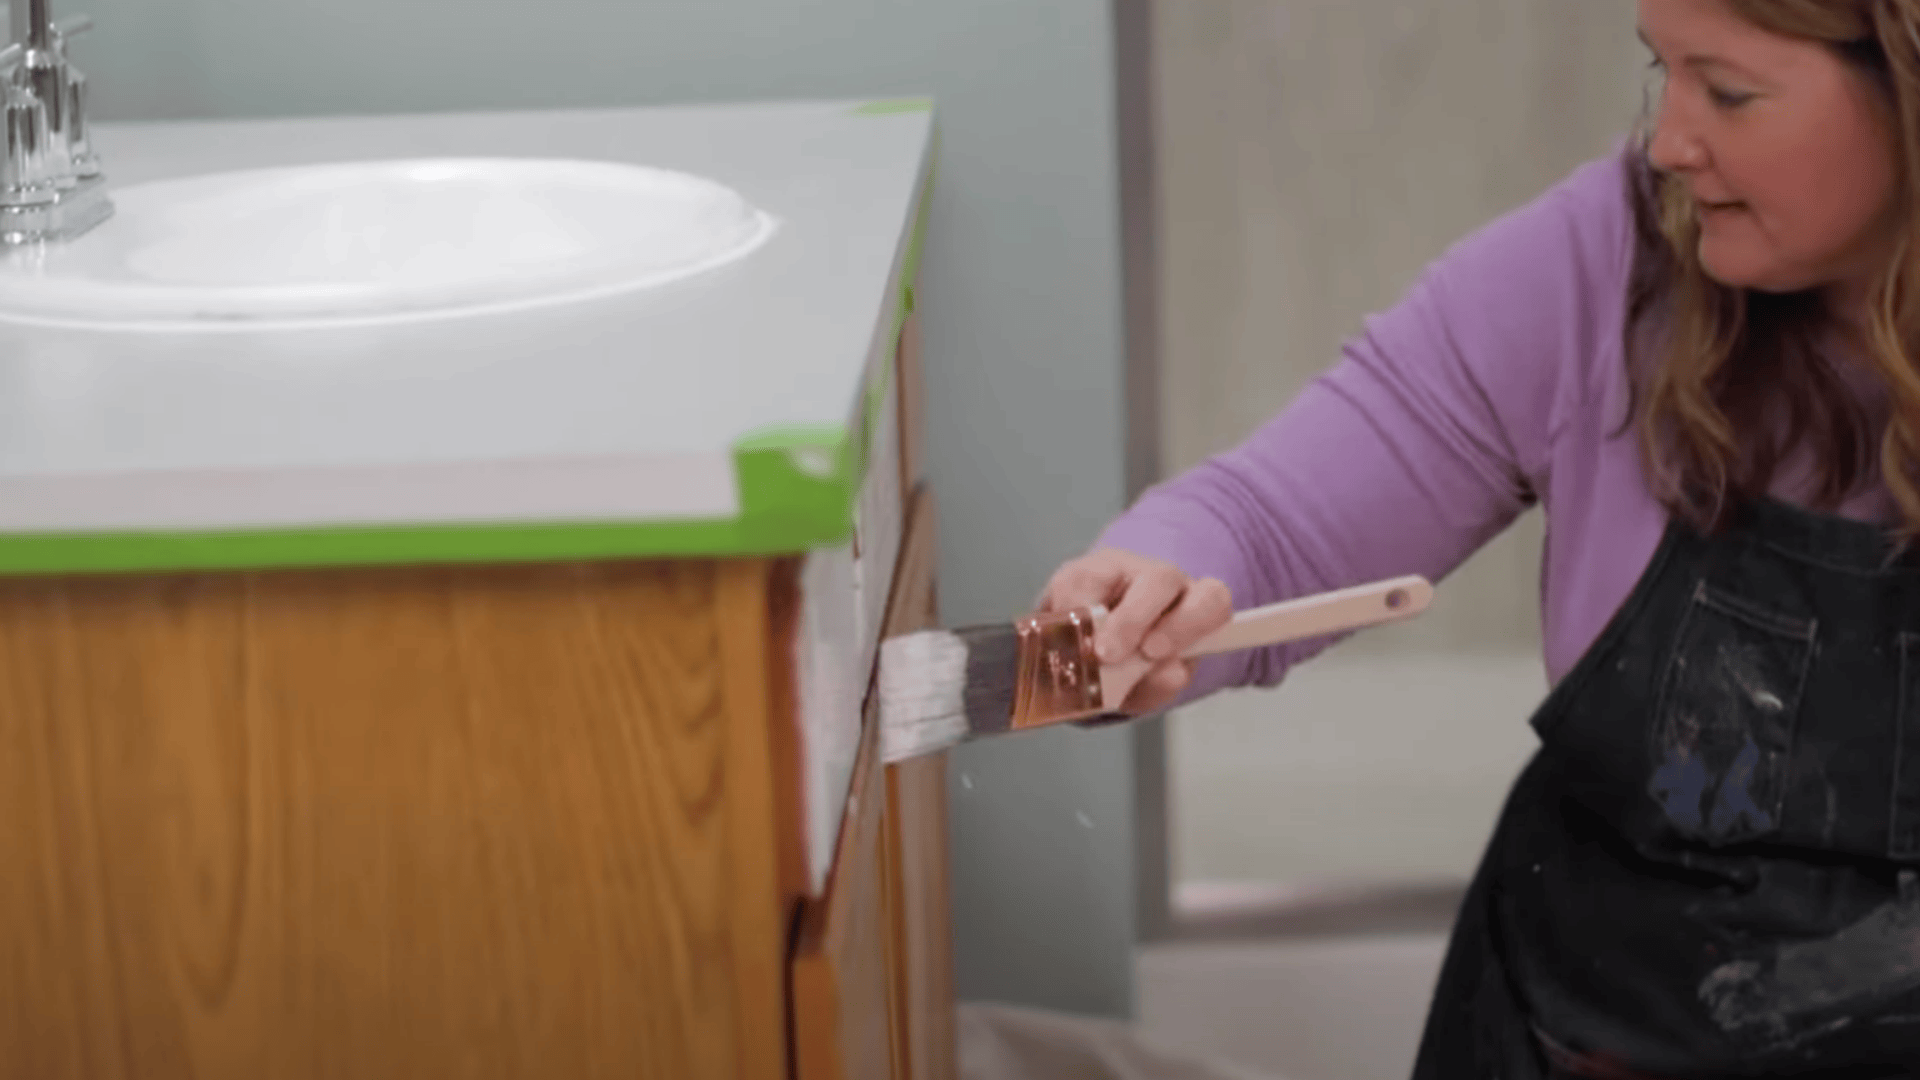
Apply a thin, even coat of water-based bonding primer using a 2-inch angled brush and a 4-inch foam roller.
Allow the primer to dry for at least one hour, then lightly sand it again to achieve a smooth surface. Priming improves adhesion and helps prevent moisture damage in humid bathrooms.
Step 5: Paint the Vanity
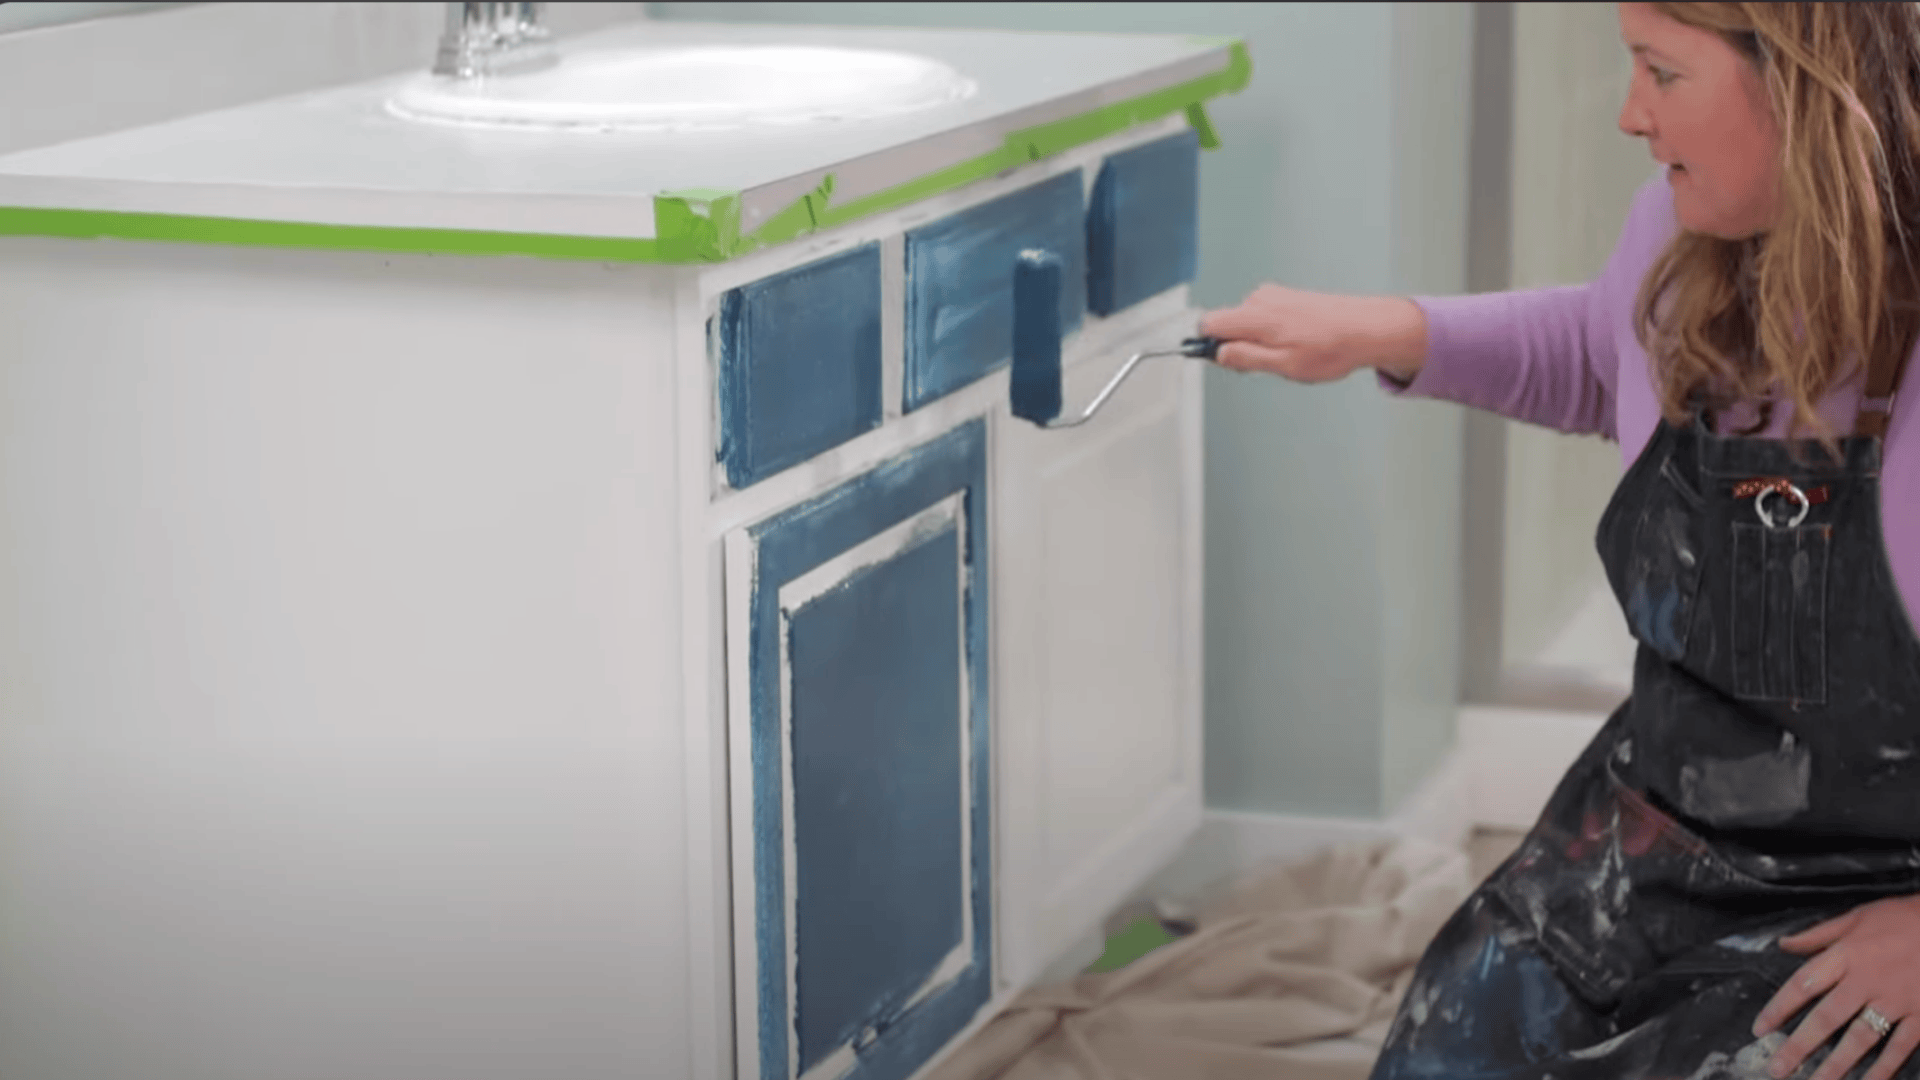
Use high-quality semi-gloss cabinet paint for a durable, easy-to-clean finish. Paint corners and edges first with a brush, then roll flat surfaces for smooth coverage.
Apply two thin coats, allowing each to dry completely before applying the next. Remove painter’s tape while the final coat is slightly wet for crisp lines.
Step 6: Cure and Reassemble
Let the paint cure for at least seven days before reattaching hardware, doors, and drawers. Once fully dry, reinstall knobs and handles carefully.
Take a moment to admire your refreshed, professional-looking bathroom vanity, which is resistant to chips, moisture, and everyday wear.
For a more detailed step-by-step video tutorial, check out Ace Hardware’s expert guide on painting bathroom cabinets on their official YouTube channel.
Choosing the Right Primer
A strong primer ensures lasting adhesion and moisture resistance for your bathroom cabinets. Pick a formula that seals wood, blocks stains, and prevents peeling in humid spaces.
Recommended Primers:
- KILZ 2 All-Purpose Primer – Great for sealing glossy or previously painted surfaces.
- Zinsser Bulls Eye 1-2-3 Primer – Fast-drying, mold-resistant, and ideal for bathrooms.
- INSL-X STIX Bonding Primer – Excellent adhesion to slick finishes like laminate or varnish.
Using a high-quality primer ensures smooth adhesion, prevents peeling, and creates the perfect foundation for long-lasting, professional cabinet finishes.
Choosing the Best Paint
The right paint provides a durable, easy-to-clean finish that withstands moisture and daily use. Choose formulas with semi-gloss or satin sheen for the best results.
Recommended Paints:
- Rust-Oleum Cabinet & Trim Enamel – Durable and self-leveling finish, ideal for cabinets.
- Magic Paints Diamond Hard Acrylic Enamel– Durable, universal paint suitable for wood.
- INSL-X Cabinet Coat Enamel– A water-based enamel that provides a smooth, durable finish.
Choosing durable, moisture-resistant paint adds beauty, protection, and long-term value, keeping your bathroom cabinets fresh and flawless for years.
Extra Success Tips for Painting
Give your vanity a truly professional finish with these quick but powerful tips. They’ll help your paint job last longer and look smoother.
- Prep properly: Clean and sand thoroughly for long-lasting, smooth results.
- Use quality tools: A good brush and foam roller prevent streaks and uneven coverage.
- Apply thin coats: Multiple light layers dry faster and look more professional.
- Mind drying time: Let each coat fully dry and cure before reassembly.
- Control humidity. Paint in a dry, ventilated space to avoid bubbles or peeling.
Follow these steps, and your bathroom vanity will not only look brand new but also stay flawless for years to come.
Making the Decision
A freshly painted bathroom vanity or cabinet can completely transform your space, adding brightness, style, and a polished designer touch without the expense of a full remodel.
With the right primer, paint, and a bit of patience, you can achieve a smooth, durable finish that resists moisture and daily wear.
This project not only improves your bathroom’s appearance but also provides the satisfaction of a beautiful DIY upgrade.
So grab your brushes, pick your favorite color, and start creating a bathroom you’ll love walking into every day.
Don’t forget to share your modification and inspire others to refresh their own spaces!