


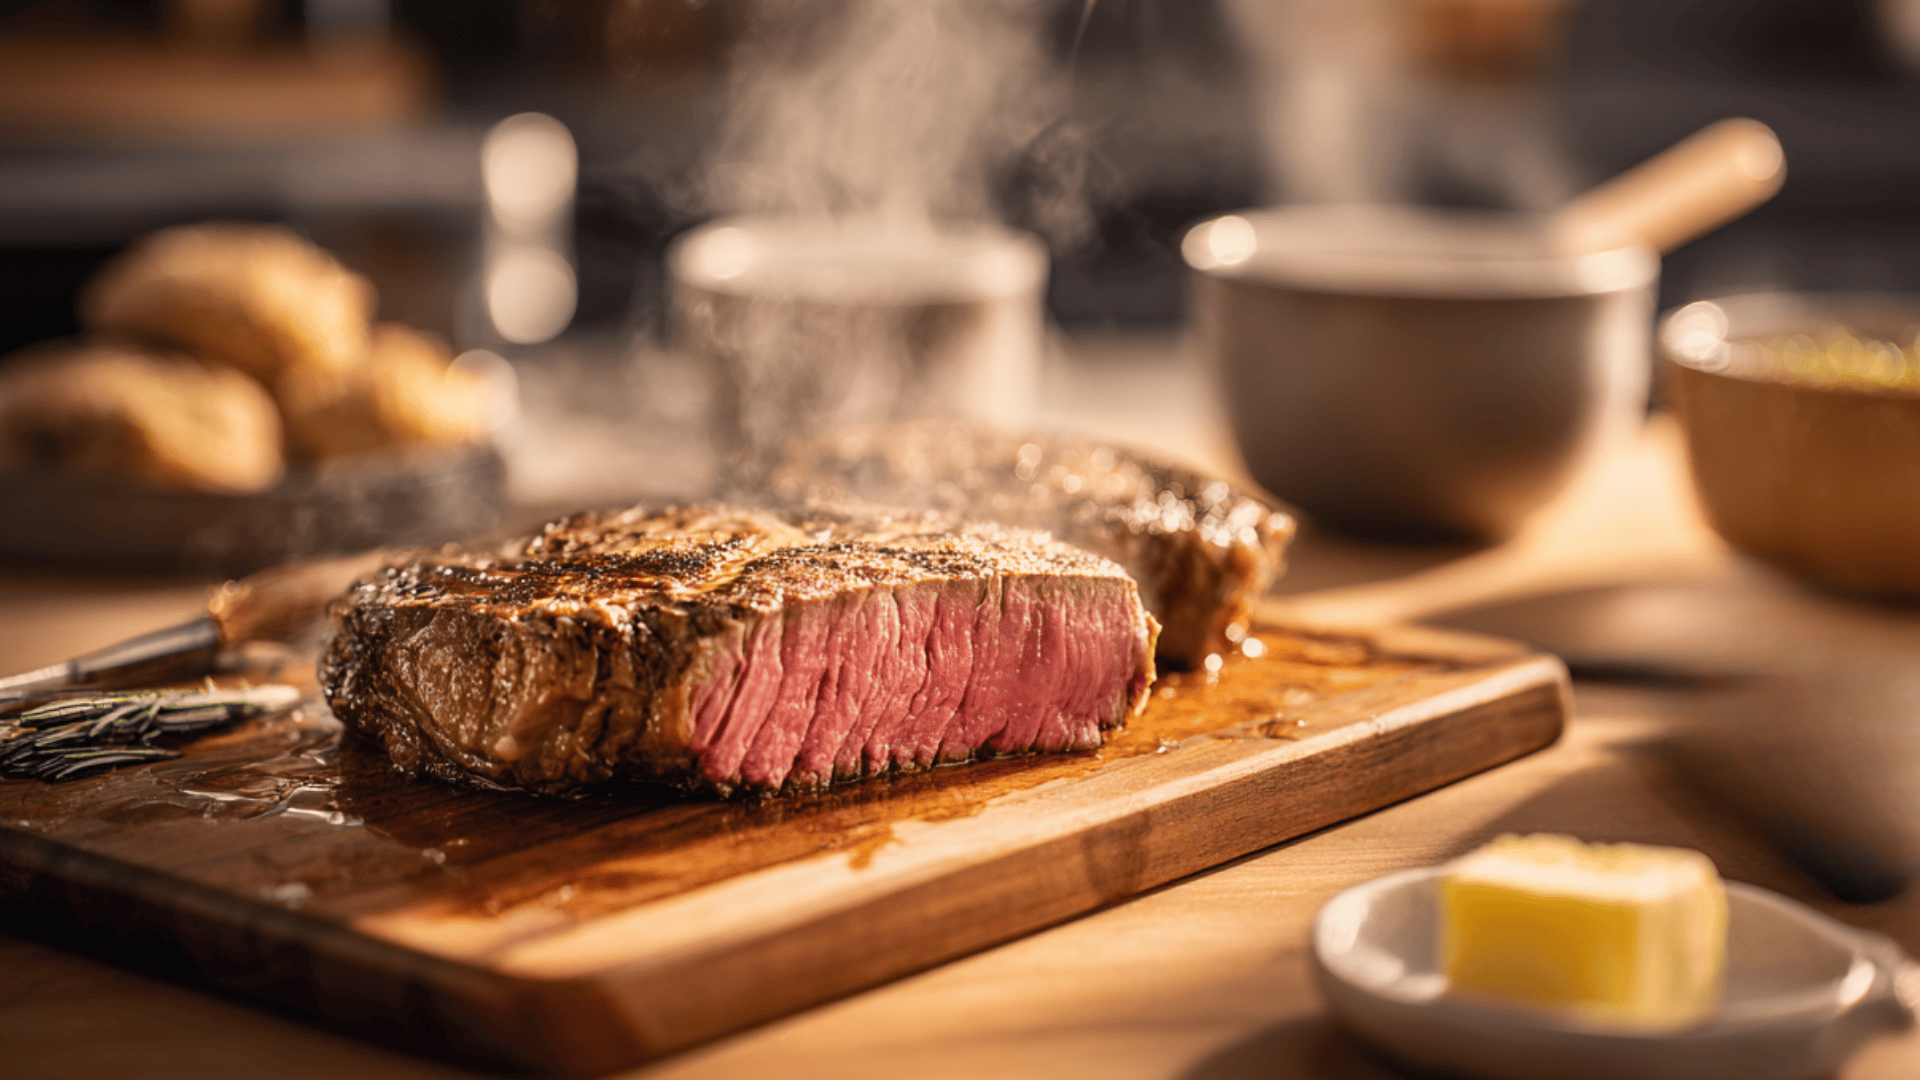
Leftover steak shouldn’t taste like a disappointing compromise. When reheated properly, yesterday’s ribeye or sirloin can deliver nearly the same juicy, flavorful experience as when it first came off the grill.
The difference between dried-out, chewy meat and tender, delicious leftovers comes down to technique.
Most people make the mistake of blasting their steak with high heat, trying to warm it quickly. This approach guarantees a rubbery exterior and an overcooked interior.
The secret lies in understanding how heat moves through meat and working with that process instead of against it.
Store Steak the Right Way
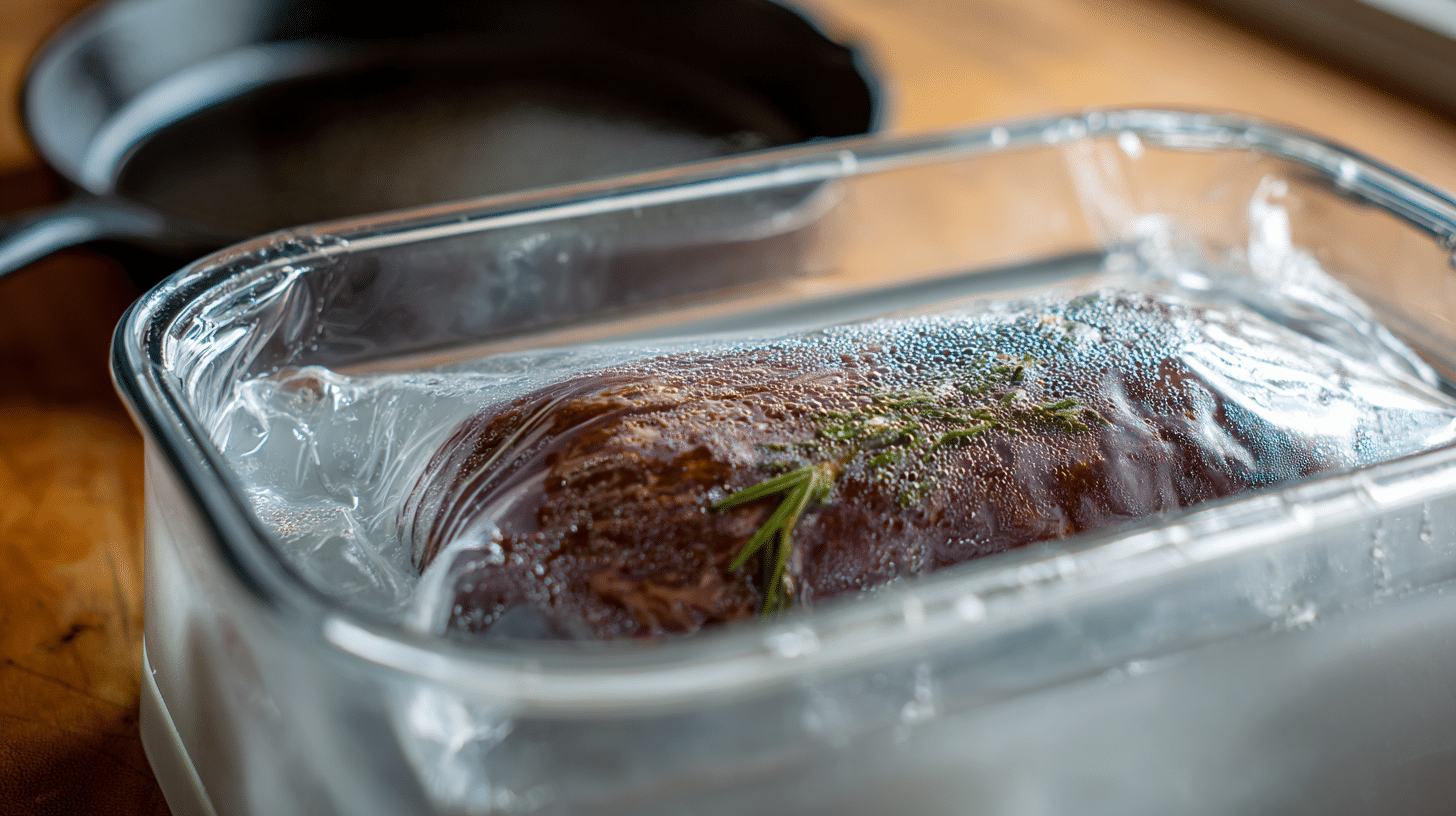
Good reheating starts before the steak ever goes into the refrigerator. Within two hours of cooking, transfer the steak to an airtight container or wrap it tightly in plastic wrap or aluminum foil.
This keeps oxygen away from the meat, which prevents it from drying out and developing off flavors.
Save any juices or drippings from the original cooking session. These liquids contain concentrated beefy flavor and fat that will help keep the meat moist during reheating.
Pour them into the storage container with the steak, or keep them in a separate small container.
For longer storage, freezer bags work well, but squeeze out as much air as possible before sealing. Properly stored, cooked steak stays good in the refrigerator for three to four days.
Prepare the Steak Before Reheating
Temperature matters more than most home cooks realize. Taking steak straight from a cold refrigerator and applying heat creates a problem: the outside gets hot while the inside stays cold.
- Remove from refrigerator early: Take the steak out 20 to 30 minutes before reheating
- Let it rest on the counter: Keep it loosely covered to come to room temperature
- Give thicker cuts more time: Steaks over an inch thick benefit from up to 45 minutes
- Reduce temperature shock: This prevents the outside from overcooking while the center warms
Pro Tip: This simple step reduces the temperature gap between the cold center and the hot cooking surface, allowing for more even warming throughout and eliminating the rubbery, overcooked outer layers.
The Core Principles of Reheating Steak
Several key concepts apply regardless of which reheating method someone chooses. Understanding these fundamentals makes the difference between dried-out meat and restaurant-quality results.
1. Use Low, Gentle Heat
Gentle, moderate heat works better than intense bursts. Low and slow allows warmth to penetrate evenly without cooking the outer layers too much.
This approach takes a bit more time but prevents the rubbery texture that comes from rushing the process.
2. Add Moisture and Monitor Temperature
Adding moisture prevents the meat from drying out. Beef broth, butter, or saved steak juices all work well.
Even a small amount of liquid helps create steam, which keeps the surface from becoming leathery. A meat thermometer eliminates guesswork. Aim for an internal temperature around 110°F for medium-rare or 120°F for medium before any final searing step.
3. Always Let the Steak Rest
Let the steak rest for a few minutes after reheating. This allows the juices to redistribute through the meat instead of running out onto the plate. Even three to five minutes of resting makes a noticeable difference in tenderness and flavor.
Best Methods to Reheat Steak
Different reheating methods work better for different situations and equipment. Each technique offers specific advantages depending on the steak’s thickness, available time, and desired results.
1. Oven and Skillet Method: The Gold Standard
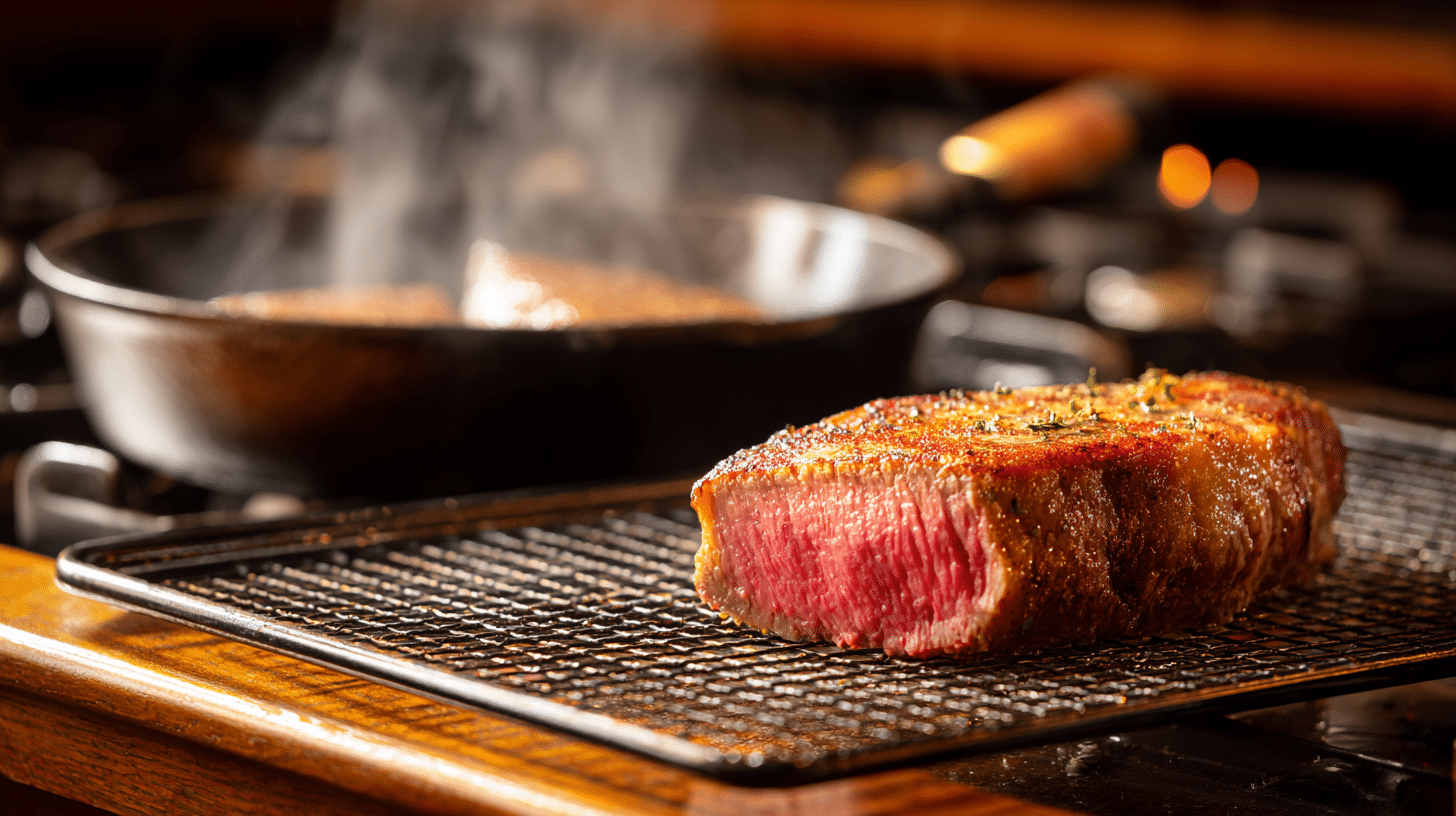
This two-step approach delivers the most reliable results, especially for thicker cuts.
- Step 1: Preheat oven to 250°F and place steak on a wire rack over a baking sheet
- Step 2: Heat until internal temperature reaches 110°F for medium-rare (10-20 minutes depending on thickness)
- Step 3: Heat the cast-iron skillet over high heat with oil until smoking
- Step 4: Sear the steak 30-60 seconds per side to restore the crust
- Step 5: Rest for five minutes before serving
2. Stovetop Steam Method: Quick and Simple
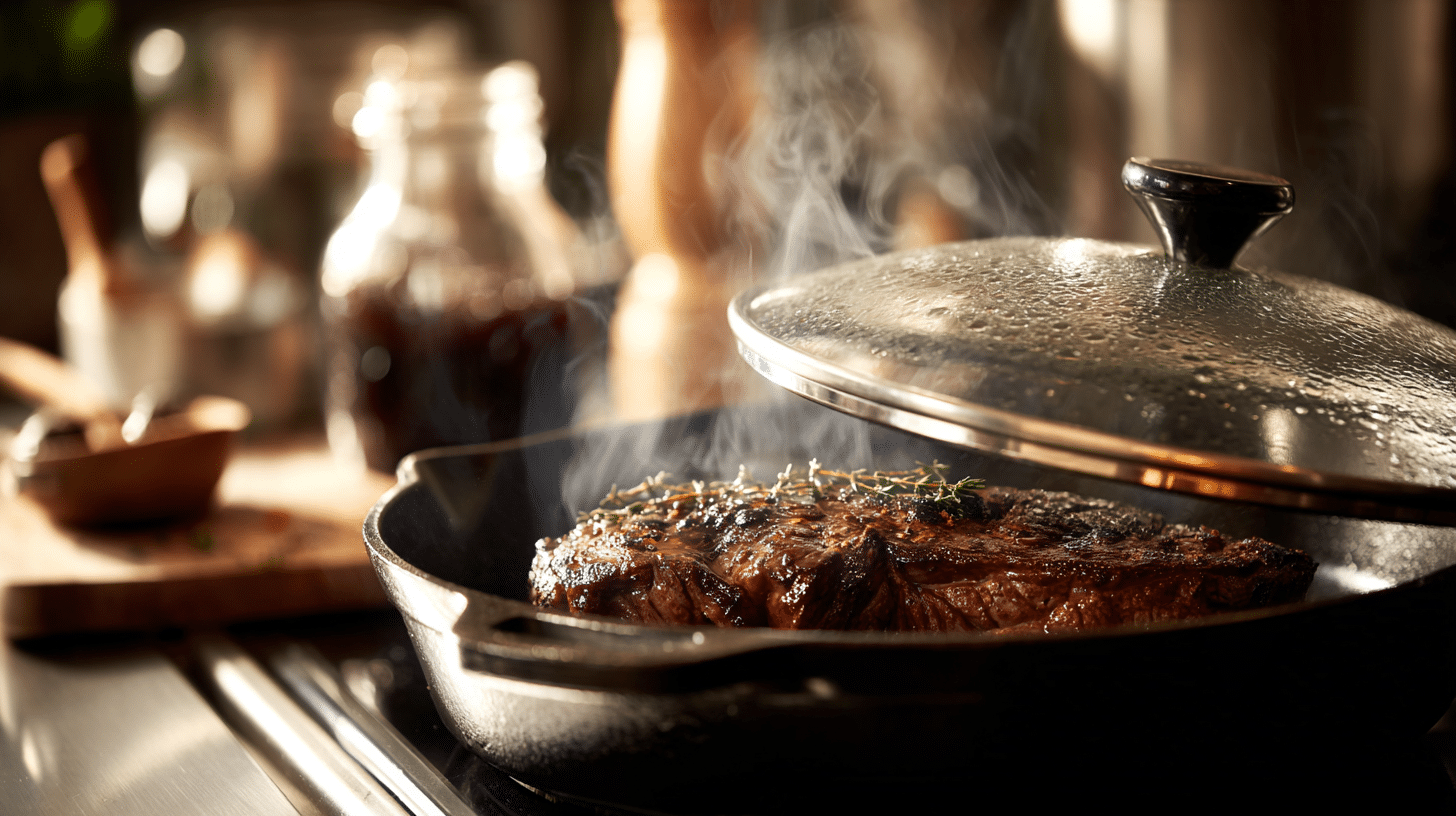
This method uses trapped steam to reheat steak quickly without drying it out.
- Step 1: Warm a heavy skillet over medium-low heat
- Step 2: Add one tablespoon of beef broth, water, or steak drippings
- Step 3: Place the steak in the pan and cover immediately with a lid
- Step 4: Flip every minute or two, checking internal temperature
- Step 5: Remove when heated through (5-8 minutes total)
3. Air Fryer Method: Modern Convenience
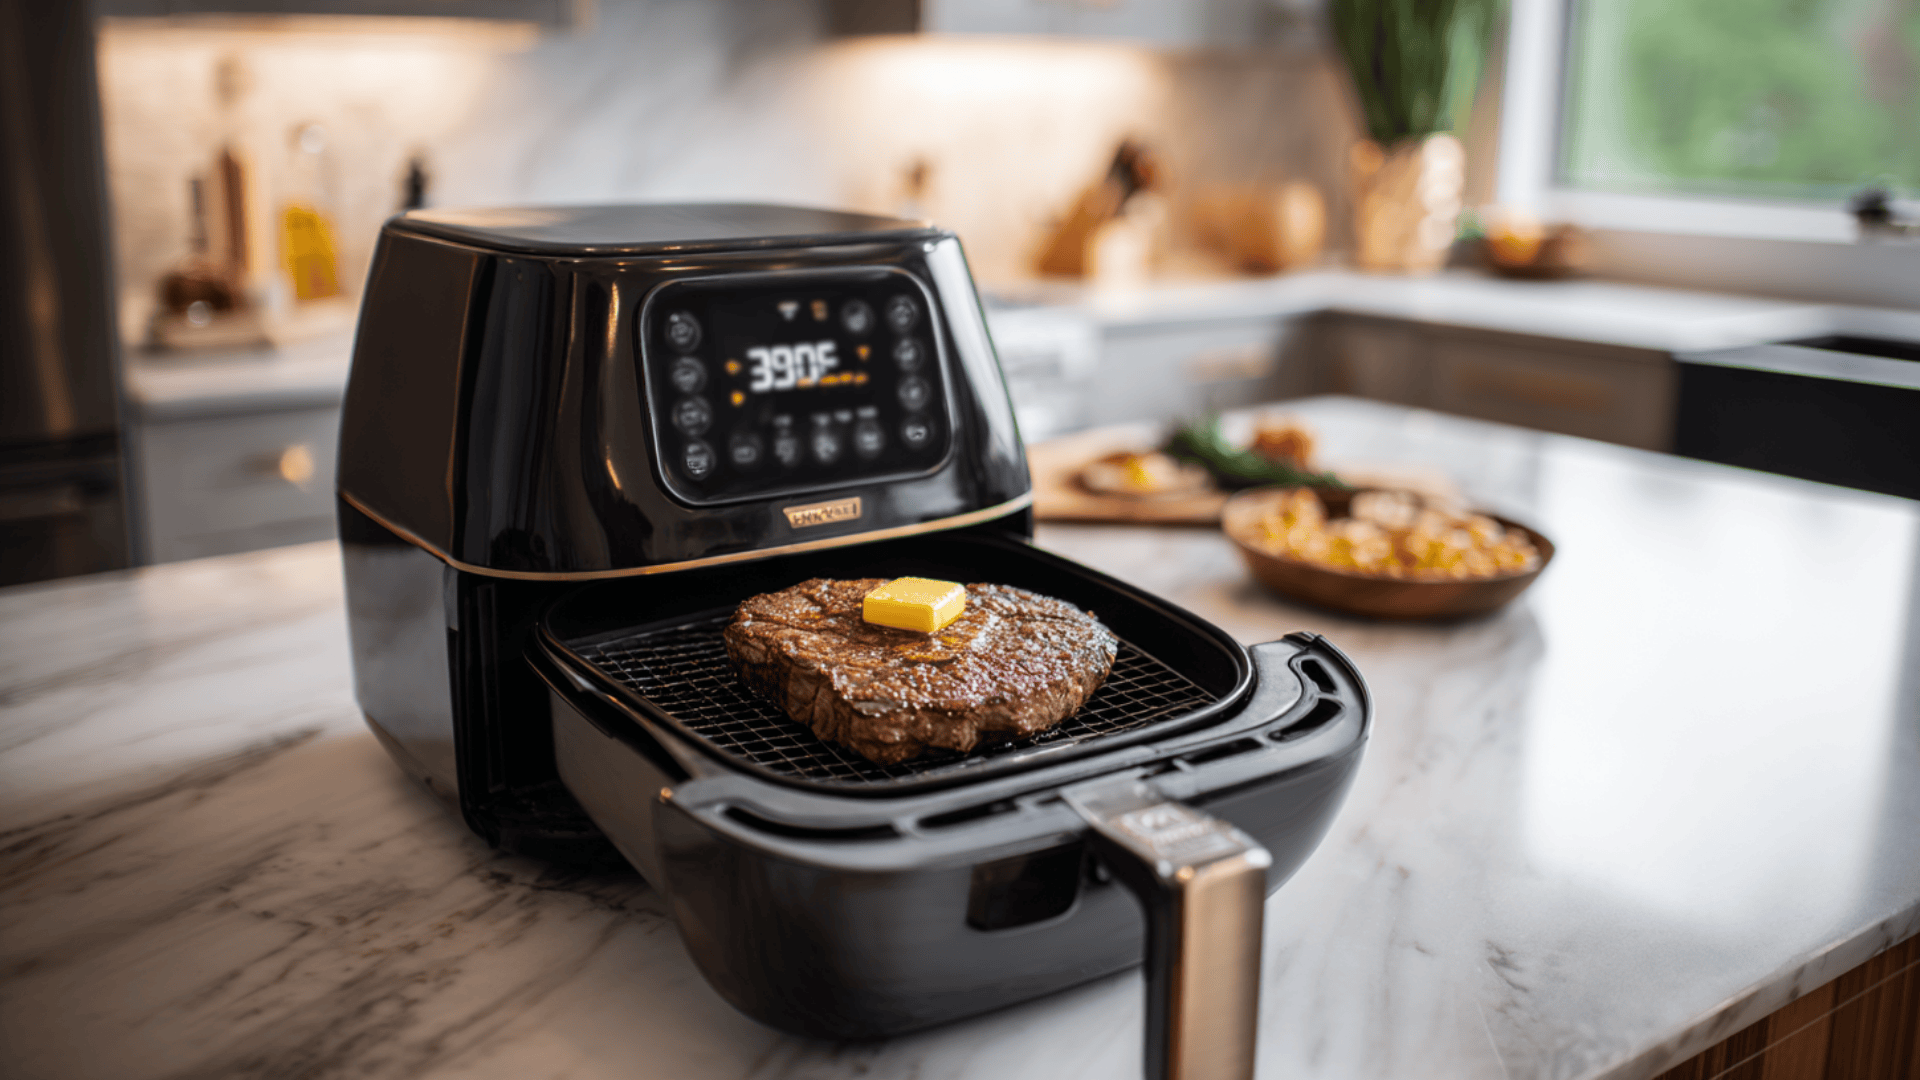
Air fryers work well for thinner steaks when used at the right temperature.
- Step 1: Preheat air fryer to 350°F
- Step 2: Add a pat of butter on top of the steak or brush with oil
- Step 3: Place the steak in the basket and heat for 3-4 minutes
- Step 4: Flip and continue for 2-3 minutes more
- Step 5: Check internal temperature before serving
4. Sous Vide Method: Maximum Precision
This method offers unmatched control with zero risk of overcooking.
- Step 1: Set sous vide device to target temperature (130°F for medium-rare, 140°F for medium)
- Step 2: Place the steak in a vacuum-seal or zip-top bag with butter or steak juices
- Step 3: Submerge in a water bath for 20-45 minutes, depending on thickness
- Step 4: Remove from bag and pat completely dry
- Step 5: Sear in a hot skillet 30 seconds per side to restore crust
5. Microwave Method: The Emergency Option
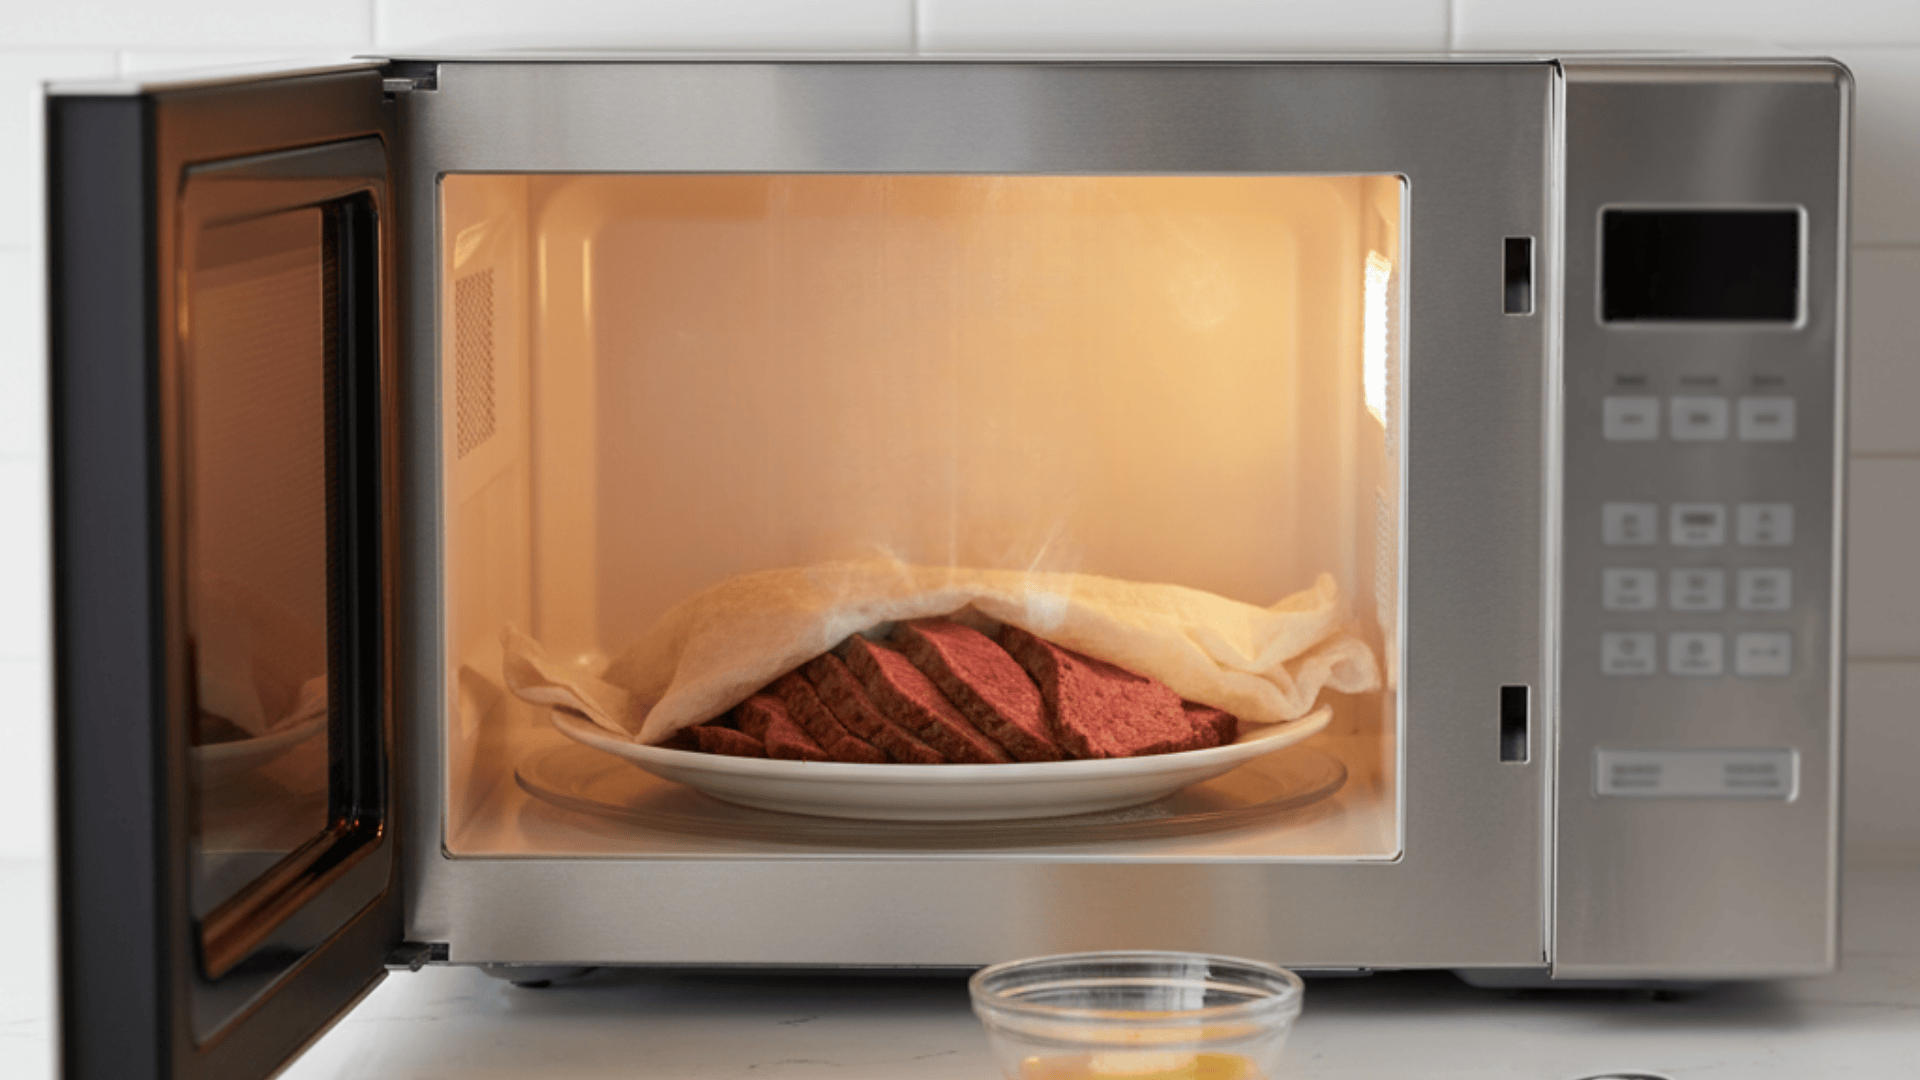
Microwaves work in a pinch when used at low power with added moisture.
- Step 1: Slice the steak into thinner pieces and arrange on a microwave-safe plate
- Step 2: Drizzle with beef broth, butter, or steak juice
- Step 3: Cover with a damp paper towel to trap steam
- Step 4: Microwave at 50% power in 20-30 second bursts
- Step 5: Flip after each interval until heated through (3-5 total intervals)
Avoiding Common Mistakes
Several errors consistently ruin reheated steak. Skipping the room temperature rest sets up uneven heating from the start. High heat seems faster but guarantees a dried-out result.
Reheating the same steak multiple times breaks down the meat’s structure and creates a mushy texture. Only reheat what will be eaten in that meal.
Forgetting to let the steak rest after reheating causes all the carefully preserved juices to run out onto the plate. Even three to five minutes of resting makes a noticeable difference.
Using direct high heat without any moisture turns the exterior leathery. Always add some form of liquid, whether butter, broth, or saved drippings.
Choosing the Right Method
Different situations call for different approaches. The oven and skillet method works best for thick, high-quality steaks where preserving texture matters most. It takes more time but delivers superior results.
The stovetop steam method suits busy weeknight dinners when convenience outweighs perfection. It reheats steak quickly without requiring multiple pieces of equipment.
Air fryers make sense for thinner steaks and when someone wants minimal cleanup. They combine speed with decent results.
Sous vide appeals to perfectionists who want zero risk of overcooking and don’t mind the extra time investment. It produces the most consistent results across different steak thicknesses.
Microwaves serve as a last resort when no other option exists. They work better than expected when used at low power with added moisture.
Making Leftover Steak Shine
Reheated steak offers an opportunity to add new flavors. A pat of herb compound butter melting over the warm surface brings fresh brightness. A sprinkle of flaky salt improves the beefy taste.
Some cooks slice reheated steak thinly and serve it over salad or in sandwiches. Others cube it for tacos or grain bowls. The key is reheating the meat properly before incorporating it into a new dish.
Leftover steak doesn’t have to feel like settling for second best. With the right technique, that gorgeous cut gets a proper encore performance.
Gentle heat, added moisture, careful temperature monitoring, and a brief rest turn yesterday’s dinner into something worth looking forward to.
The effort takes only a few extra minutes but makes tough, dry leftovers into tender, juicy meat that tastes freshly cooked.