


Building an accessory dwelling unit (ADU) is one of the most effective ways to expand your living space, create rental income, or add long-term value to your property. Whether you’re planning a detached backyard home or converting an existing structure, understanding the process from the start can help you avoid costly mistakes and delays.
From zoning rules and design choices to budgeting and timelines, working with the right professionals is key. In many cases, partnering with an experienced ADU contractor Seattle homeowners trust can simplify the process and ensure your project meets both local requirements and your long-term goals.
Understanding ADU Types and Choosing the Right Option
Before starting construction, understand the different types of accessory dwelling units and how each fits your property, budget, and goals. The most common options include detached ADUs (standalone backyard homes), attached ADUs (extensions connected to the main house), and converted spaces such as basements or garages.
Each type comes with its own advantages. Detached units offer more privacy and are ideal for rental income, while attached or converted ADUs are often more cost-effective and easier to permit. Your lot size, layout, and local zoning regulations will also influence what’s possible.
Navigating Permits, Zoning, and Local Requirements
One of the most critical steps in building an ADU is understanding local regulations and securing the necessary permits. Zoning laws determine what type of unit you can build, how large it can be, and where it can be placed on your property. Requirements include setbacks, height limits, parking rules, and utility connections, all of which can impact your design and timeline.
Permitting can take time, especially if revisions are needed during the review process. Submitting accurate plans, working with experienced designers, and staying aligned with local building codes will help avoid delays. A clear understanding of these requirements early on ensures your project moves forward smoothly and reduces the risk of unexpected complications.
Budgeting Your ADU Project: Costs and What to Expect
Costs can vary significantly depending on the type of unit, size, design complexity, materials, and site conditions. Beyond construction itself, you should also account for permits, design fees, utility connections, and potential upgrades to your existing property.
Having a clear breakdown of expenses helps you prioritize features, make informed decisions, and stay within your financial limits.
|
Cost Category |
Estimated Range |
What It Includes |
|
Design & Planning |
$5,000 – $20,000 |
Architectural plans, engineering, and consultations |
|
Permits & Fees |
$2,000 – $10,000 |
City permits, inspections, application costs |
|
Site Preparation |
$5,000 – $30,000 |
Land clearing, grading, utility setup |
|
Construction |
$150 – $400 per sq. ft. |
Labor, materials, structural work |
|
Interior Finishing |
$20,000 – $80,000 |
Flooring, kitchen, bathroom, fixtures |
|
Utility Connections |
$5,000 – $25,000 |
Water, sewer, electricity hookups |
|
Contingency (10–15%) |
Varies |
Unexpected costs, changes during construction |
Understanding these cost components allows you to plan realistically and avoid budget overruns while ensuring your ADU meets your expectations.
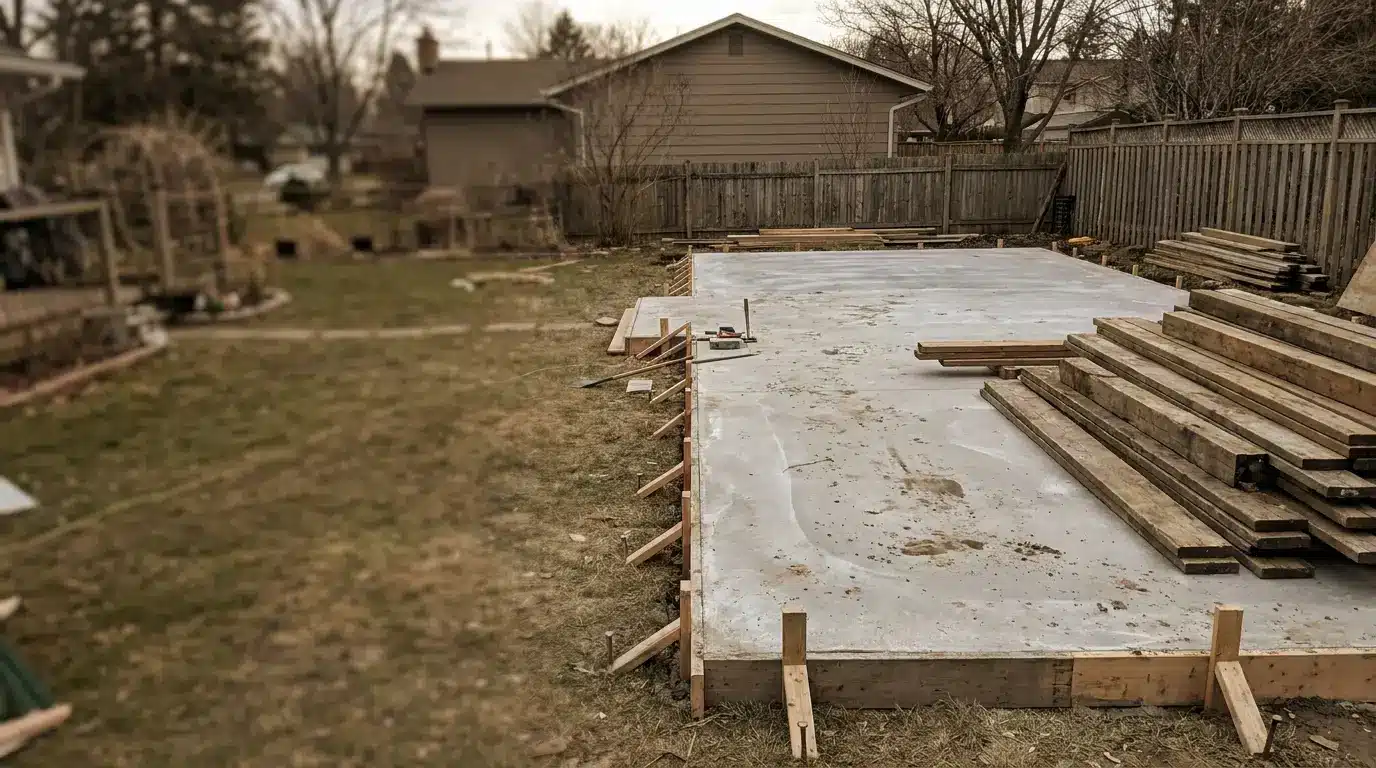
Key Steps to Successfully Build an ADU
Building an ADU is a multi-stage process that requires careful coordination, planning, and execution. Following a clear sequence of steps helps reduce risks, avoid delays, and ensure a smoother construction experience from start to finish.
- Define your goals – Decide whether the ADU will be used for rental income, family living, or additional workspace, as this will shape the design and budget.
- Assess your property – Evaluate lot size, layout, access, and existing structures to understand what type of ADU is feasible.
- Research local regulations – Review zoning laws, building codes, and permit requirements before starting any design work.
- Set a realistic budget – Include all costs such as design, permits, construction, and a contingency buffer.
- Hire the right professionals – Work with experienced designers and contractors who understand ADU projects and local requirements.
- Create a detailed design plan – Finalize layout, materials, and technical details to avoid changes during construction.
- Submit permits and approvals – Ensure all documentation is accurate to prevent delays in the approval process.
- Begin construction and monitor progress – Stay involved, communicate regularly with your contractor, and track timelines and expenses.
By following these steps, homeowners can approach ADU construction with confidence and significantly improve the chances of a successful outcome.
To Conclude: Is Building an ADU the Right Choice for You?
An accessory dwelling unit can be a powerful investment, offering flexibility, additional income potential, and long-term property value growth. However, success depends on thoughtful planning, a clear understanding of local requirements, and realistic budgeting from the very beginning.
If you take the time to define your goals, choose the right type of ADU, and work with experienced professionals, the process becomes far more manageable. While challenges can arise, a well-executed project can transform your property into a more functional and profitable space. For many homeowners, building an ADU is not just an upgrade—it’s a strategic move toward smarter living and future financial stability.