


Three hundred dollars. That is roughly what it cost a friend of mine to fix a staircase that had felt wrong for years, and not one cent of it went toward new wood. The rail itself was fine. The problem was the handrail mounting brackets, the little fittings everyone forgets about until a hand lands on the rail and the whole thing shivers. If you are planning a staircase, a porch rail, or a basement code upgrade, the bracket is where your project either feels solid or feels like a loose tooth.
Here is the good news. You do not need to be a carpenter to get this right. You need to understand four things: what the bracket does, what your wall and rail are made of, how the rail should sit under your hand, and which style matches the room. Get those straight and you will pick the right fitting the first time instead of ordering a second batch.
For period homes, custom millwork, and railings that need a specific profile, handrail mounting brackets come in far more shapes than the two or three your local big box store keeps on the shelf. That variety exists for a reason. A rail on brick does not want the same fitting as a rail on drywall over a hollow stud cavity, and a 1930s bungalow stair does not want the same silhouette as a glass-and-steel modern run.
What a Handrail Bracket Actually Does
A bracket does three jobs at once, and most people only think about the first one. It holds the rail off the wall so your knuckles clear the plaster. It transfers the load from the rail into the wall framing. And it sets the distance between the wall and the rail, which is the number your hand notices without ever knowing why.
According to OSHA, general industry stair rails need a clearance of at least 1.5 inches between the rail and the wall surface. That is a floor, not a target. On a residential stair most people land somewhere between 2.25 and 2.5 inches because it just feels right in the palm. Set it tighter than that and your fingers scrape. Set it wider and the rail pulls away from the wall like it is trying to leave the conversation.
Wall, Rail, and the Fit in Between
This is the part that decides whether your installation goes smoothly or turns into a Saturday of swearing. Brackets are sold by material and by how they attach, so match all three pieces before you buy.
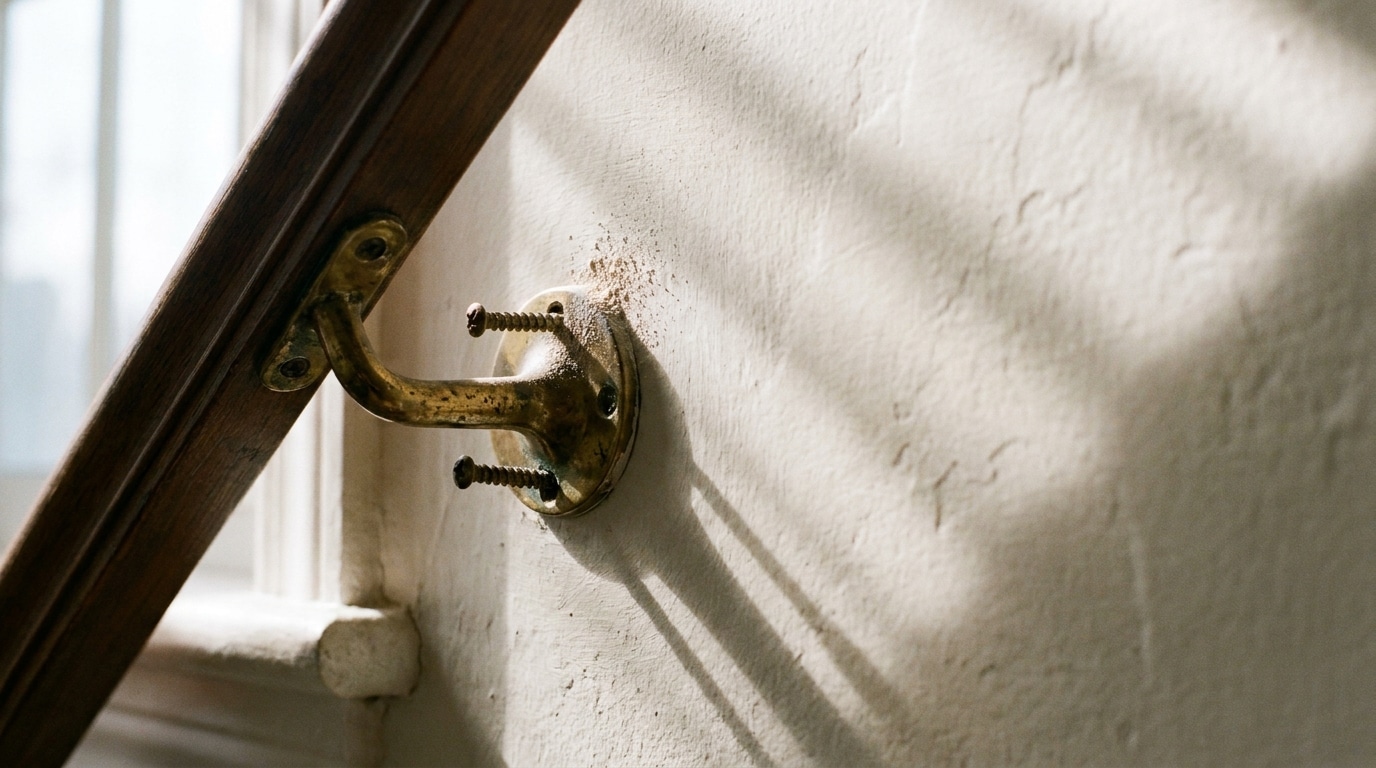
- Solid wood, plaster, or masonry: you can anchor almost anything, including heavy cast brackets. Just confirm you are hitting something with actual mass behind it.
- Drywall with wood studs: lag screws into studs are your friend. A toggle bolt works in a pinch but it will never feel as firm under a hard grab.
- Metal rail on metal posts: pipe brackets and compression fittings usually make more sense than a wall flange, because the rail has nowhere to hide a fastener hole.
- Glass panels or elevator cabs: these need purpose-built clamps. Do not improvise with a standard bracket and shim it. I have seen that repair, and it looks like a bandage on a good suit.
Materials matter more than most buyers expect. Brass takes a patina and suits older homes. Stainless handles weather and salt air. Cast aluminum is the budget workhorse. Steel is the tough, plain option, and it wants a finish if it is going anywhere damp.
How Far Apart Should Brackets Go?
Close enough that the rail cannot bow, far enough that you are not drilling a string of holes. For wood rails, a bracket near each end and roughly every 4 feet in between is the traditional rhythm, and it holds up in practice. Every bracket has to land on framing, so lay out your spacing around the studs you can actually find rather than forcing a perfect number and hitting air.
Put a bracket within about a foot of each end of the run. Long spans with only two brackets in the middle sag over time, and a sagging rail is the tell that the job was rushed. If your studs fight you, add a matching wood blocking strip behind the rail and anchor into that. It reads as a design detail and solves the problem at the same time.
The Fit Test I Use Before Drilling
You can avoid almost every bracket regret with a ten minute dry run. This is the checklist I run on my own projects, and it has saved me more than once.
- Hold the rail in place with your bare hand. Not a clamp, your hand. Walk the full run and feel where your grip sits. Mark those points with tape.
- Confirm the wall clearance. Measure from the wall face to the back of the rail at both ends. If it drifts, your wall is out of plane and you will need shims or a bracket with adjustment built in.
- Find every stud. Mark the centerlines with painter’s tape so you do not lose them after the first hole.
- Set your layout with a story stick. Cut a scrap board to your bracket spacing and mark it. Hold it against the wall and transfer every mark at once instead of measuring each hole separately.
- Trace the bracket footprint. Set the bracket on the wall, mark the screw holes, and check the rail height one more time before the drill goes in.
- Drive the fasteners snug, not crushing. Over-tightening cracks plaster and splits wood. If the bracket still wiggles, your problem is the anchor, not the torque.
Style Choices That Age Well
Every bracket is visible hardware, which means you are decorating whether you planned to or not. The safest move is to echo something already in the room. A little curve that matches the newel post, a flat black finish that matches the door hinges, a squared plate that matches the window trim. That small repetition makes a stair look finished instead of assembled.
The General Services Administration keeps the Federal Historic Preservation Standards that govern a lot of rehab work on older buildings, and their guidance on preserving character defining features is worth a read if your home is old. Short version: if a fitting was part of the original design, replacing it with something that reads modern erases part of the house. I would rather restore a slightly fussy original bracket than swap it for a neat little plate that looks like it belongs in an office building.
Where People Get It Wrong
The most common mistake is buying brackets before the rail. Do it the other way. Pick the rail, then pick the fitting that holds that rail’s profile. The second mistake is trusting the hardware bag. The screws that ship with a bracket are generic. Buy anchors that suit your actual wall.
The third, and the one that stings, is treating the bracket as trim. It is structure. A rail that moves even a quarter inch under your hand tells everyone the staircase was done carelessly, no matter how much the wood cost. You can feel a bad bracket from the bottom step.
There is also a quiet joy in this kind of detail that is easy to miss. If the rest of your staircase is already chosen, treat the bracket as the fun part of the decision instead of the leftover one. Match the finish to the handrail. Pick a plate shape that repeats one line from somewhere else in the room. Then walk the stairs with your hand on the rail, and notice whether you think about it at all. If you do not, you got it right.