


Stop spraying mystery chemicals on the furniture you touch every day.
That store-bought polish sitting under your sink contains petroleum distillates, silicones, and synthetic fragrances that build up on wood and release fumes you’d rather not breathe.
Homemade furniture polish costs pennies, works beautifully, and uses ingredients simple enough to eat, though you shouldn’t.
This shows you exactly why olive oil conditions, how vinegar cleans without damage, and which formula works best for different wood finishes.
No more guessing what’s in the bottle or why your table feels grimy after polishing. Just clean ingredients, real shine, and wood that looks cared for instead of coated. Your furniture will thank you, and so will your wallet.
Why Make Homemade Furniture Polish?
Commercial polishes contain silicones that create fake shine through buildup rather than real wood care.
They include petroleum solvents and synthetic fragrances that release fumes and make future refinishing nearly impossible.
The residue traps dirt and turns sticky over time. Homemade polish solves this. You know every ingredient, making it safer for children and pets.
Each batch costs under a dollar versus eight or more for store versions, and you skip chemical waste. Natural oils feed wood fibers instead of coating them in plastic.
Homemade polish handles regular maintenance and light scratches, not deep damage or stripped finishes. For serious restoration, you need professional refinishing.
What You’ll Need (Probably Already Have)
No fancy ingredients or specialty store trips required. Just four simple items to make furniture polish that works.
- Olive oil – 1 tablespoon
- White vinegar – 3 tablespoons
- Small spray bottle
- Paper towel or soft cloth – for wiping
That’s it. Everything else is optional upgrades, like essential oils for scent.
DIY Furniture Polish That Works Wonders on Wood!
Here’s a quick and practical way to make your own DIY wood furniture polish using simple household ingredients. This natural blend brings out your wood’s natural shine while being gentle, affordable, and better for the planet.
Step 1: Gather Your Ingredients
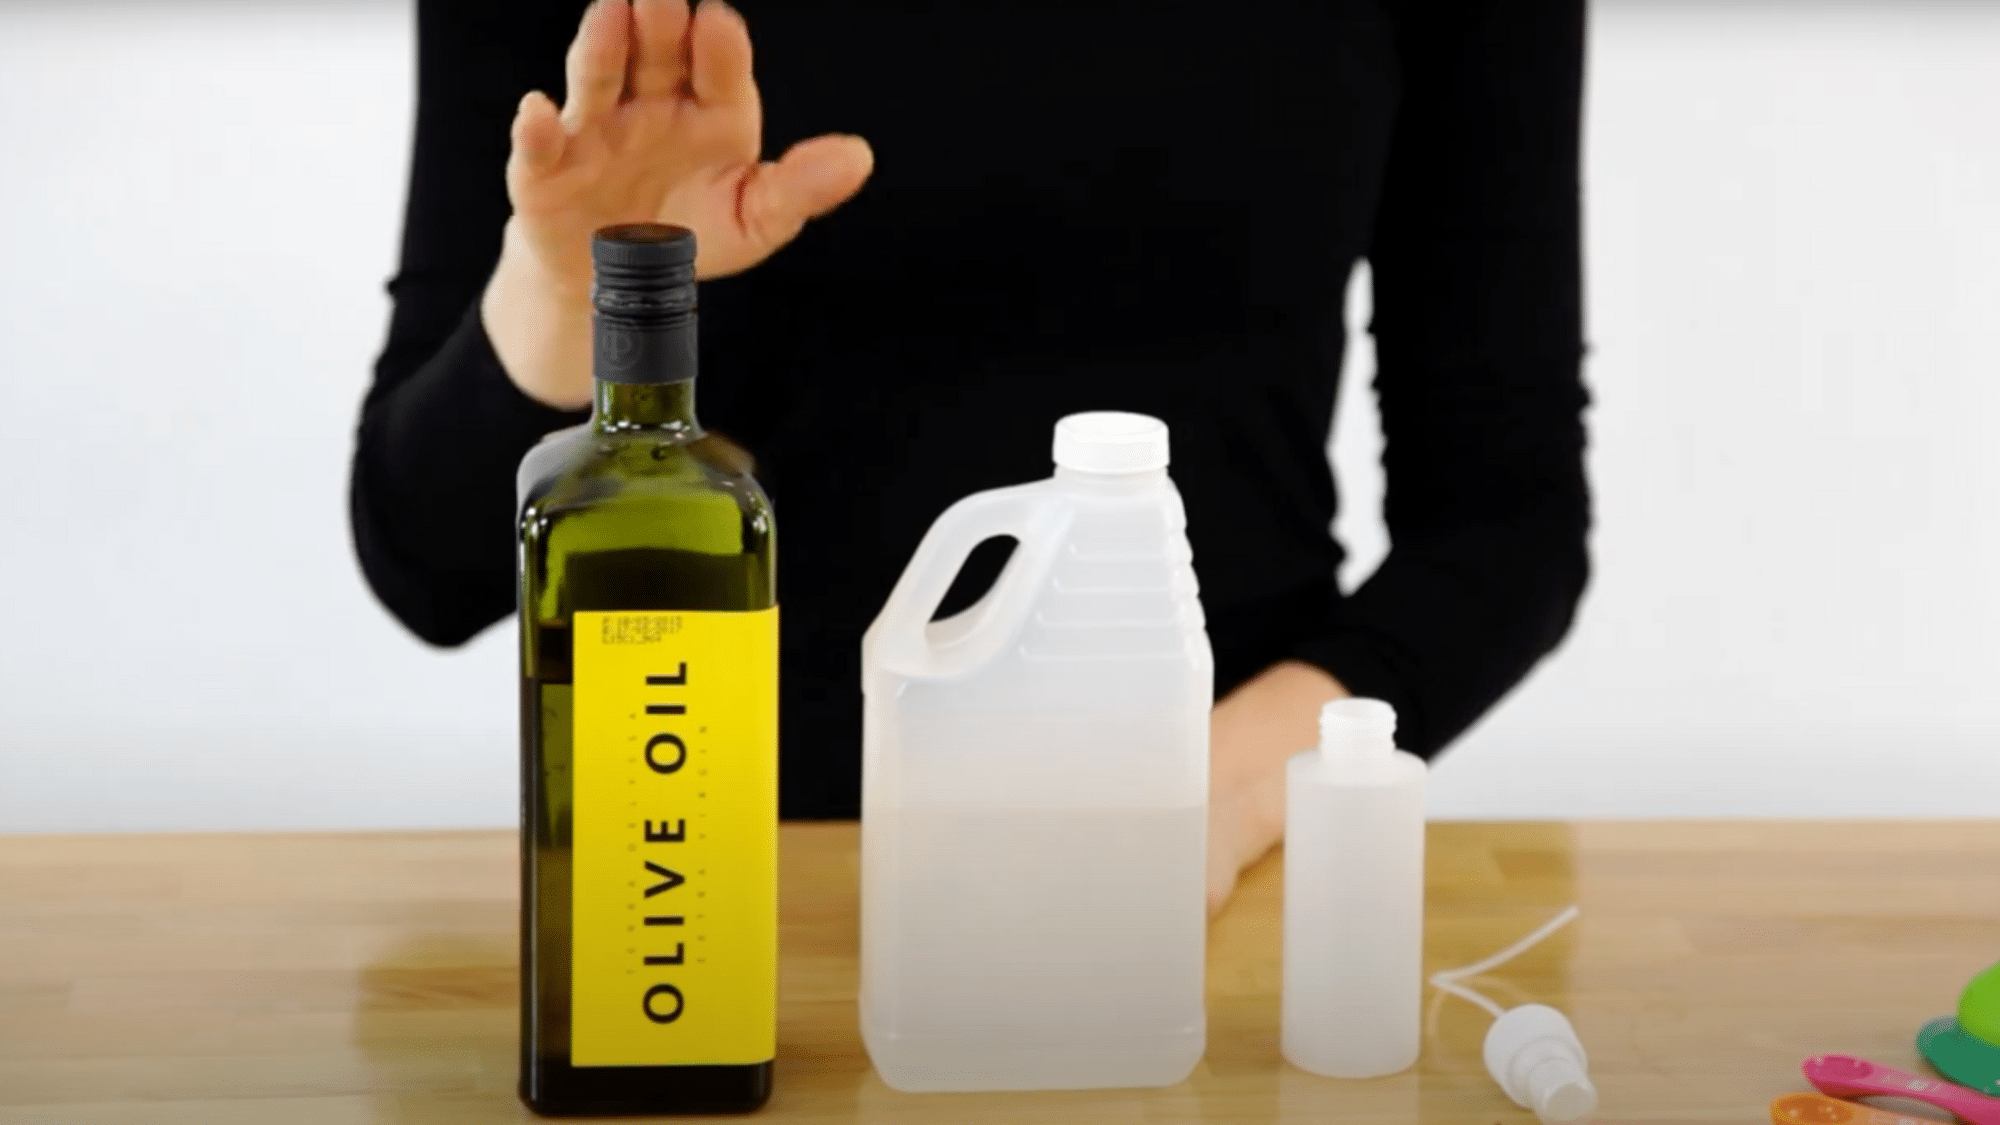
Before you begin, collect everything you’ll need in one place to make the process smooth and efficient. Having your ingredients ready ensures your polish is mixed correctly and safely.
You’ll need 3 tablespoons of white vinegar, 1 tablespoon of olive oil, a small spray bottle, and a soft cloth or paper towel. These common household items combine to create a natural wood polish that nourishes and cleans at the same time.
Pro Tip: Use high-quality olive oil for a longer-lasting polish and better shine.
Step 2: Combine the Ingredients
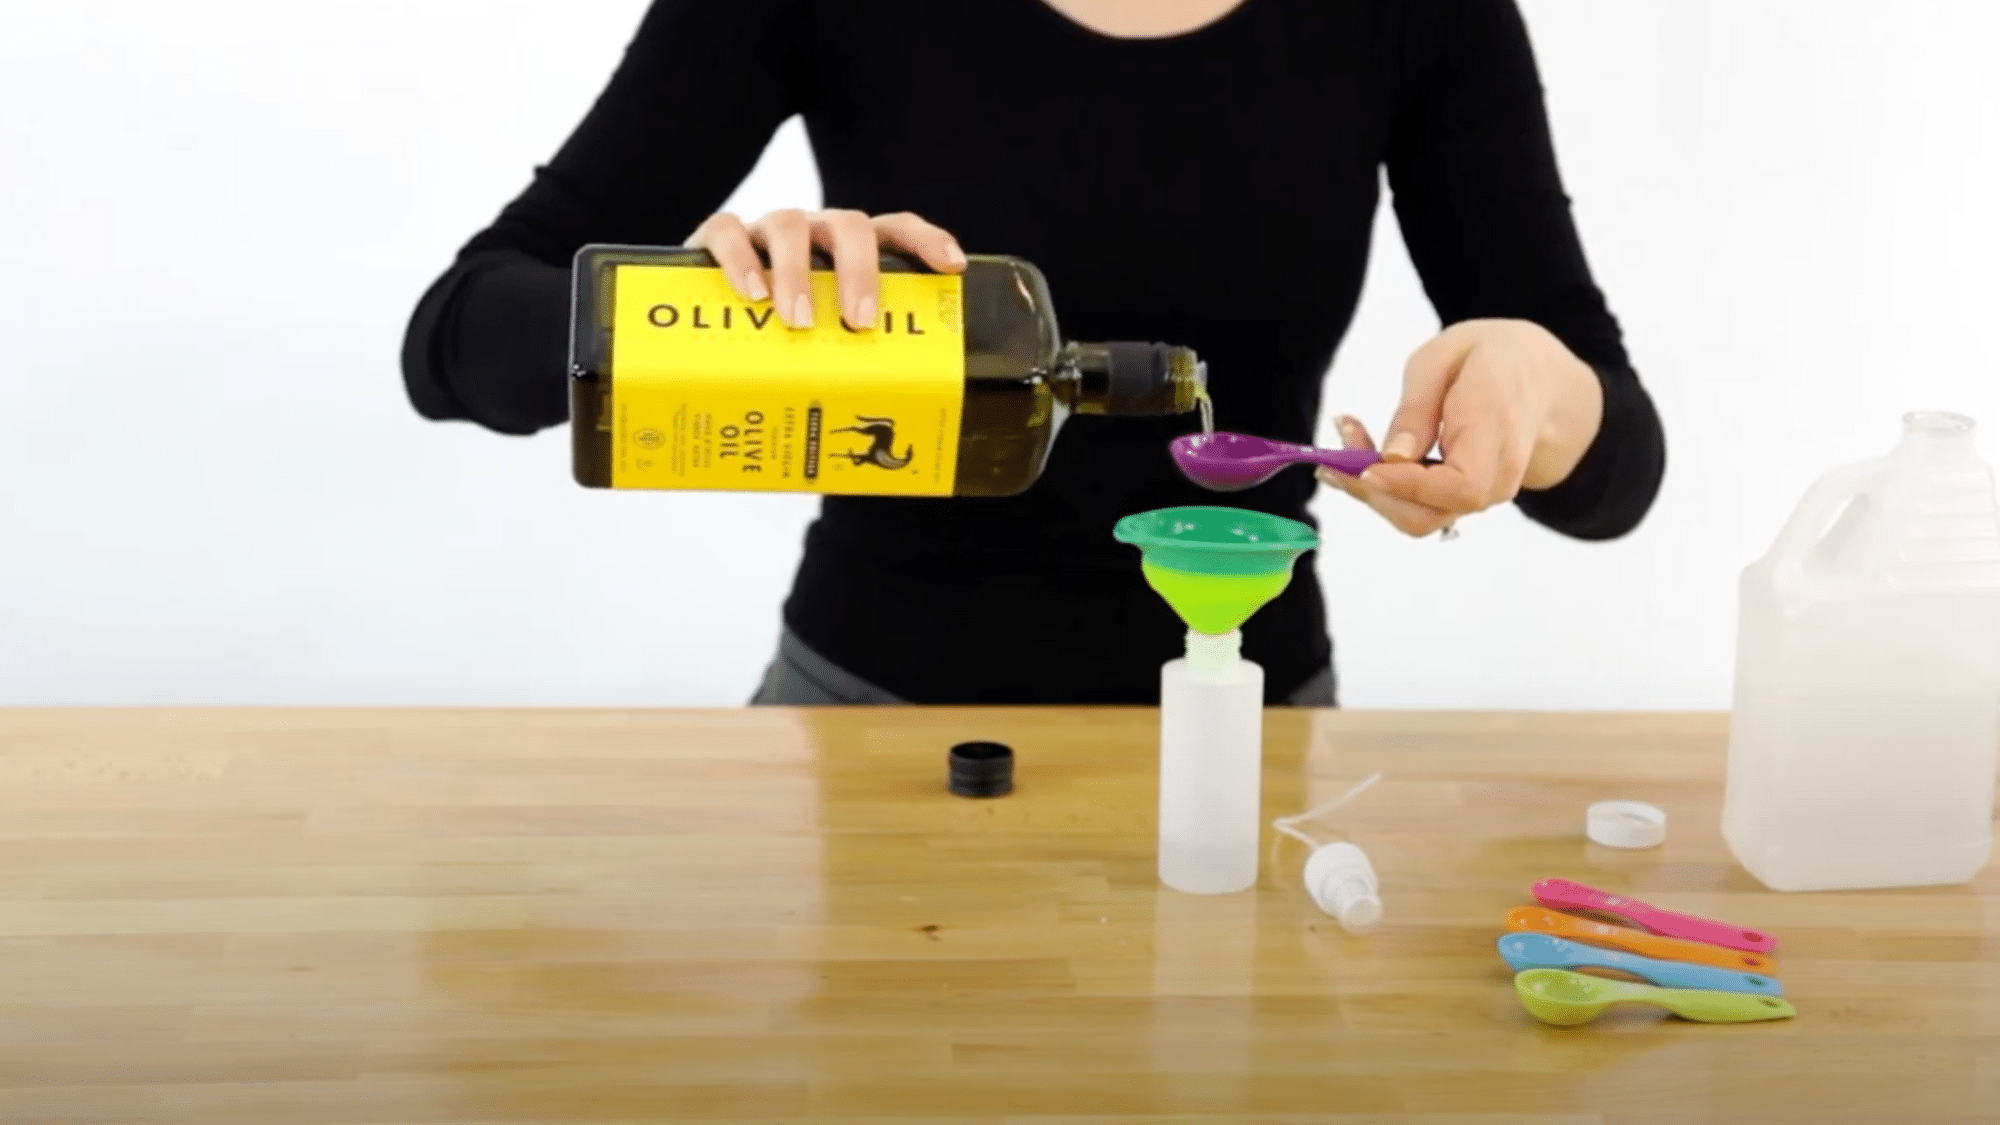
Now that everything’s ready, it’s time to mix. Carefully pour 3 tablespoons of white vinegar and 1 tablespoon of olive oil into your clean spray bottle.
The vinegar acts as a gentle cleaner to remove dust and grime, while the olive oil restores moisture and brings out the natural glow of the wood. This simple combination is both practical and planet-friendly.
Pro Tip: Use a funnel to pour the ingredients easily and avoid spills.
Step 3: Mix the Solution
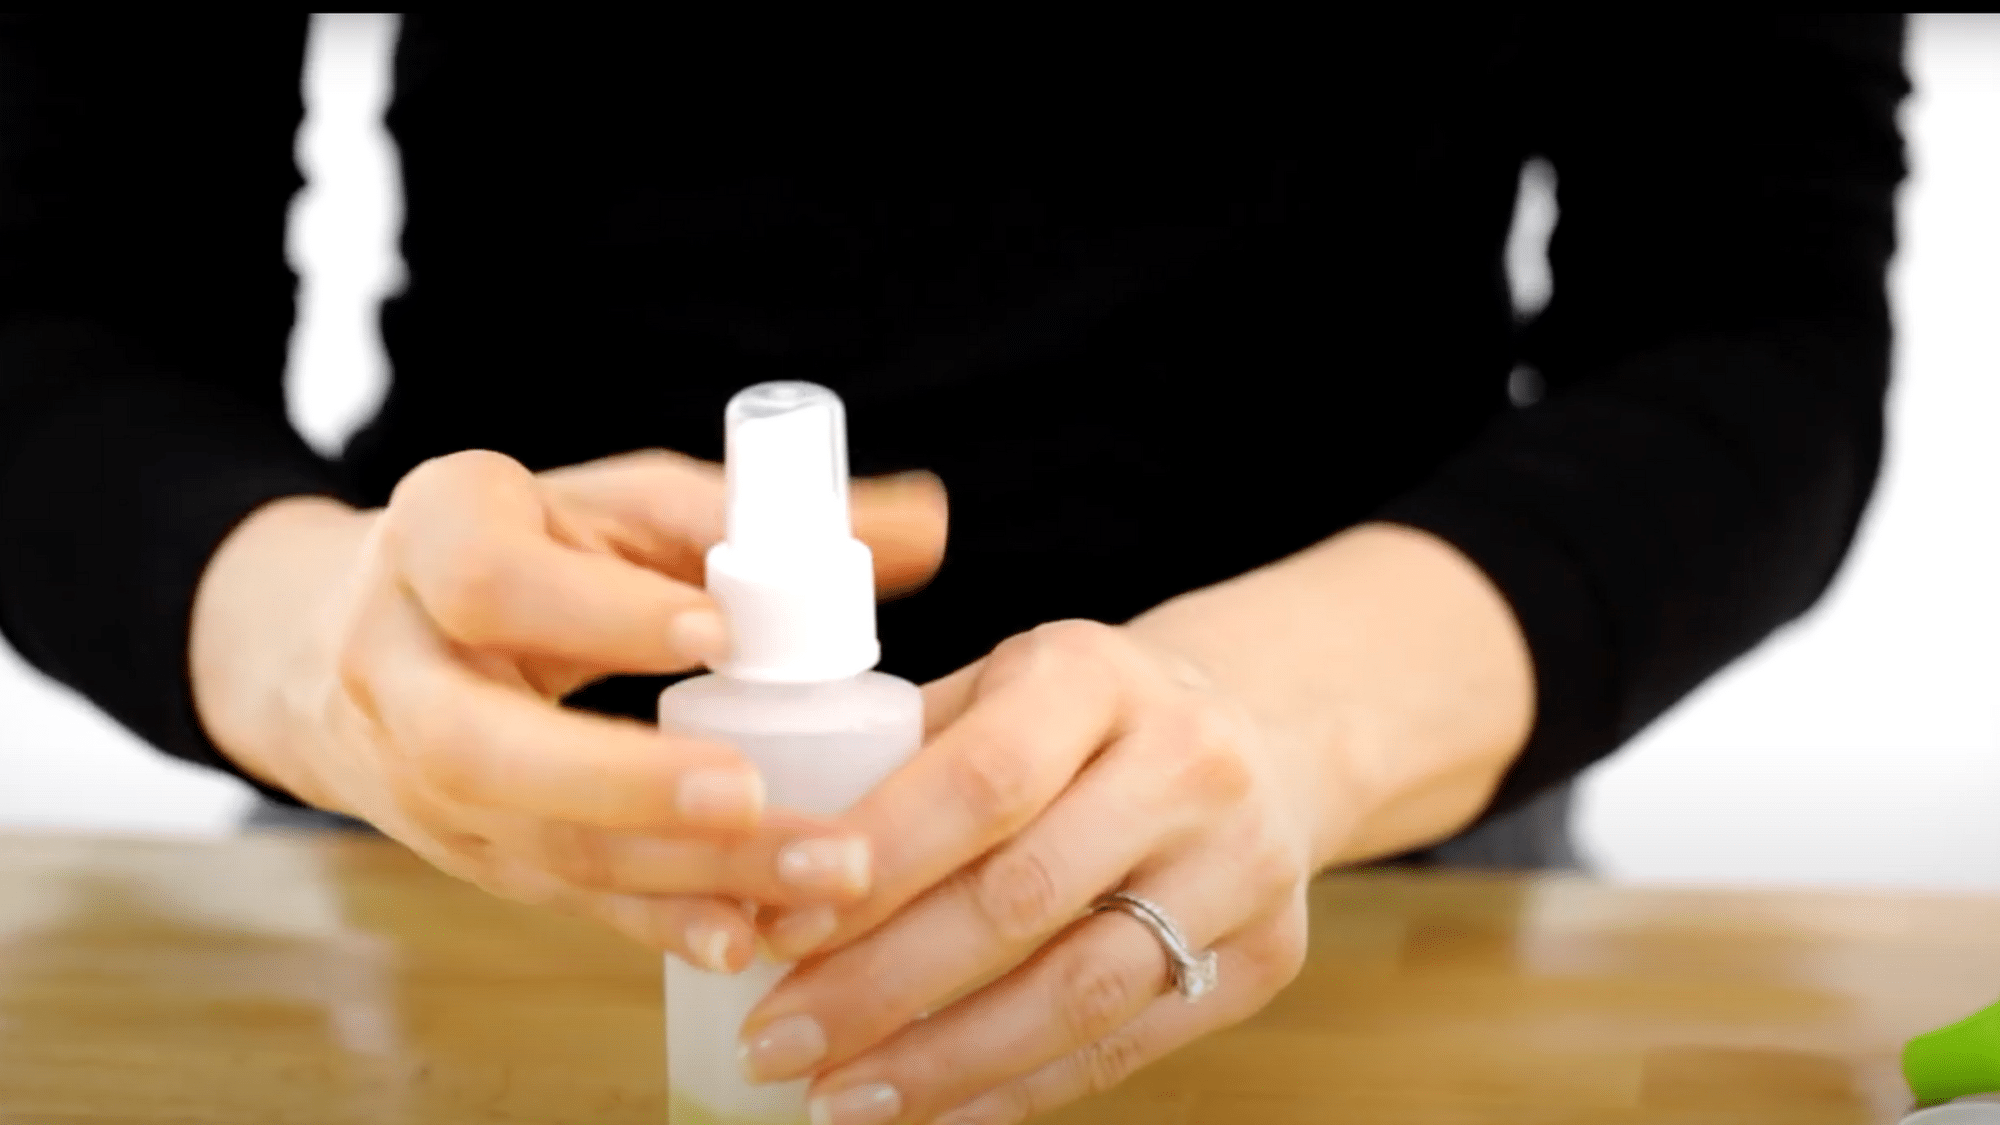
Once both ingredients are in the bottle, secure the spray top tightly. Give the bottle a good shake to blend the oil and vinegar thoroughly.
This ensures the mixture is evenly distributed so each spray gives the same balance of cleaning and conditioning. Shake again before each use, as the oil and vinegar may separate over time.
Pro Tip: Shake for at least 10 seconds before every use to maintain a consistent mixture.
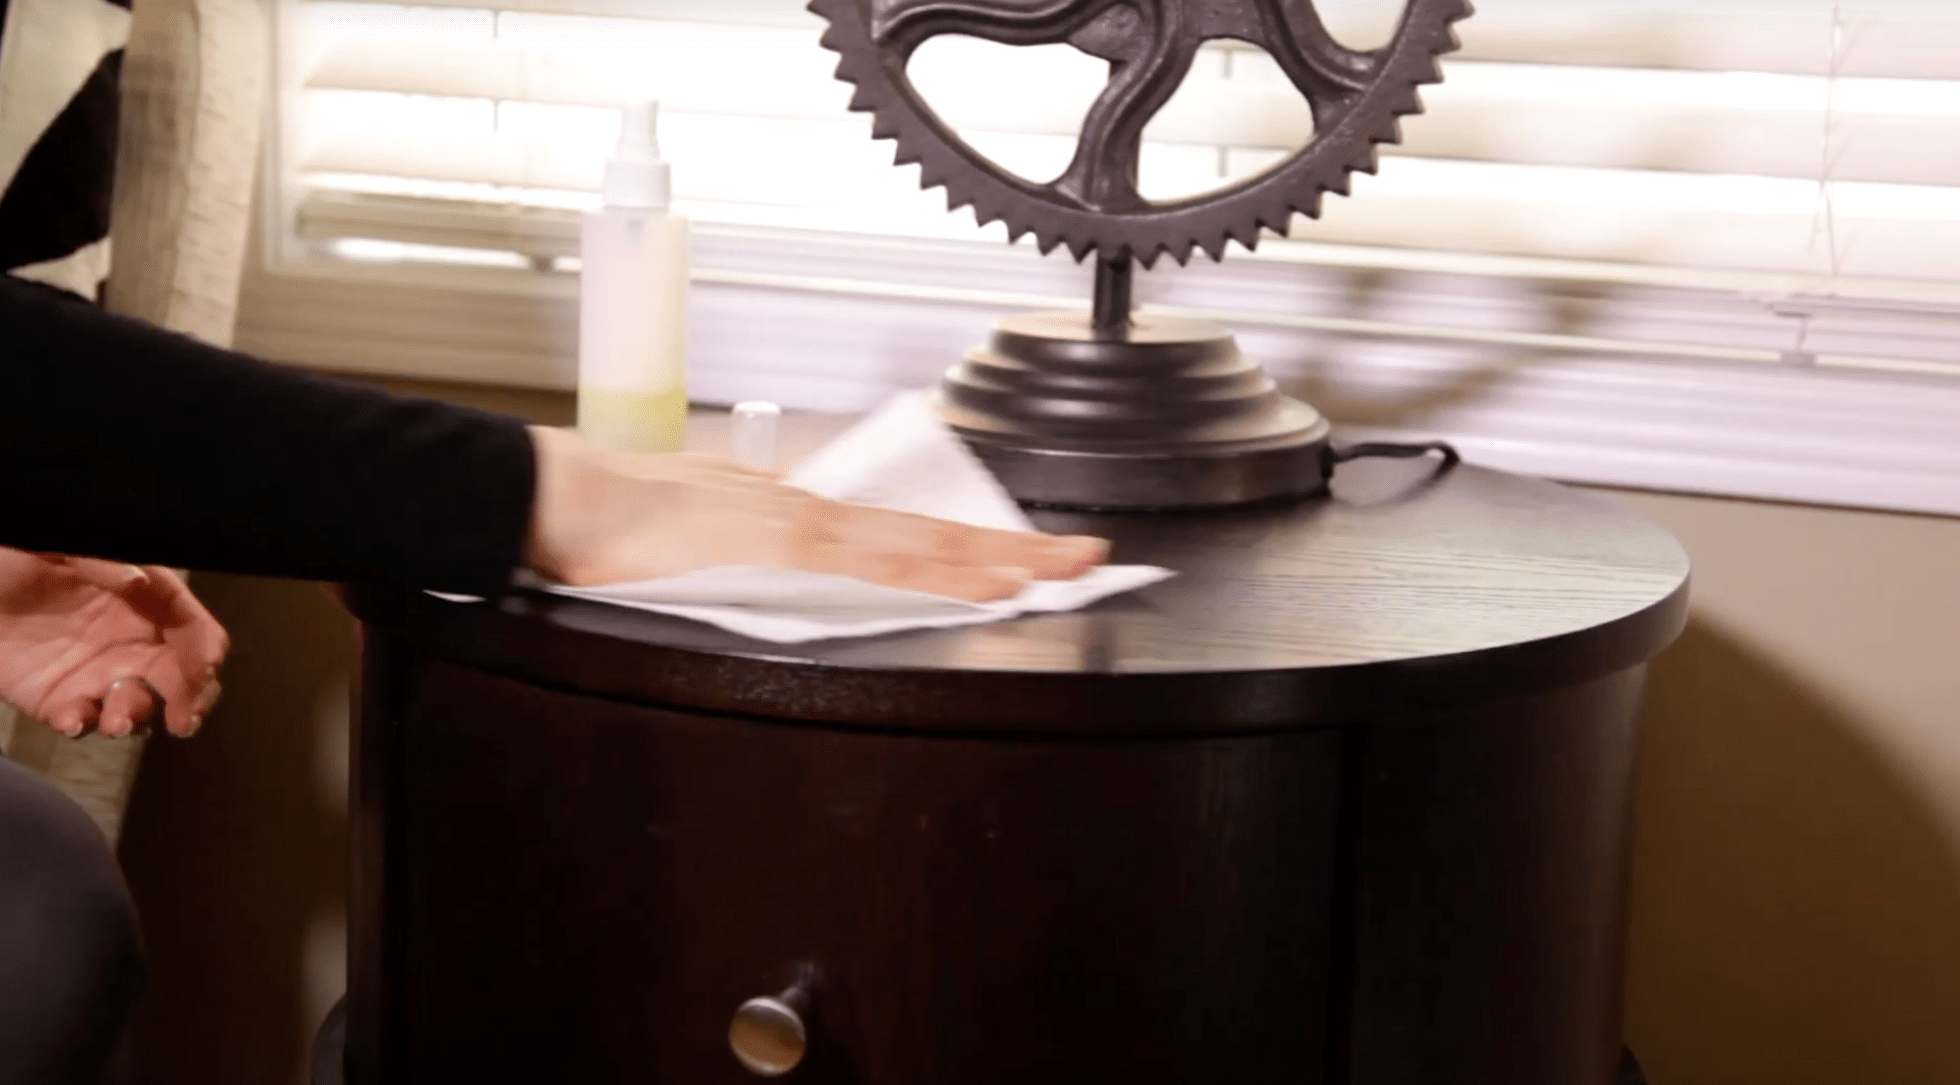
Step 4: Apply the Polish
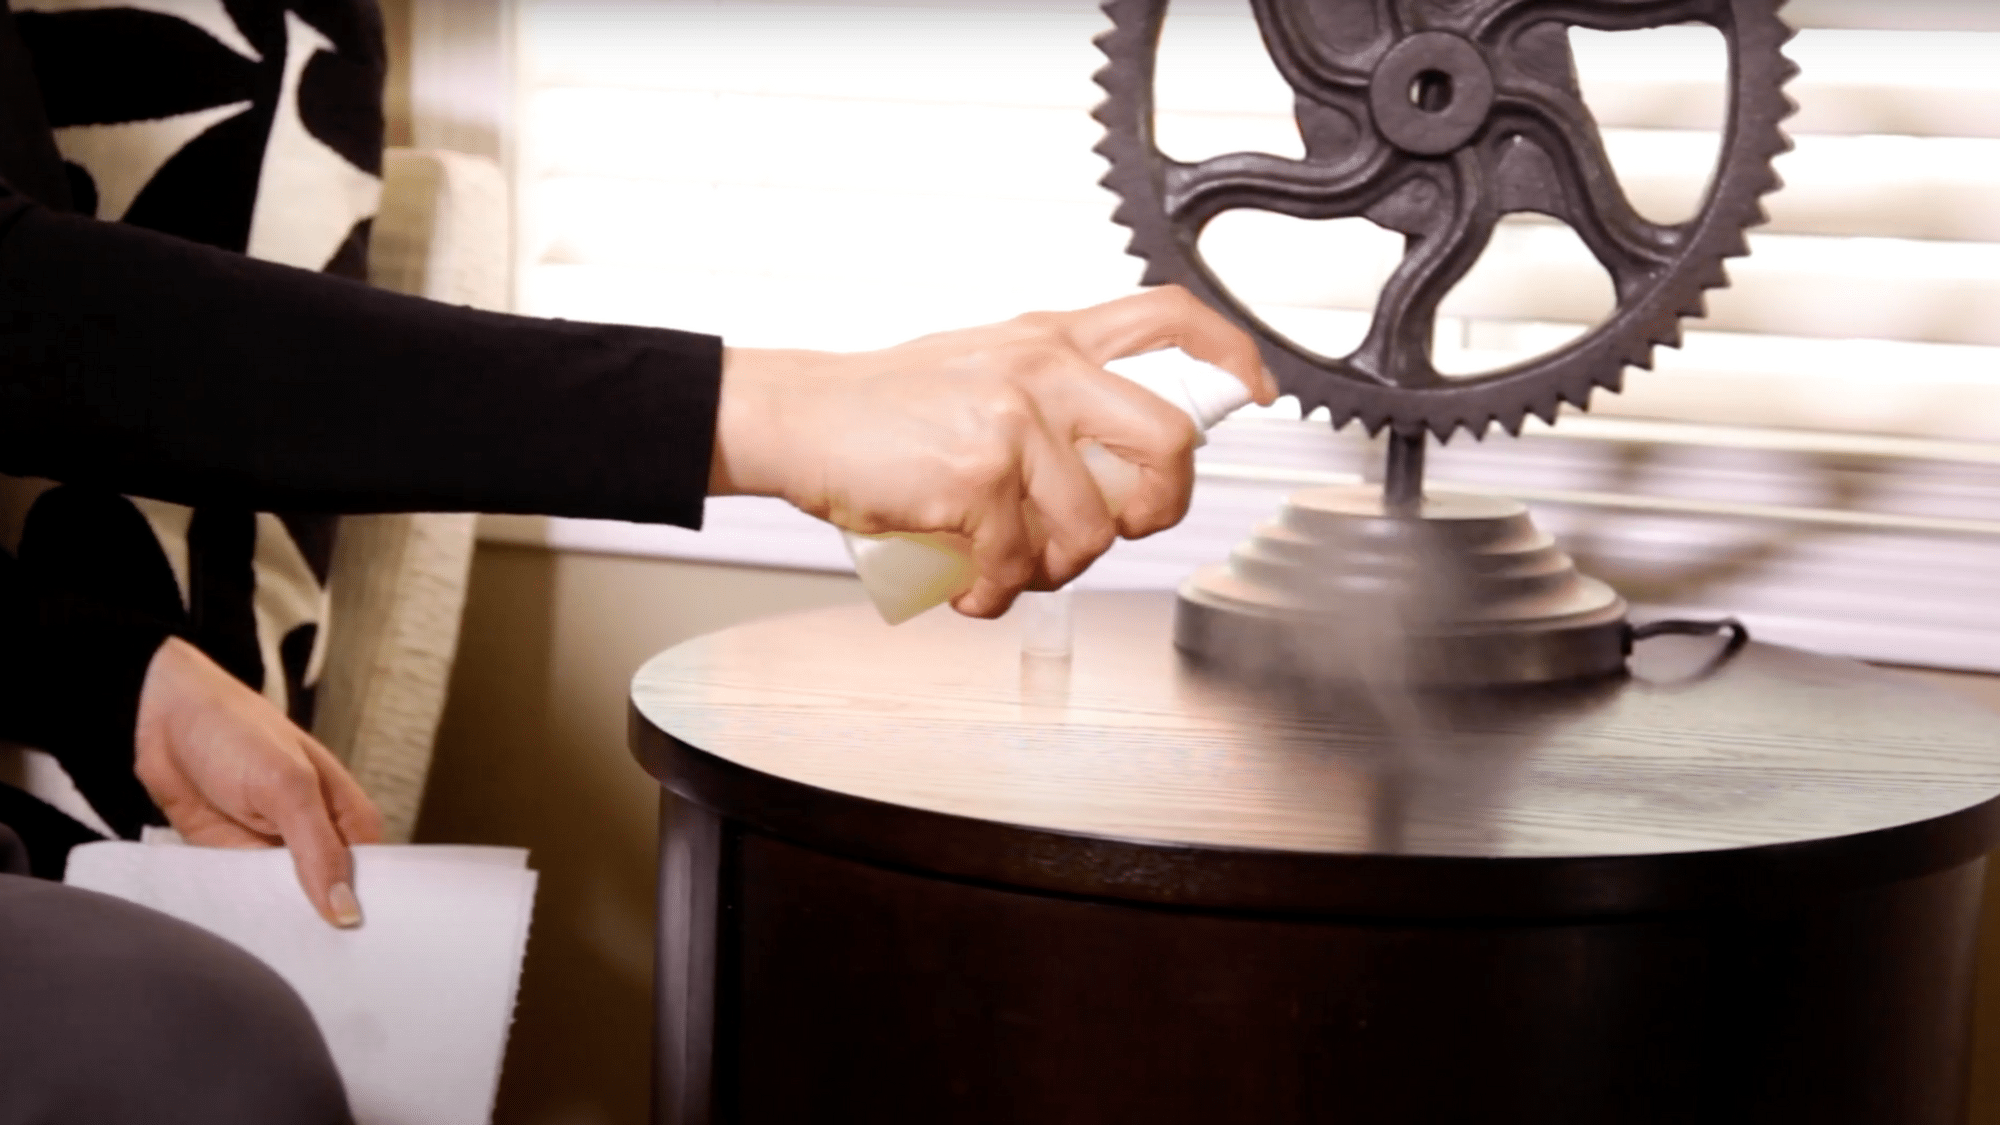
Spray a light mist of your homemade polish directly onto the wood surface. Avoid over-spraying as a small amount goes a long way in covering the area evenly.
Once sprayed, use a soft cloth or paper towel to spread the polish gently. This helps distribute the oils evenly and ensures the vinegar cleans without leaving streaks.
Pro Tip: Test the polish on a small hidden area first to ensure it’s safe for your furniture’s finish.
Step 5: Wipe and Buff
Using a clean, dry cloth, gently wipe the surface to remove excess polish. Continue buffing until you achieve a smooth, shiny finish.
This final step brings out the natural luster of your furniture, leaving it looking refreshed and well-conditioned. The combination of oil and vinegar leaves behind a light, clean scent and a beautiful glow.
Pro Tip: For best results, polish only once or twice a month to maintain a rich, natural shine.
Video Tutorial
Special thanks to Clean My Space for providing valuable insights in their video, which I referenced while creating this guide.
Storage & Shelf Life Of Furniture Polish
Proper storage keeps your homemade polish fresh and working well. Follow these guidelines to maximize shelf life.
- Make Small Batches: Olive oil-based polish lasts 2-3 months, so mix only what you’ll use. Fresh batches work better and smell cleaner.
- Proper Storage Conditions: Keep polish in a cool, dark place away from sunlight and heat. Light and warmth break down oils faster.
- Shake Before Each Use: Oil and vinegar separate when sitting, so shake vigorously for 10 seconds before application. This ensures even distribution.
- Watch for Spoilage Signs: Discard if you notice a rancid smell, cloudiness, or color change. These mean the oil has gone bad.
- Container Choice Matters: Dark glass bottles protect from light degradation better than clear plastic. Amber or cobalt blue glass extends freshness.
Pro Tip: Label your bottle with the mixing date so you know when to make a fresh batch.
When and How Often to Polish
Knowing when to polish prevents buildup and keeps wood looking its best. Polish furniture every 2-4 weeks based on use. High-touch pieces like dining tables need attention every 2 weeks, while display cabinets can wait 4 weeks.
Avoid over-polishing, as too much creates greasy buildup that attracts dust. Between sessions, wipe with a dry microfiber cloth weekly to remove surface dust.
Read your wood’s signals. If it looks dull, feels dry, or shows light scratches, it needs polish. Healthy wood has a subtle sheen and feels smooth.
During winter, increase frequency slightly as heating dries wood. Summer humidity means less frequent conditioning is needed. If the wood looks dull or feels dry, it’s time for another polish.
Extra Tips for Long-Lasting Wood Care
Beyond regular polishing, these simple habits protect your furniture and extend its life.
- Dust regularly with a Soft Cloth: Weekly dusting prevents dirt from scratching surfaces and keeps wood looking fresh between polishing sessions.
- Keep Furniture Out of Direct Sunlight: UV rays fade wood color and dry out natural oils, causing cracks and warping over time.
- Avoid Using Polish on Unfinished or Waxed Wood: These surfaces need different care methods, as oil-based polish can darken unfinished wood or create sticky buildup on wax.
- Wipe Spills Immediately: Liquid left sitting on wood can cause water rings, stains, and permanent damage to the finish.
Pro Tip: For antique or specialty finishes, consult a wood-care expert before applying any DIY polish.
Bring Back the Natural Beauty of Wood!
Your furniture reflects the warmth and personality of your home. With this simple homemade furniture polish, you can restore its natural charm using ingredients straight from your kitchen.
The gentle mix of olive oil and vinegar cleans, nourishes, and protects wood surfaces while leaving a soft, natural glow. It is affordable, safe for your family, and kind to the planet.
Each application brings out the grain and color of your wood, making it look refreshed and cared for. Create a small batch, follow the easy steps, and enjoy the lasting shine. Your wood will thank you for it.
Give your furniture the love it deserves and let it shine naturally.