
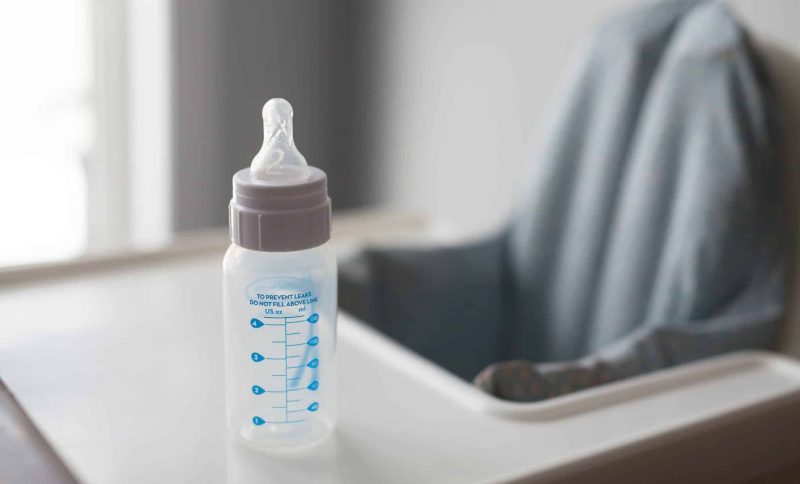
Washing is only half the job. If you are figuring out how to dry baby bottles after washing, you have probably opened a cabinet and found a nipple still beaded with water—or wondered whether that damp ring will turn into tomorrow’s sour smell. In a busy kitchen, drying is where clean bottles either stay safe or quietly become a mold risk.
Many families skip the towel-and-rack shuffle by using a countertop unit that washes, sanitizes, and dries in one go. Browsing a bottle washer and dryer setup helps you see which models include filtered airflow after the steam cycle, not just a rinse. This guide is general kitchen and feeding hygiene information, not medical advice; ask your pediatrician about sanitizing for newborns or medically fragile babies.
Why Drying Deserves Its Own Step
Milk residue is food for bacteria. Wash removes most of it; dry storage keeps what is left from growing in a warm, closed drawer. Wet bottles stacked together trap humidity. Nipple vents and valve slits stay dark and damp longest—exactly where film likes to hide.
Think of drying as the last line in your kitchen’s “wash, rinse, sanitize, dry, store” order—the same sequence you might use after handling raw chicken tools, just with smaller parts and tighter timelines between feeds.
How Long Do Baby Bottles Take to Air Dry?
Most disassembled bottles air-dry in about 30 to 60 minutes on a clean rack in a ventilated spot. Humidity, room temperature, and how thoroughly you shook out water matter more than the clock.
- Wide-neck bottles often drain faster than narrow-neck styles
- Silicone nipples hold droplets in the tip—squeeze gently and re-rinse if needed
- Pump flanges and valves may need extra upside-down time; small parts dry slowest
- Hard-water homes can leave spots that look wet but are mineral film—wiping will not fix that; descale or use filtered wash water
If bottles still feel cool and clammy after an hour, improve airflow (fan, open counter space) before sealing them in a bin.
Do Baby Bottles Have to Be Completely Dry Before Use?
For everyday feeding of healthy term infants, a few harmless water droplets inside a bottle that was just washed or sterilized are usually acceptable—especially if you are about to fill with milk immediately. What you want to avoid is stored bottles that are still wet, or visible pooling that dilutes formula unpredictably.
For very young babies, preemies, or when your clinician recommends extra caution, follow their guidance on sanitizing and drying. Some parents prefer bone-dry gear before assembly; others assemble from a sanitized, mostly dry rack and use within minutes. Consistency beats perfectionism if hygiene steps before drying were solid.
Is It Okay to Dry Baby Bottles With Paper Towels?
Food safety folks generally say no for routine drying. Paper towels can shed fibers, harbor bacteria if the roll sat near the sink, and transfer lint into nipples. A clean dish towel is only slightly better—it must be laundered often and used solely for bottles, or it becomes another cross-contamination source.
Better options:
- Air-dry on a dedicated bottle rack—bottles upside down, nipples and caps on pegs
- Heated dry cycle in a bottle washer or sterilizer designed for feeding parts
- Shake excess water into the sink, then rack—no rubbing inside the nipple
If you must hand-dry a single part in a pinch, use a fresh paper towel on the outside only, not inside the nipple tunnel.
Do Bottles Need to Be Dry After Sterilizing?
Sterilizing kills many germs on clean surfaces; it does not replace drying for storage. Steam sterilizers leave bottles hot and damp. Putting them in a closed container while warm creates condensation—the opposite of what you want overnight.
Typical flow:
- Sterilize (boil, steam, or validated machine cycle)
- Allow to cool until safe to handle
- Air-dry or use a built-in dry phase until no pooling remains
- Store assembled or disassembled in a clean, covered bin if you will not use them within a few hours
Some countertop systems hold bottles in a closed chamber after dry air circulation, which can extend the “ready to use” window—check the manual for storage time limits.
Kitchen Setup That Makes Drying Easier
Treat bottle drying like prep station real estate:
- Zone the sink—dirty basin on one side, clean rack on the other; never stack wet on dry
- Vertical space—a tall rack frees counter space for your cutting board
- Small-part bowl—valves and collars in a mesh cup so they do not roll down the drain
- Night shift kit—pre-fill the brush cup with soap so half-asleep washes still finish with a rack, not a towel
If counter space is tight—the same problem as fitting a slow cooker and coffee gear— a slim wash-dry unit may replace a separate sterilizer, drying tree, and dish towel habit.
When Built-In Drying Beats the Rack
Air-drying works; it just does not always match feed frequency. Three feeds overnight means three rack loads before breakfast. A combined washer and dryer runs a filtered airflow phase after washing and steam sanitizing, which pulls moisture off plastic and glass without you patting anything.
One compact option families compare for small kitchens is the Momcozy DeepClean Lite Baby Bottle Washer and Sterilizer—designed to wash, steam, and dry in one footprint so bottles can move from cycle to cupboard without a towel middleman. Treat it as a tool in your clean-dry-store line, not a substitute for replacing scratched nipples or skipping hand checks on vent slits.
What Bottle Washers Do (Especially the “Dryer” Part)
A bottle washer and dryer is a countertop appliance that sprays heated water and detergent through bottles and accessories, rinses, applies steam for sanitizing, then uses warm filtered air to evaporate remaining moisture. Good units separate upper and lower spray zones so nipples get rinsed without flying into the motor housing.
The drying stage matters for kitchen rhythm: it reduces the hour-long rack wait when you need the same bottle two hours later. Drying also lowers the temptation to towel-off, which cuts lint and cross-contamination. Like any small appliance, it needs periodic descaling in hard-water areas and filter changes per the manufacturer—otherwise “dry” cycles leave cloudy spots that look like wetness but are mineral buildup.
Whether you rack-dry or machine-dry, the food-safe goal is the same: no visible milk film, no pooled water in storage, and small parts inspected before the next feed.
Common Drying Mistakes in Home Kitchens
- Putting bottles away with caps and nipples sealed on—traps moisture
- Drying on a dish mat that never gets laundered
- Using the same sponge for bottles and raw-meat cutting boards
- Storing bottles before pump parts are dry—mixing humidity in one bin
- Assuming dishwasher “heated dry” sanitized baby parts without checking manual placement and material limits
FAQ
How long do baby bottles take to air dry?
Often 30 to 60 minutes disassembled on a rack in a ventilated area. Nipples, valves, and humid kitchens take longer; add airflow if they stay clammy past an hour.
Do baby bottles have to be completely dry before use?
For immediate use after a proper wash or sterilize, slight surface moisture is usually fine. For storage, they should be fully dry to prevent mold and odor.
Is it okay to dry baby bottles with paper towels?
Not ideal—lint and bacteria transfer risk. Air-dry or use an appliance dry cycle instead; reserve towels for exterior emergencies only.
Do bottles need to be dry after sterilizing?
Before closed storage, yes. After steam, cool and dry completely—or use a system that dries and holds bottles in a ventilated chamber per instructions.
Drying baby bottles after washing is the quiet step that keeps your kitchen honest: clean means clean and dry before the next round of meal prep—for you and for baby. Pick a routine you can repeat at 2 a.m., and your future self will thank you when nothing smells like yesterday’s formula.