


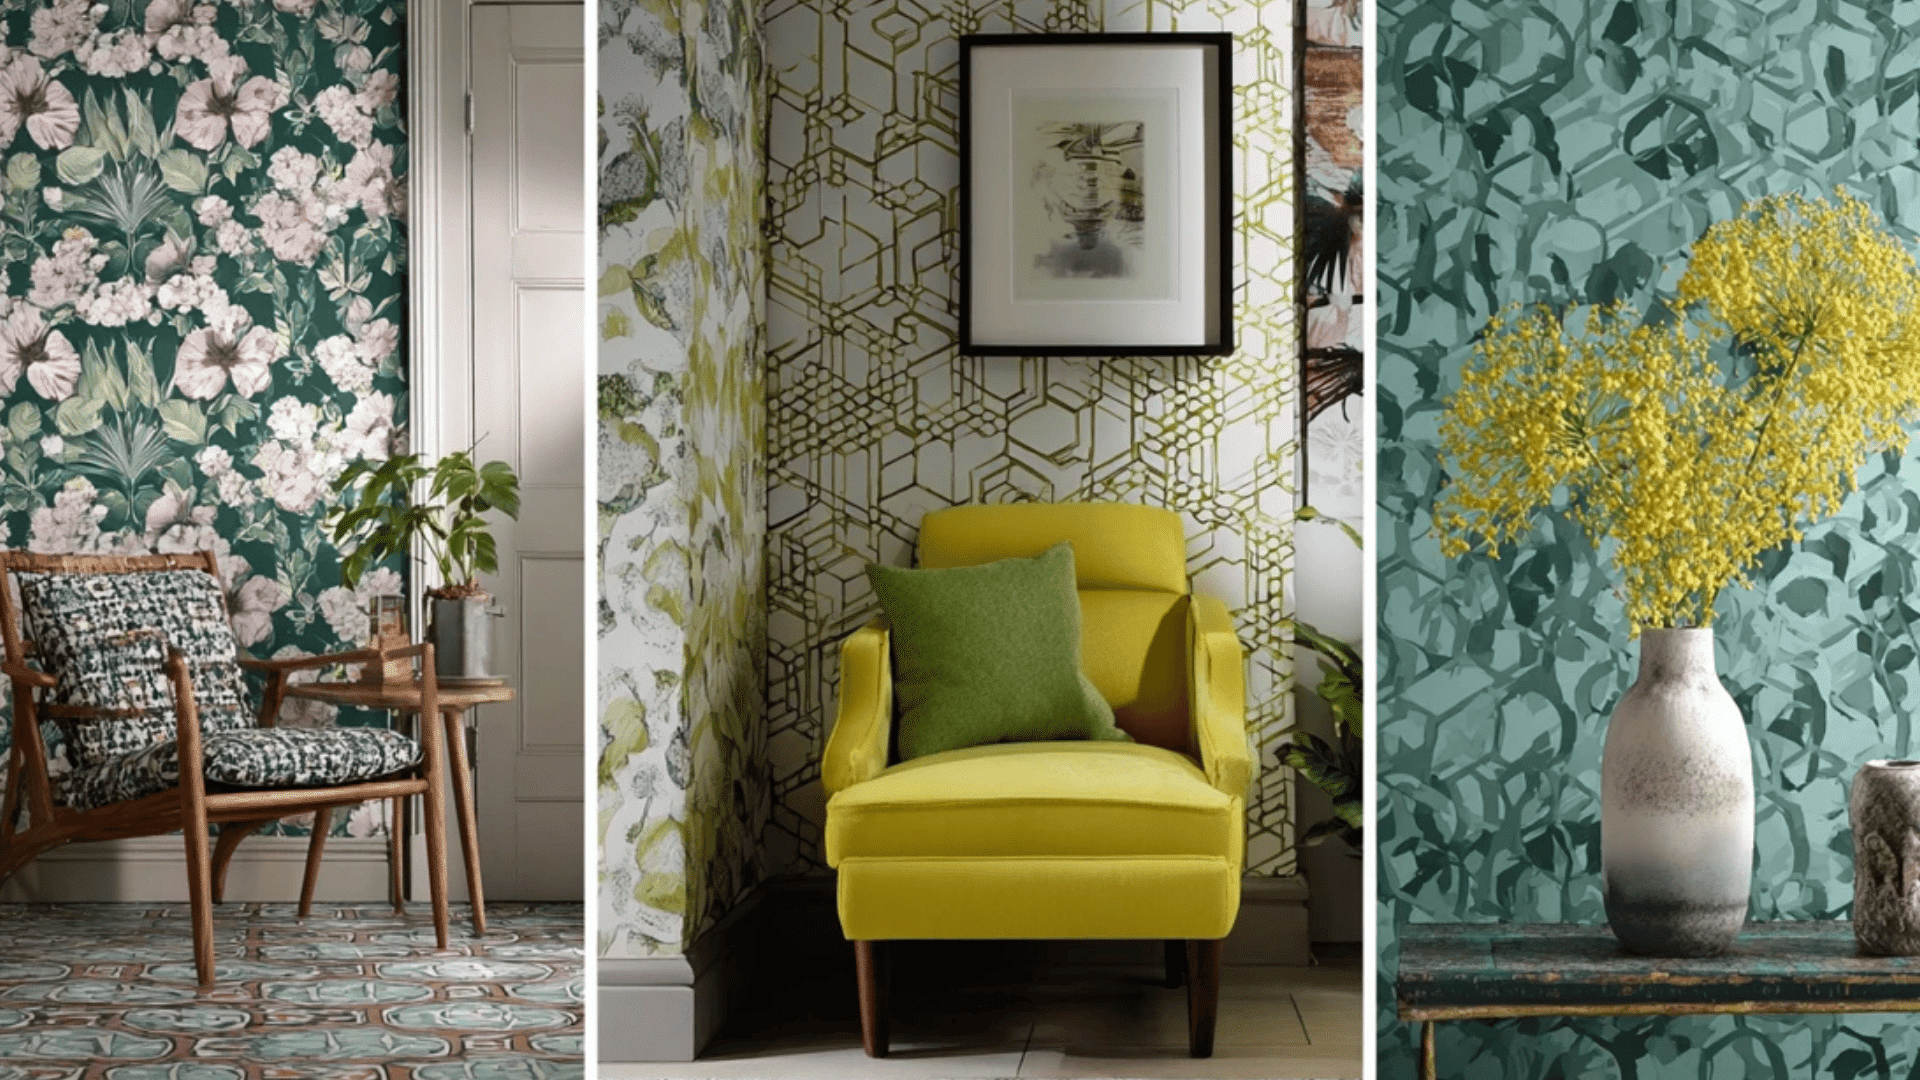
Wallpaper is making a big comeback in home design, and it’s easy to see why.
With endless patterns, textures, and colors, it’s one of the simplest ways to change a plain wall into a true statement.
Even if you’re going for cozy charm, modern flair, or something bold and creative, the right one can completely change a room’s vibe.
If you’ve been thinking about giving your space a fresh new look, now’s the perfect time to roll up your sleeves and try it yourself.
Hanging it might seem tricky, but with a little patience and the right approach, anyone can achieve a stunning, professional-looking finish.
Why It Is So Popular Right Now
Wallpaper has become a design favorite once again, and the reasons are easy to love.
Designers and DIYers alike are drawn to its ability to instantly transform a room without the mess of paint or major renovations.
With today’s options, like peel-and-stick and moisture-resistant styles, it’s more durable, practical, and renter-friendly than ever.
From subtle textures to bold statement prints, it lets you express personality and mood in ways paint simply can’t.
It’s also an affordable way to refresh spaces and create depth, charm, and warmth.
No wonder interior lovers are rediscovering the joy; it’s decorative, dynamic, and downright dazzling in any room.
Understanding Different Types of Wallpaper
Choosing the right kind sets the tone for your project, influencing ease of installation, longevity, and overall finish.
- Peel and Stick: Self-adhesive, beginner-friendly, and perfect for renters or quick updates. Simple to apply, but less durable.
- Paste-the-Wall: Adhesive is applied directly to the surface, offering a strong, lasting result. Ideal for high-traffic areas and long-term use.
- Pre-Pasted: Activated with water, providing a balanced mix of convenience and strength. Great for DIY fanatics seeking something easy yet durable.
Selecting the right option makes the process smoother and ensures a professional finish that lasts beautifully over time.
Essential Tools and Materials Checklist
Having the right tools makes installation dramatically easier. Here’s everything you’ll need:
| Tools | Materials |
|---|---|
| Measuring tape | Wallpaper rolls |
| Utility knife (snap-off blade) | Viscine sheet or plastic drop cloth |
| Silicone roller | Blue painter’s tape |
| 6-inch plastic taping knife | Clean water (for adhesive activation) |
| Laser level or plumb line | Caulking (for finishing seams) |
| Spray bottle | Trim plates (for outlets) |
| Ladder | Primer or wall cleaner |
| Damp sponge | Soft cloth or towel for cleanup |
Pro tip: Keep all from the same batch number. Colors and finishes can vary between different production runs.
How to Hang Wallpaper
Give your room a designer touch with this simple installation guide, guaranteed to deliver beginner-friendly and professional-looking results.
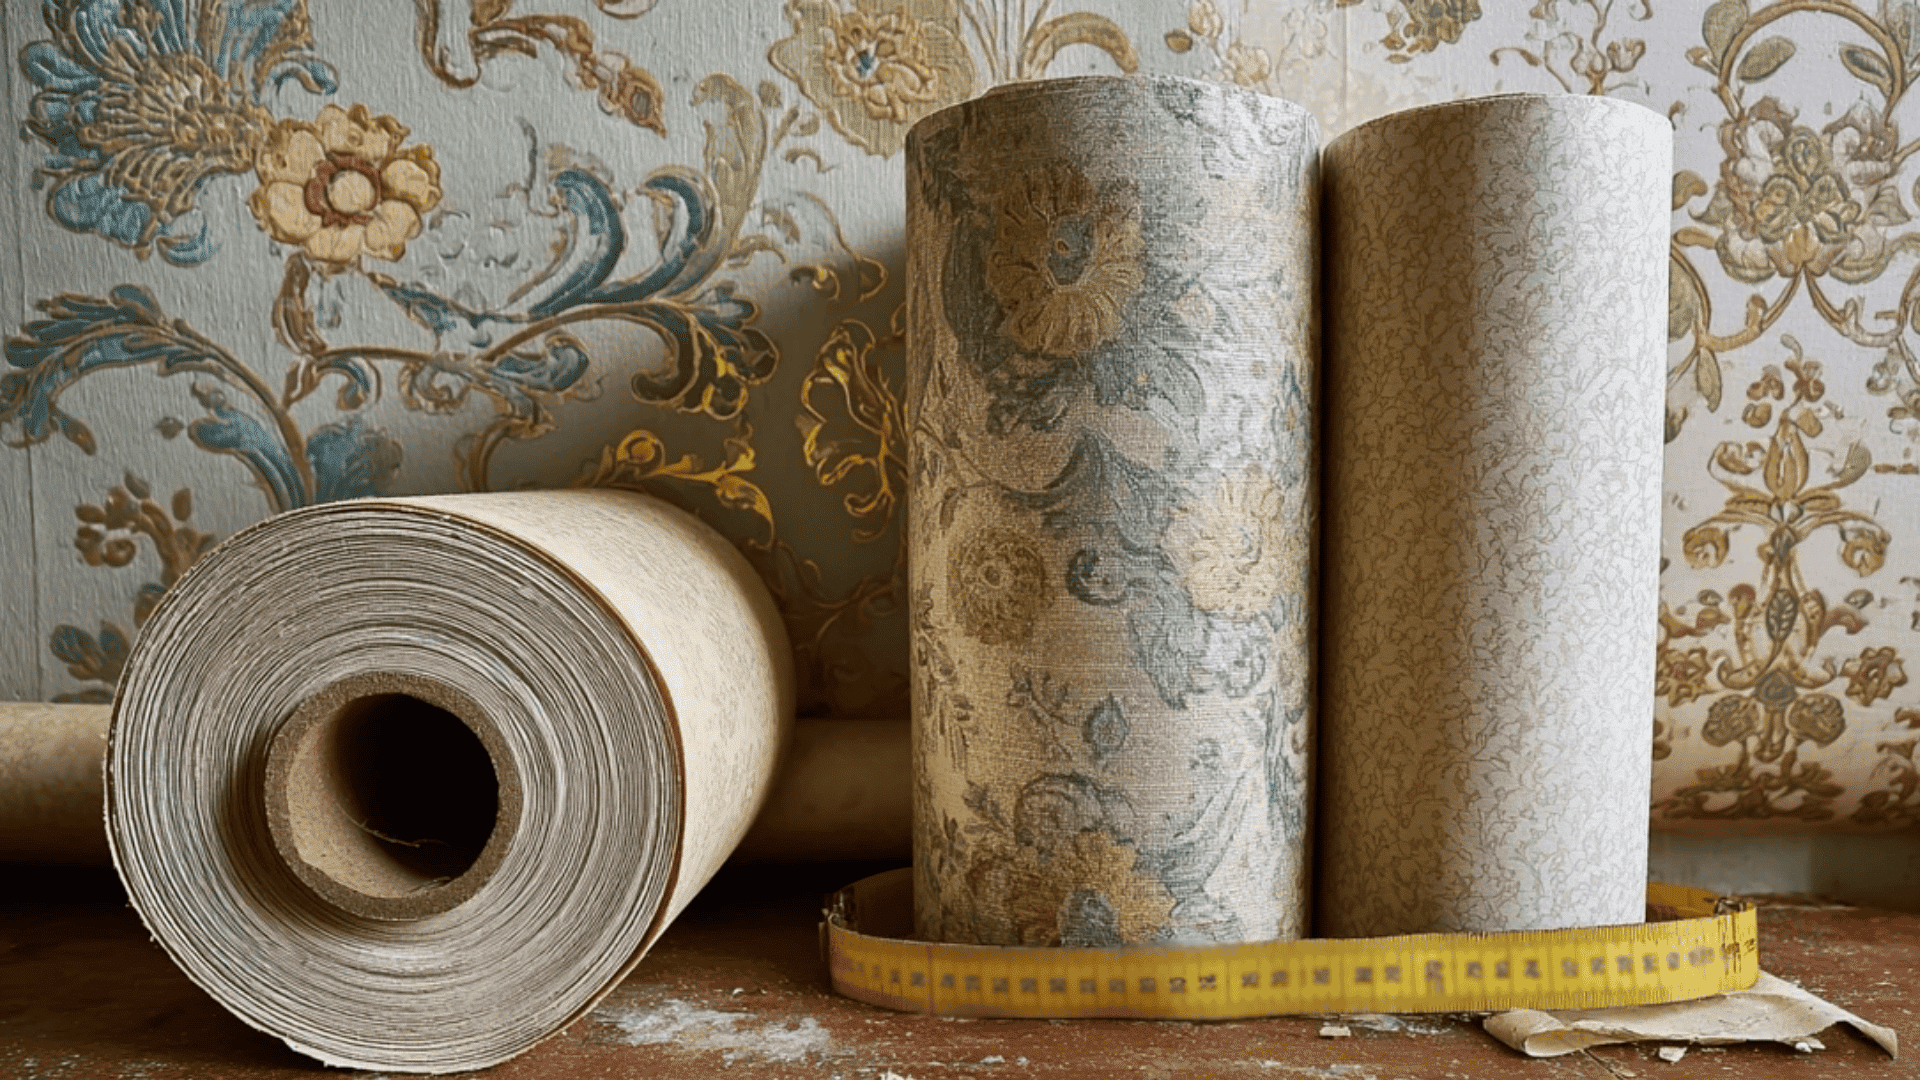
Step 1: Measure and Plan
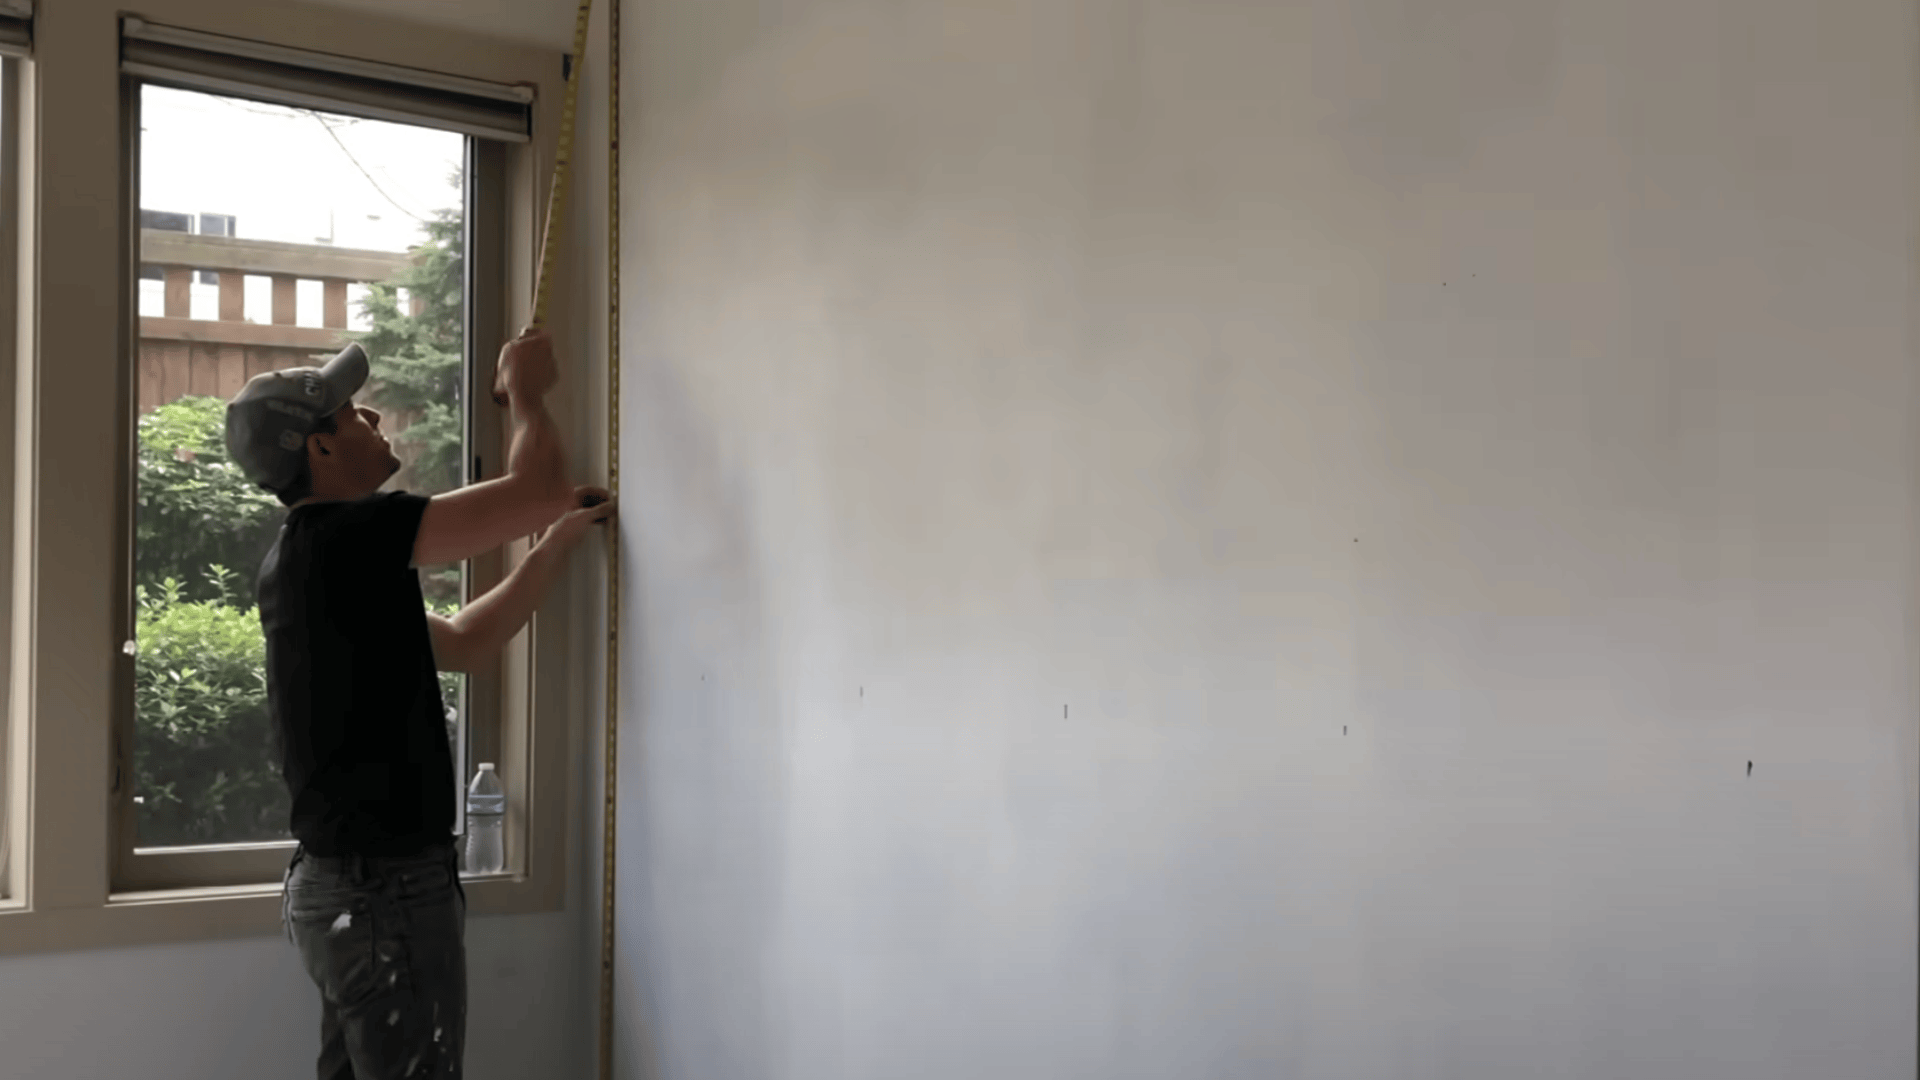
Start by measuring the height and width of your wall to calculate the roll quantity. Visualize your panel layout and mark key pattern points with painter’s tape.
This ensures your alignment perfectly and prevents waste. Always purchase one extra roll for matching patterns and future touch-ups.
Step 2: Prepare the Workspace
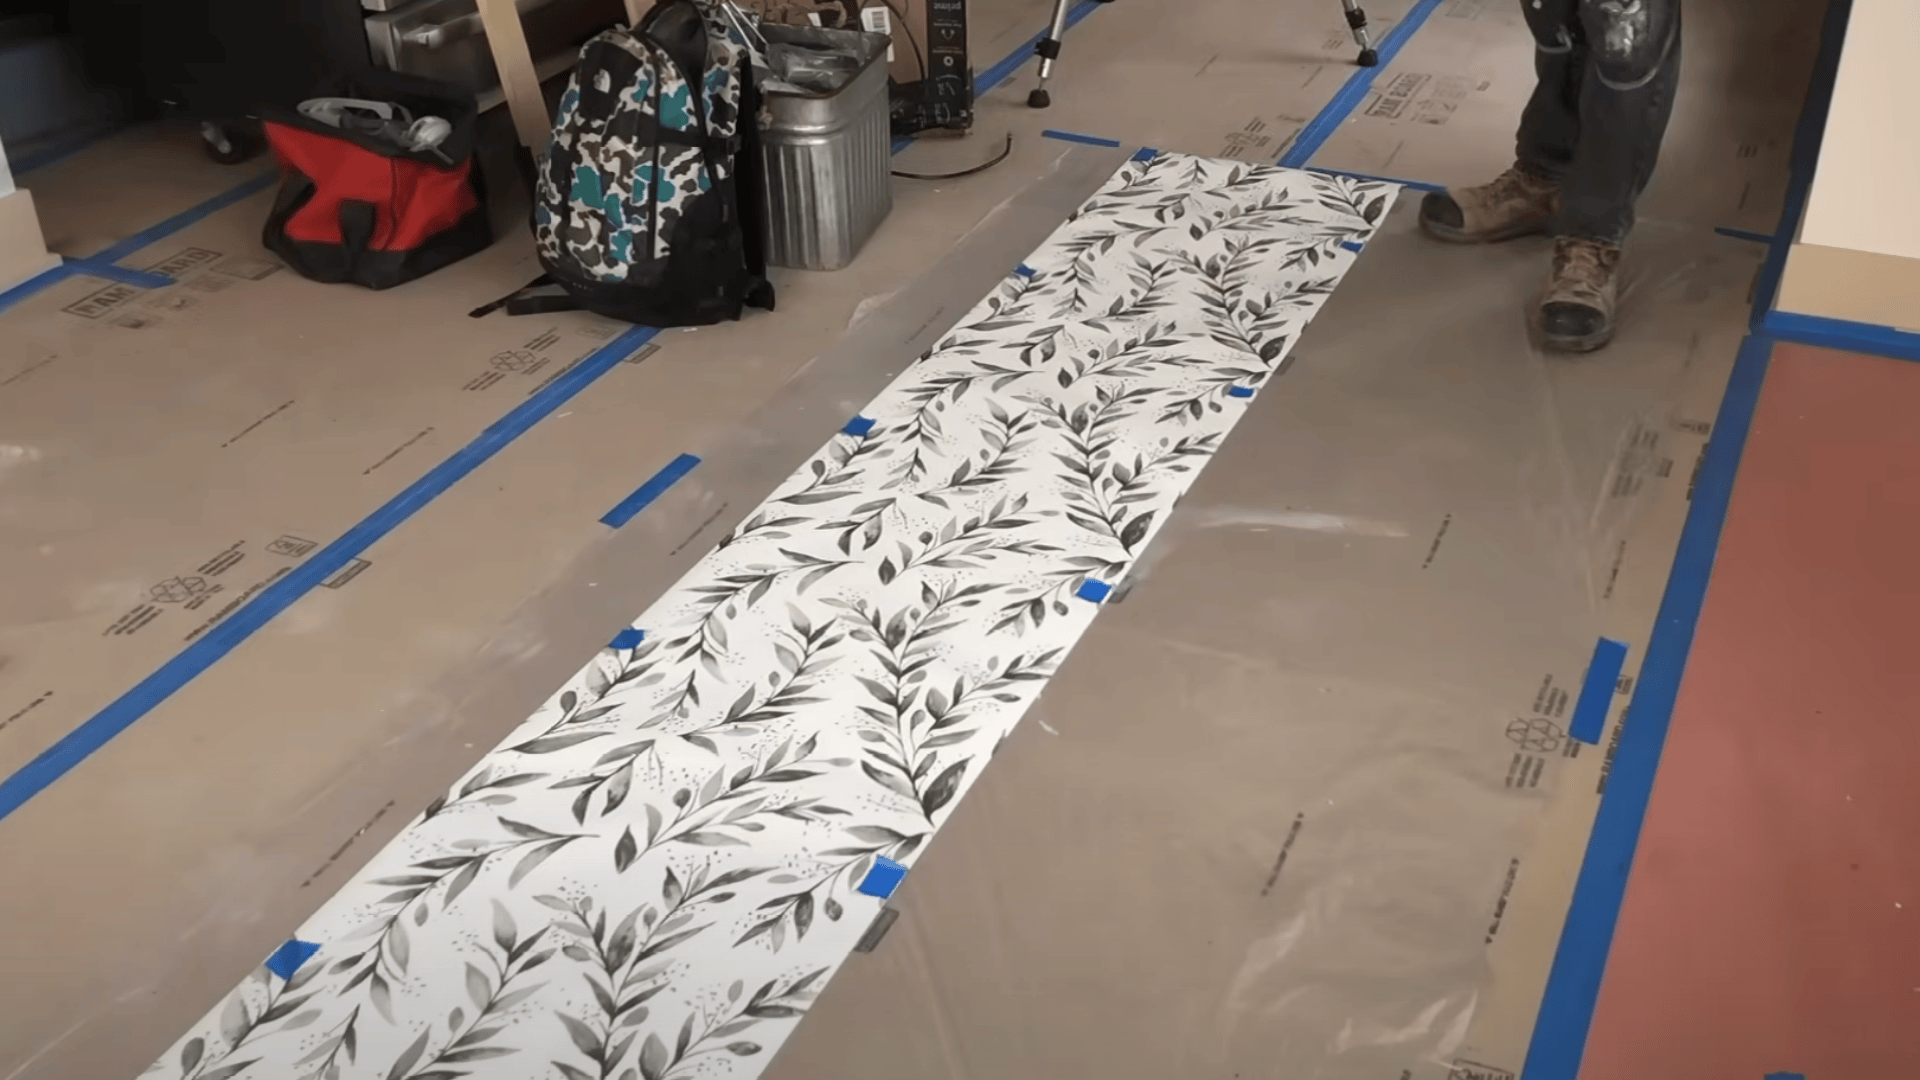
Lay down a plastic sheet (viscine) to protect surfaces from moisture. Clean the wall, remove dust, and patch imperfections.
Use a laser level or plumb line to draw a vertical guide line; this is your anchor for the first strip and ensures a straight, professional finish.
Step 3: Cut and Activate
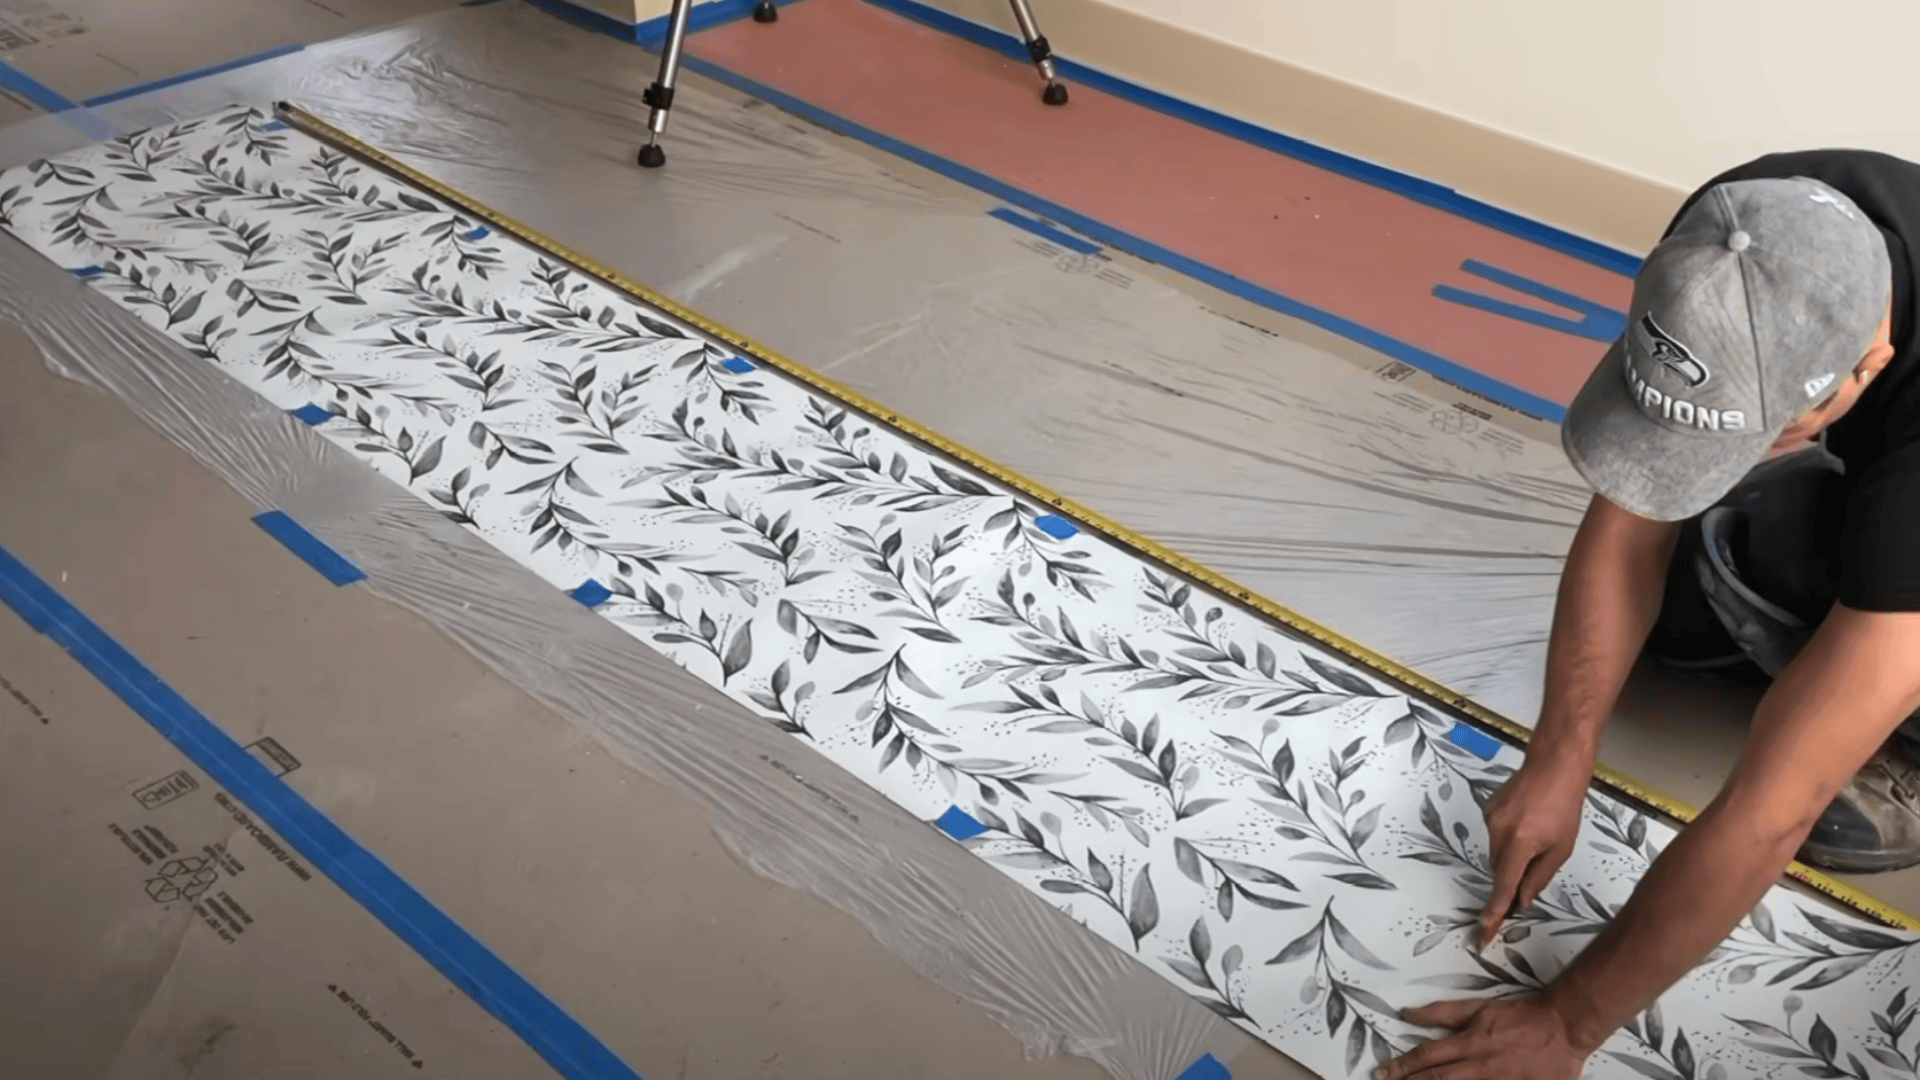
Cut each panel slightly longer than your wall height for trimming. Lightly spray the back with water to activate its adhesive.
Fold the paper, glue-side together (book it), for a few minutes to let the moisture distribute evenly across the entire sheet.
Step 4: Hang the First Panel
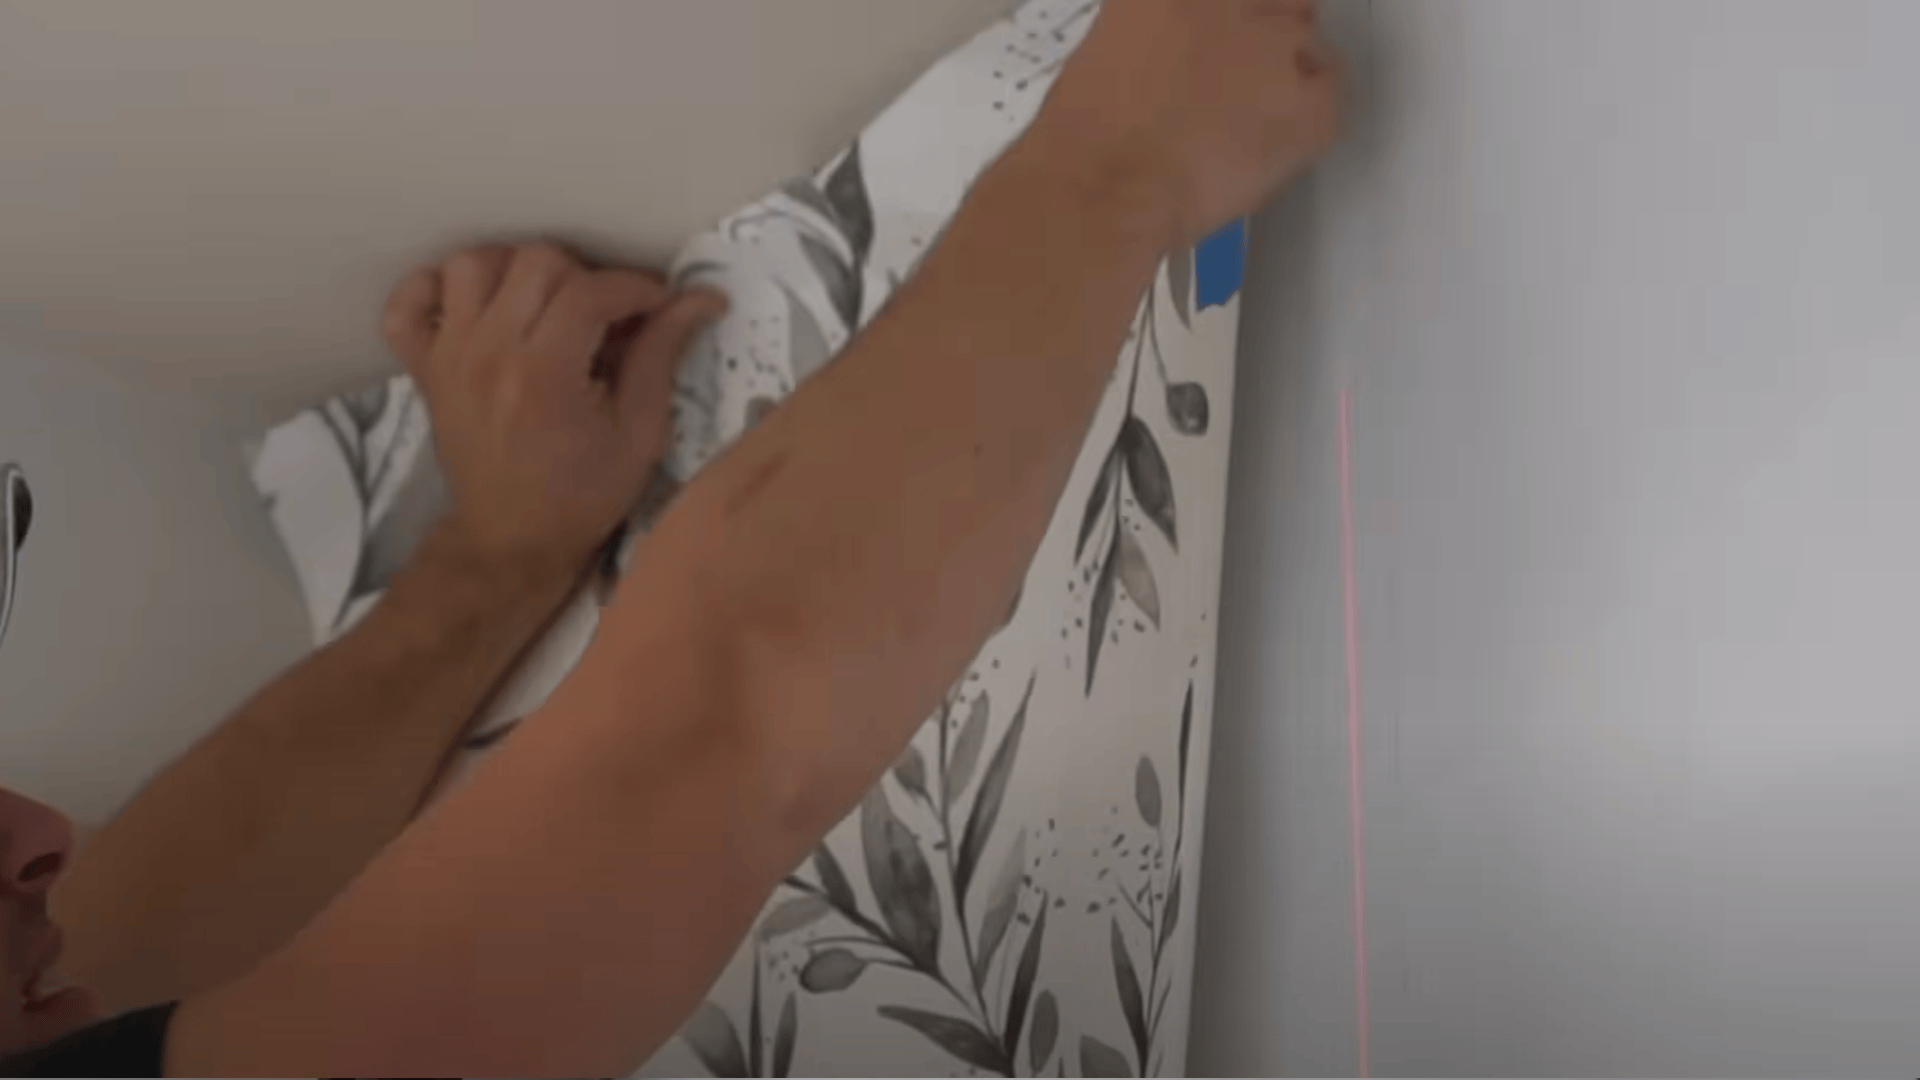
Align the first strip along your guideline. Starting from the top, smooth the paper down using a plastic taping knife to remove air bubbles.
Press seams firmly with a silicone roller and trim any excess neatly using a sharp utility knife for clean edges.
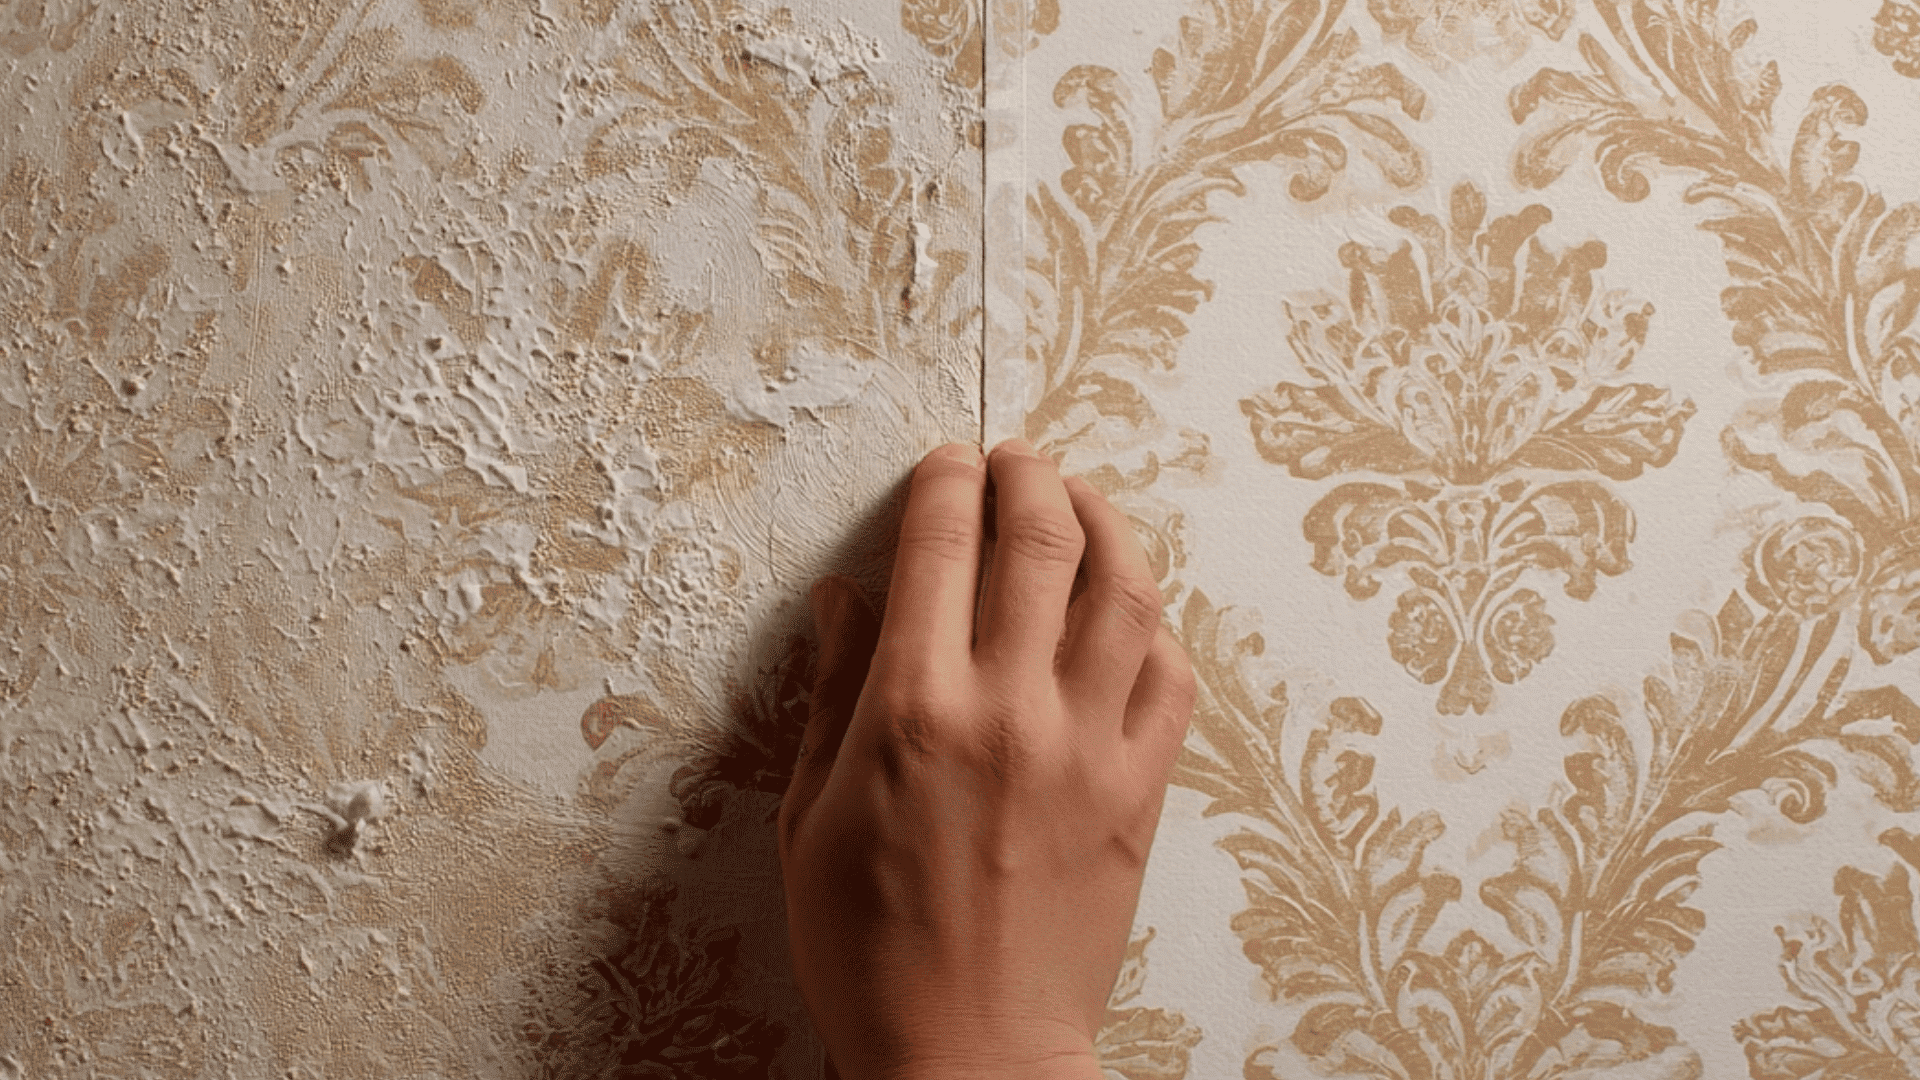
Step 5: Match Patterns and Continue
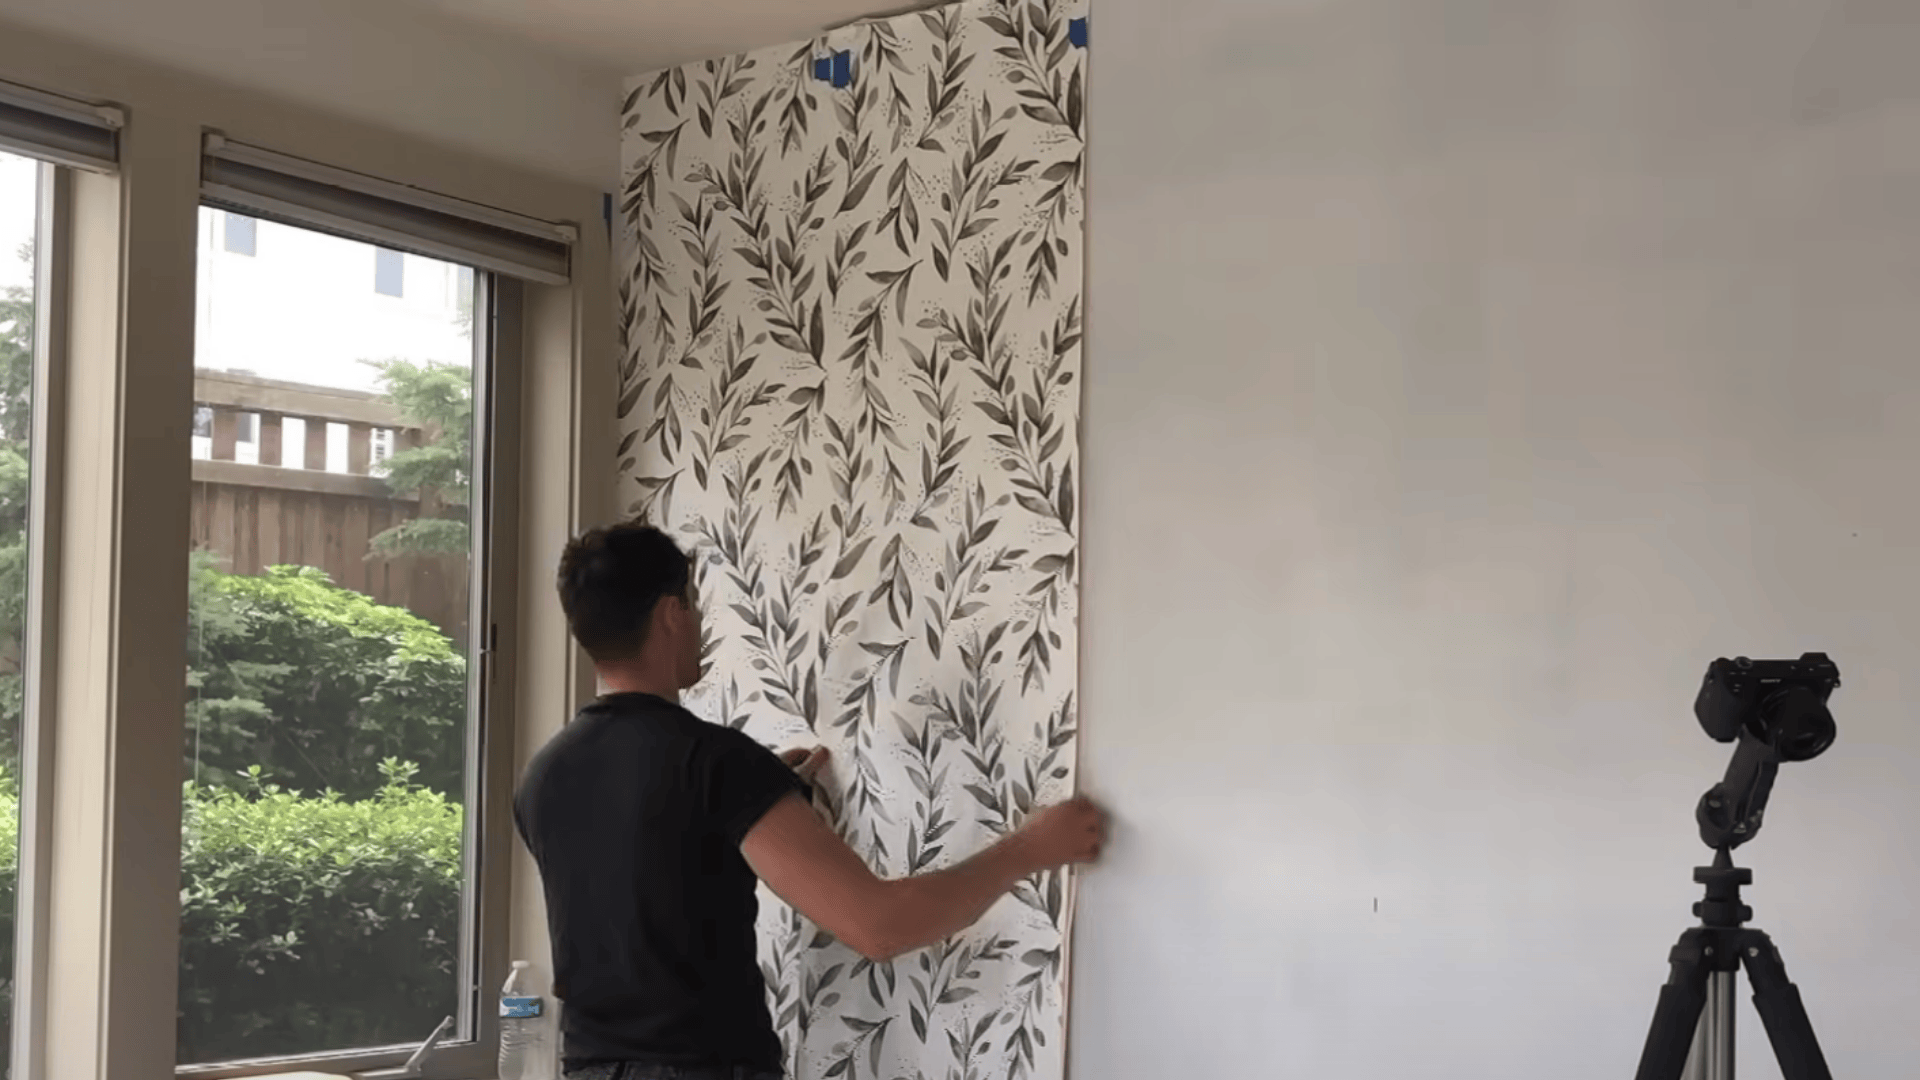
Apply the next panels, carefully matching the pattern repeat. Spray evenly to ensure consistent adhesion. Smooth from the center outward, maintaining alignment with previous strips.
Cut around outlets or corners with precision. Use a damp sponge to gently flatten the edges and remove any minor adhesive residue.
Step 6: Finish and Perfect
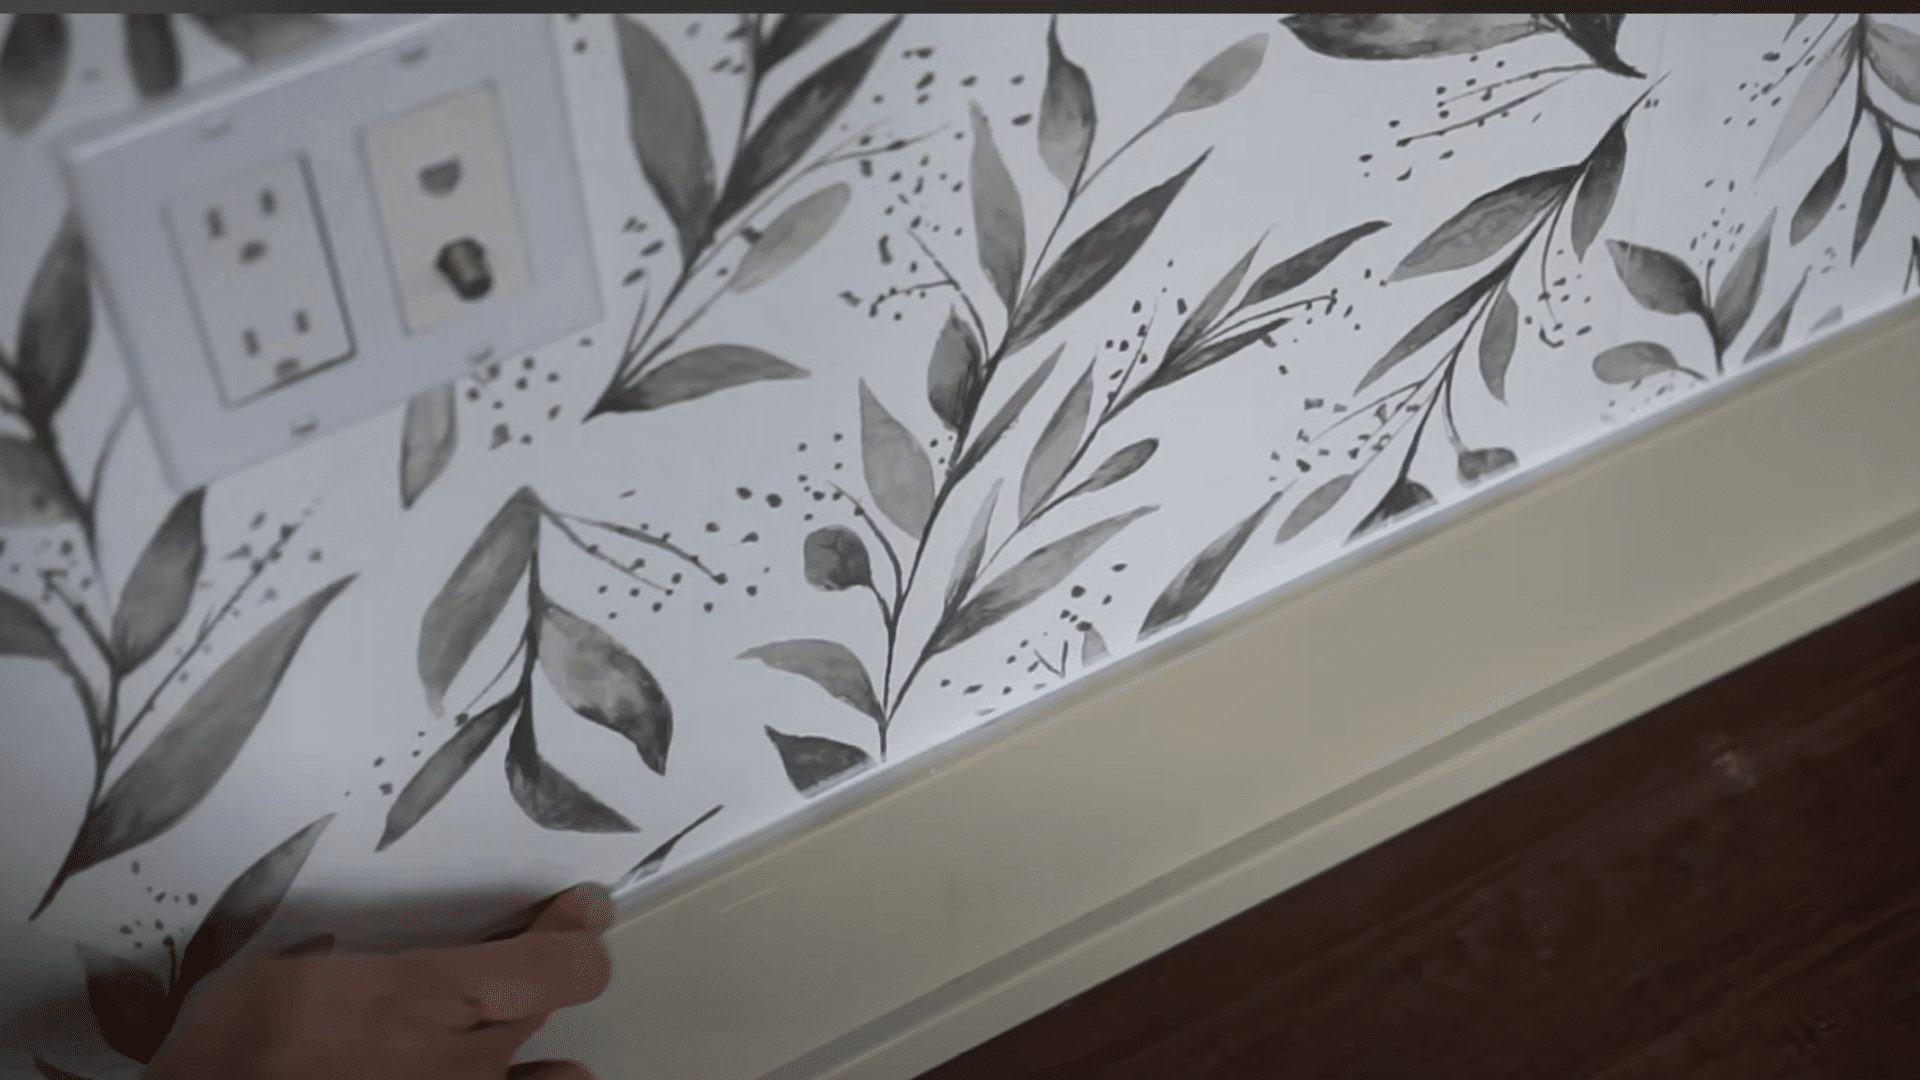
Once all panels are in place, wipe the surfaces gently with a damp sponge to clean them. Apply caulking along baseboards and corners for a seamless look.
Reinstall switch plates and admire your refreshed space, professional results without hiring an installer.
For a more detailed step-by-step tutorial, check out the full video by Bring Your Own Tools (BYOT)and watch the process in action!
Maintaining and Caring
A little upkeep keeps your walls looking fresh and stylish. With the right care, your wallpaper can stay flawless for years.
- Cleaning: Use a damp sponge with mild soap for vinyl styles. Dust fabric or textured designs gently using a soft cloth or vacuum brush.
- Fixing Lifting Edges: Apply a small amount of seam adhesive, press down firmly, and roll it flat to restore a smooth, clean surface.
- Repairing Small Tears: Cut a patch slightly larger than the tear, match the pattern carefully, and press into place for an invisible fix.
- Removing Air Bubbles: Inject a small amount of adhesive underneath with a syringe, then smooth gently to remove trapped air.
- Taking It Down: For peel-and-stick, lift from one corner and pull slowly. For traditional styles, apply remover and scrape gently after soaking.
Consistent care and quick touch-ups help your wallpaper stay elegant, vibrant, and perfectly in place for many years.
Common Mistakes and How to Fix Them
Even small errors can ruin your project. Avoid these common issues to get a smooth, long-lasting, professional-looking finish.
1. Ordering Too Little
Running out midway can cause color or pattern mismatches from new rolls. Always order at least 10–25% extra to account for pattern repeats, trimming, and any mistakes that may occur during installation.
Keeping spare rolls helps with future touch-ups or small repairs.
2. Using a Dull Blade
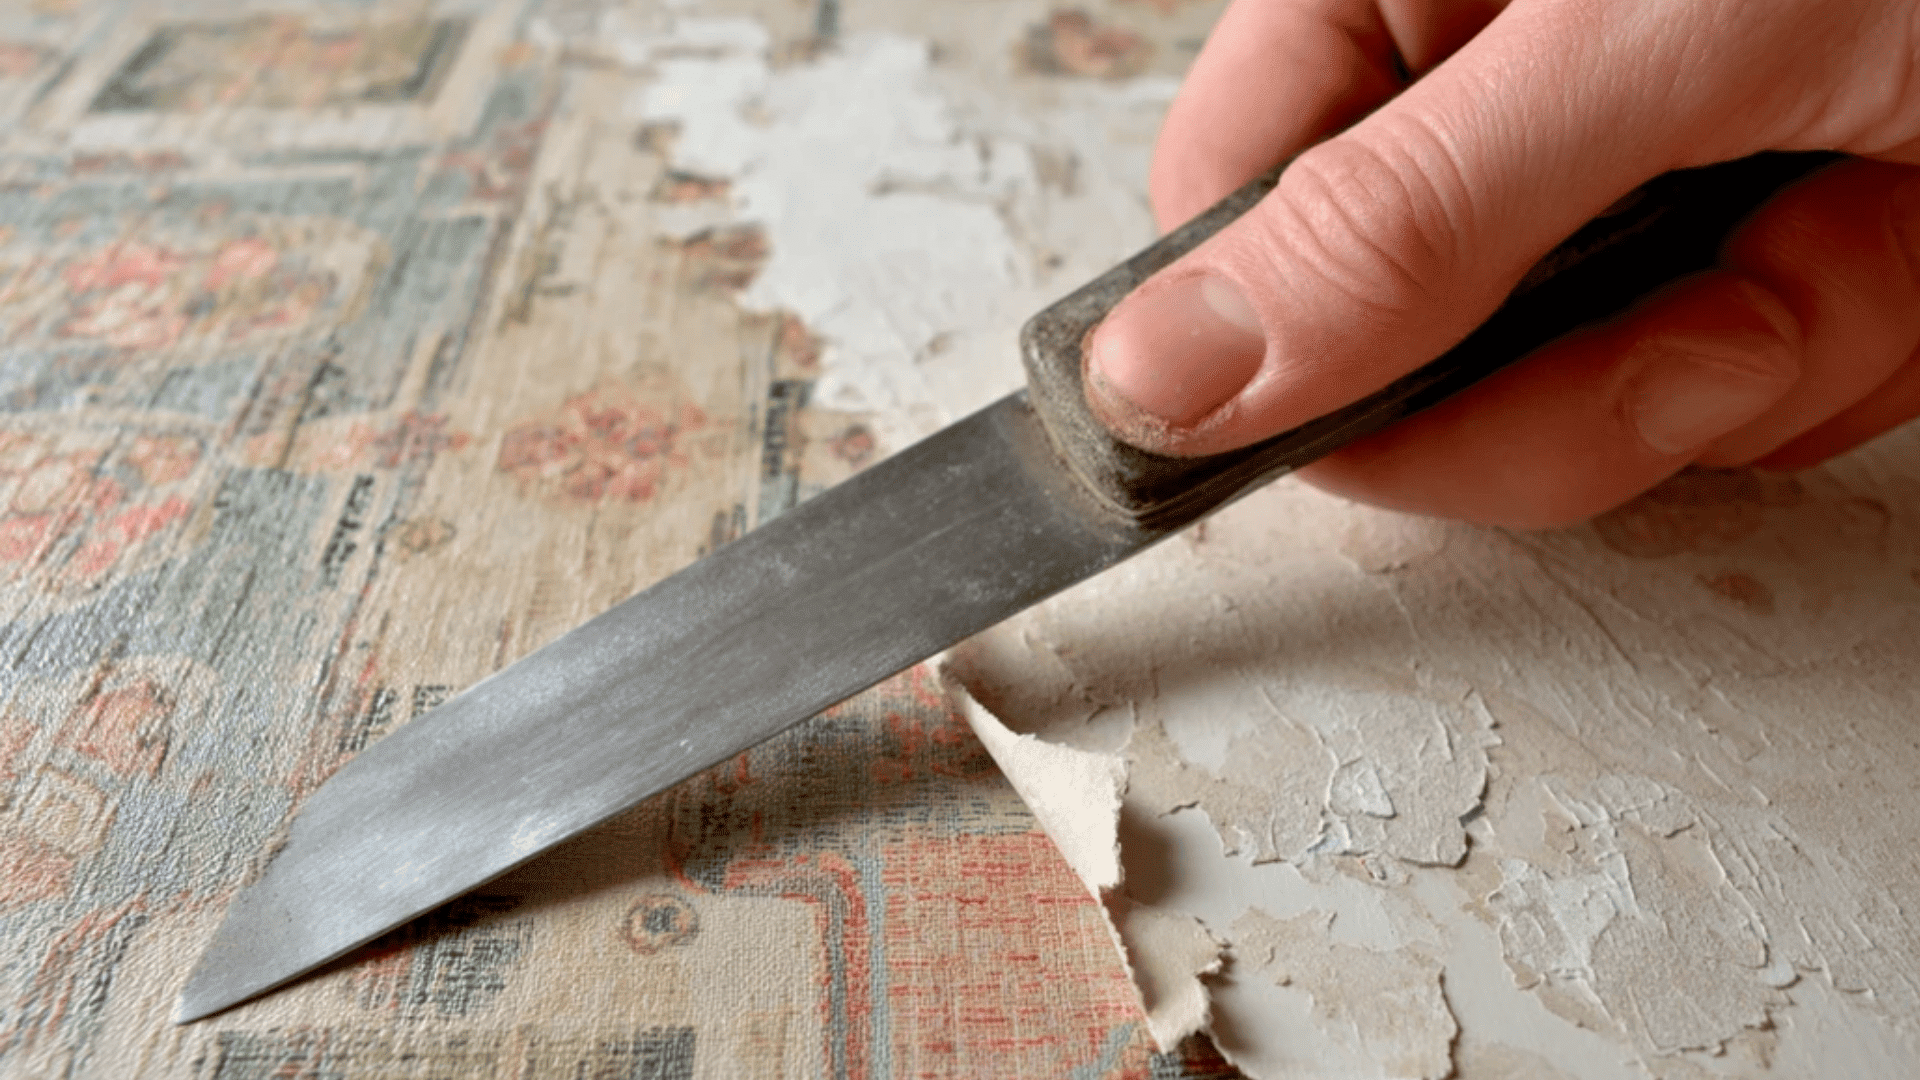
A dull utility knife tears edges and ruins clean seams. Change or flip your blade every 2–3 strips to keep cuts sharp and neat.
Clean, precise trimming ensures a professional finish and prevents edges from fraying or peeling later.
3. Uneven Paste Application
Applying too much paste causes bubbles, while applying too little causes the edges to lift. Use a roller or brush to spread paste evenly across the wall.
Pay special attention to corners and edges to ensure consistent adhesion and a smooth, bubble-free surface.
4. Corners and Switches
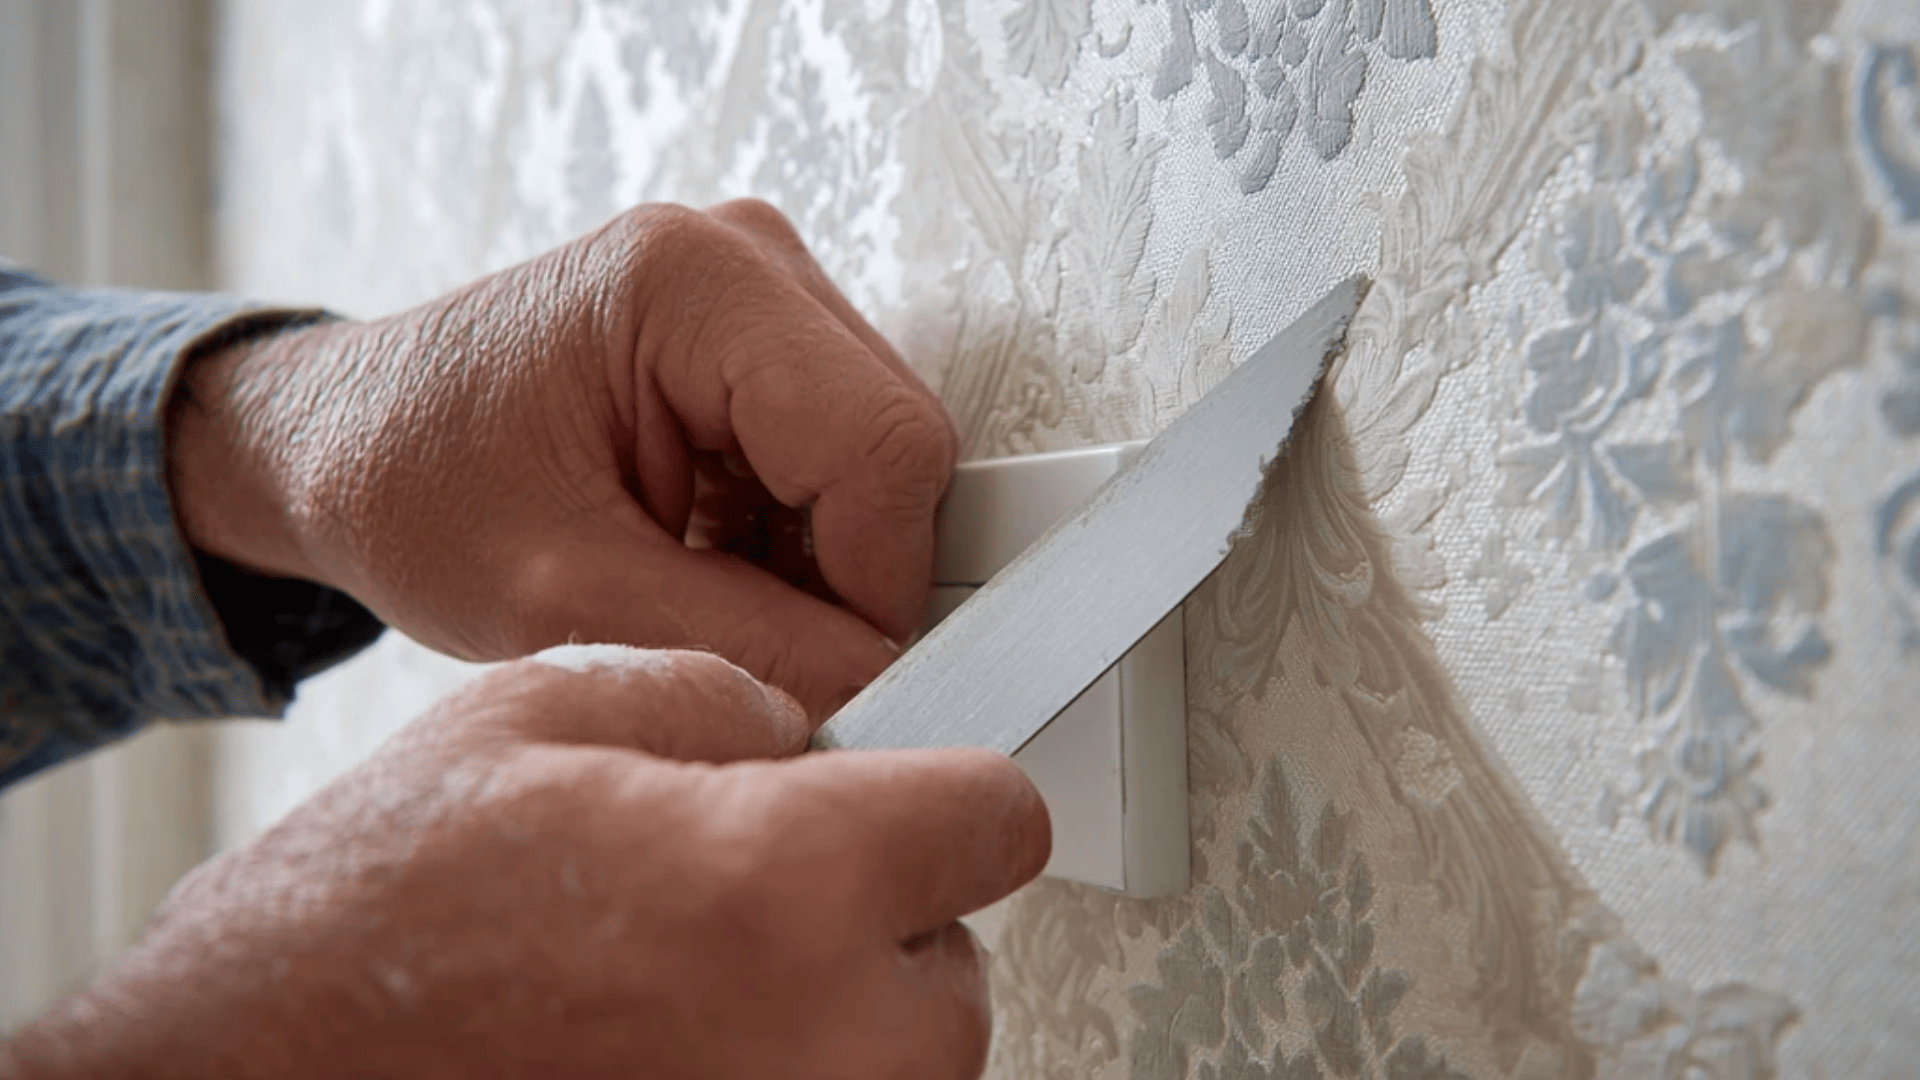
Corners and outlets often cause wrinkles and gaps if not handled properly. Remove switch plates, trim carefully, and slightly overlap wallpaper in the inside corners.
Wrap only half an inch around outer corners to maintain straight lines and seamless transitions between panels.
Taking a few extra steps ensures perfect results, smooth seams, crisp patterns, and a polished finish that instantly elevates any room’s design.
Pro Tips from Professional Installers
Little tricks can make a big difference. These expert-approved tips help you work faster, cleaner, and with flawless results every time.
- Work in pairs for easier handling.
- Use side lighting to spot imperfections.
- Store leftover rolls for future repairs.
- Photograph the pattern for matching reference.
- Test new methods on hidden areas first.
- Keep tools clean to prevent paste buildup
Even small adjustments can elevate your finish from good to professional. Stay patient, stay precise, and enjoy the modification.
Your Next Steps
You’re now ready to bring your walls to life. Take a deep breath, trust the process, and enjoy the modification.
If you’re tackling a full room or starting small with an accent wall, every strip you hang gets you closer to a stunning, personalized space.
Remember, precision and patience are what make your work stand out. So, gather your tools, turn on some music, and dip in.
Your dream wall is waiting. If you’ve tried these tips or created your own wallpaper masterpiece,
Share your experience in the comments below so we can celebrate your success together and inspire more DIY decorators to create their dream spaces!
Frequently Asked Questions
Can You Hang Wallpaper Over Painted Walls?
Yes, as long as the paint is clean, smooth, and not glossy. Lightly sand glossy finishes and apply primer before installation for better adhesion.
What’s Better: Peel And Stick Or Traditional Wallpaper?
Peel-and-stick is ideal for renters or temporary updates, while traditional types are more durable and perfect for long-term, high-traffic areas.
How Long Does It Take To Hang Wallpaper?
An average room takes about 4–8 hours for an experienced DIYer. Beginners may take longer, so work carefully for the best results.
Can You Use Wallpaper In Bathrooms Or Kitchens?
Yes, use vinyl or moisture-resistant types made for humid spaces. Avoid using peel-and-stick products in full bathrooms or areas with high humidity.