

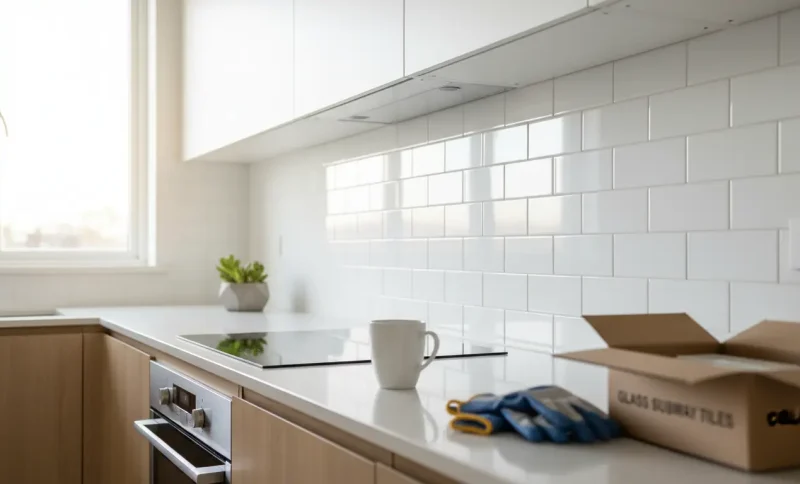
Have you ever noticed how some kitchens just feel brighter and more inviting than others? When I visited a friend’s newly remodeled kitchen, what really caught my eye was the crisp, glossy white subway tile backsplash. It wasn’t just stylish—it made the whole space feel bigger and lighter. That little change inspired me to try it in my own home, and honestly, I couldn’t believe the difference.
What’s So Special About Modern white glass subway tile kitchen?
In my experience, these tiles are sort of like the “little black dress” for kitchens—they go with everything. The way they catch sunlight during the day is something you really have to see in person. Even my neighbor, who’s picky about trends, couldn’t stop complimenting the new look.
Everyday Perks (I Didn’t Expect)
- Light Bounces Everywhere: My small kitchen feels twice as big because the glossy surface reflects both sunlight and my under-cabinet lights.
- Wipe and Go: I used to dread cleaning after cooking, but now? Most spills just disappear with a quick swipe.
- Timeless Style: I know these tiles will still look sharp ten years from now, no matter how much I change my color scheme.
Starting Your Own Project: Lessons Learned
If you’re thinking about installing these yourself, here’s my best advice: take your time gathering supplies.
- I got extra tiles (just in case).
- I made sure to buy adhesive meant for glass (it makes a difference).
- And yes, I watched a few YouTube videos before I got started.
Installation, Step by Step
- Dry Run: Lay out your pattern on the counter. Trust me, it’ll save you from awkward cuts.
- Adhesive Matters: Use one that dries white or clear, otherwise you might see it behind the glass.
- Careful Placement: Glass tiles are less forgiving than ceramic, so double-check each one as you go.
- Set and Wait: Waiting for the adhesive to set was the toughest part, but it’s worth it.
- Grout and Polish: I picked a light gray grout to hide any future stains, then wiped off the haze for that “showroom” shine.
Main Things You’ll Want to Remember
What Really Matters:
- Use the right adhesive—clear drying is best for glass subway tiles.
- Take your time setting and spacing each tile, especially in visible spots.
- Imperfections happen—don’t stress if you need to re-do a row.
A Few Tips I Wish I’d Known
I started out worried about fingerprints, but wearing simple cotton gloves made a difference. Also, having a friend help with tricky cuts made the job way less stressful (and more fun). If you want a bolder look, try a dark grout—it really makes the tiles pop.
FAQs
Q1: Is it harder to install glass subway tile than ceramic?
A little. Glass shows mistakes more easily, so go slow and measure carefully.
Q2: Will glass scratch or crack?
Treat it gently during installation. Once it’s up, it’s surprisingly tough.
Q3: Can I use these tiles behind a stove?
Yes! Just use a recommended adhesive for heat resistance.
Q4: What’s the best way to cut glass tiles?
A wet saw with a glass blade worked for me, but scoring and snapping is fine for small jobs.
Q5: How do I keep the grout clean?
Seal it right after installation and wipe up spills quickly—no fancy products needed.
Conclusion
Adding modern white glass subway tile gave my kitchen a fresh, open feel that I never expected from such a simple project. If you want a quick update that looks high-end, I’d definitely recommend giving these tiles a try. You might be surprised by how much you love the result.


